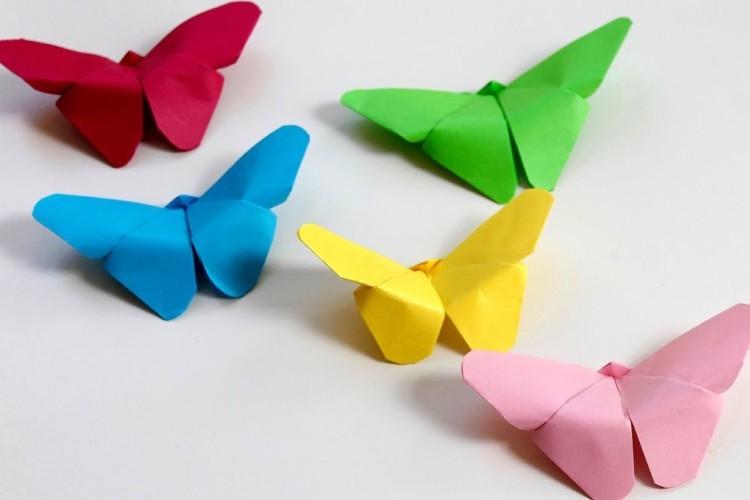
Delicate butterflies are an elegant interior decoration and pleasant leisure. Beautiful crafts will keep children busy for a long time, and will help adults to escape from the daily hustle and bustle. And then you can make a garland, a chandelier or a panel on the wall out of them. There are different ways to fold or glue an air butterfly. We will tell you about them today!
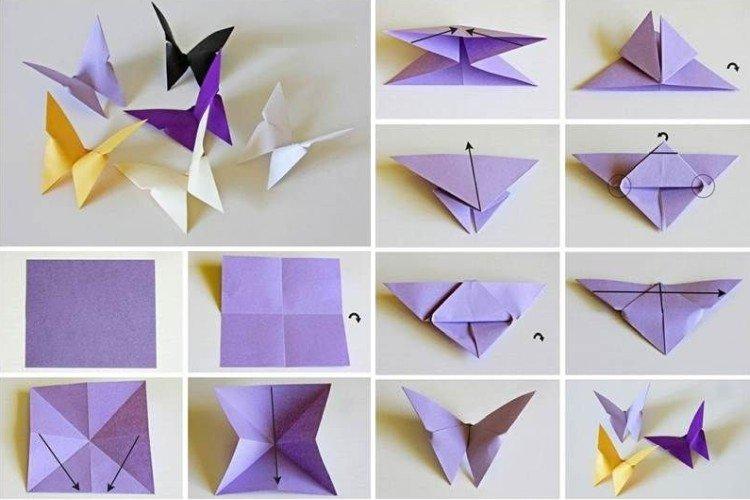
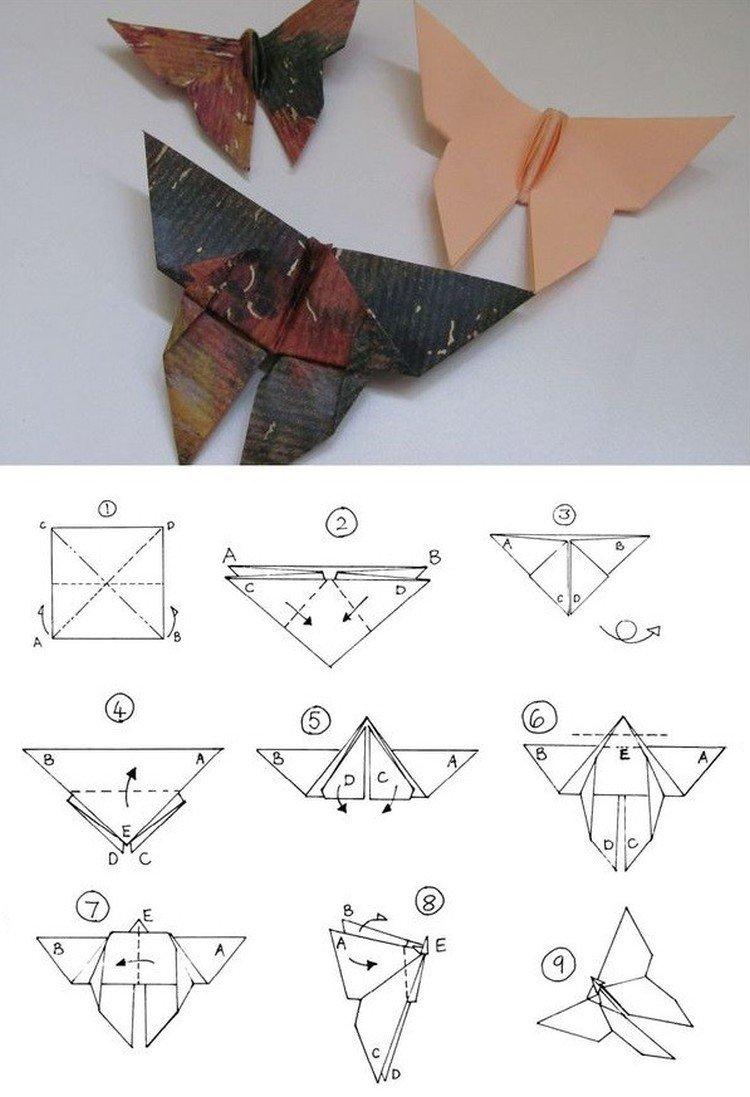
1. Simple origami butterfly
Mark a double-sided square with folds and collect a triangle according to the outline, and then lift the corners of the outer layer. Place the workpiece as shown in the figure, lift the top and straighten the turning angles with something thin. Fold your wings and gently straighten each butterfly separately.
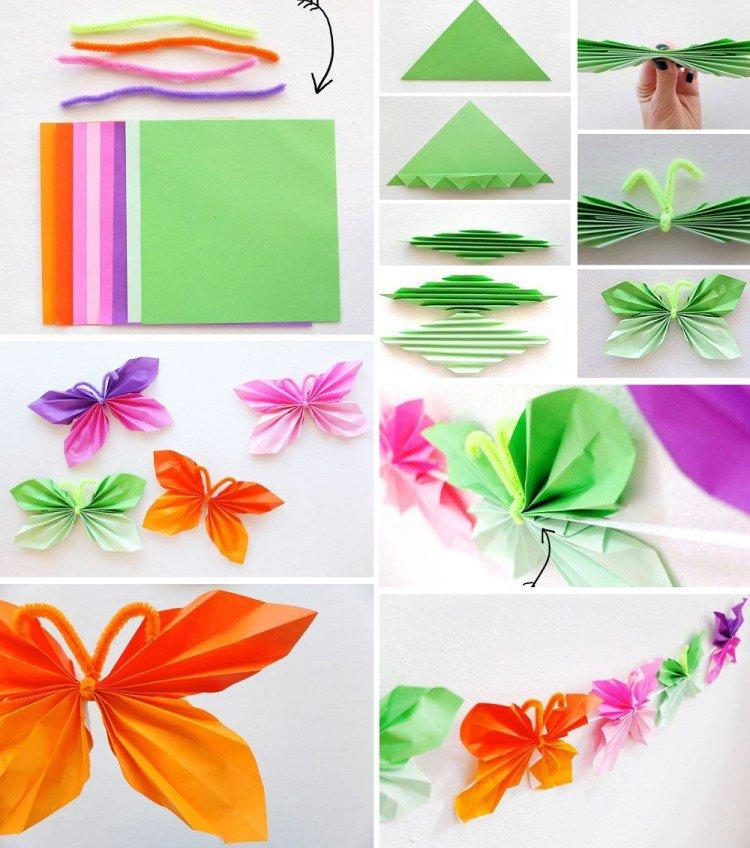
2. Origami butterfly accordion
Prepare multi-colored sheets of thick paper and pieces of thread or colored wire. For a butterfly, you need two rhombuses of the same size, folded like an accordion. The wingspan depends on the size of this accordion. To secure the workpiece, pull it off with the same thread or wire, and twist the antennae out of it.
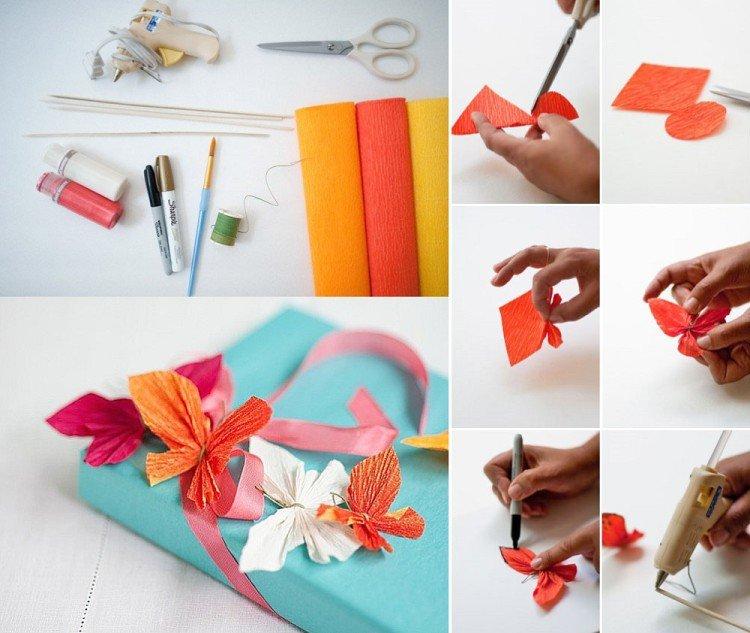
3. Butterfly made of corrugated paper
Light butterflies on skewers are suitable for children's games, decorating dishes or drinks. To do this, cut out a piece that is combined from a rhombus with a side of 8 cm and a circle with a diameter of 5 cm. Crumple both halves to the middle, pull with a wire, spread the wings and glue the butterfly on a skewer with a glue gun.
4. Origami butterfly made of thick paper
This scheme is partially similar to the first one, but there are nuances thanks to which you will make a more expressive workpiece. Thick wrapping paper or even old bags will work well. Mark the axes, fold the triangle and lift the corners of the top layer to the top. This is one of the basic blanks for completely different shapes, so remember it for future reference.
Twist the workpiece, lift the top and spread it into a kind of polygons. Bend the sharp corner with an accordion, and then, if you want, glue the antennae from the fishing line to this head. Fold the part and bend the wings in different directions.
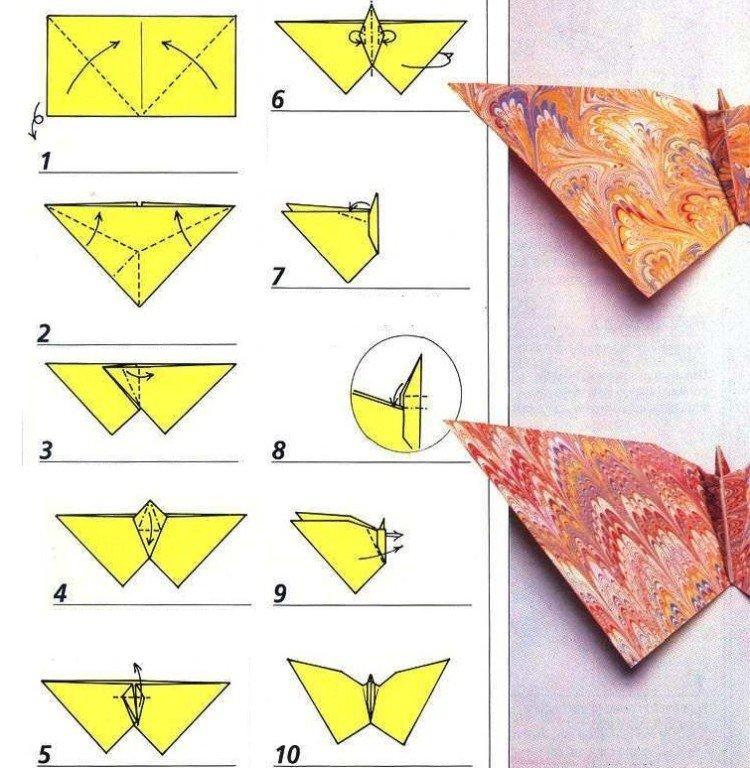
5. Rectangular butterfly
Visually draw a rectangle and tuck its sides towards the middle. Look according to the diagram, how it is more convenient to lay out the workpiece and form the base according to steps 2-3. Expand the middle in the body and lay your head in the likeness of a ladder - this is how the heads and beak of birds often do. Bend the corners, fold the torso in half, shape the head and spread the wings of the butterfly.
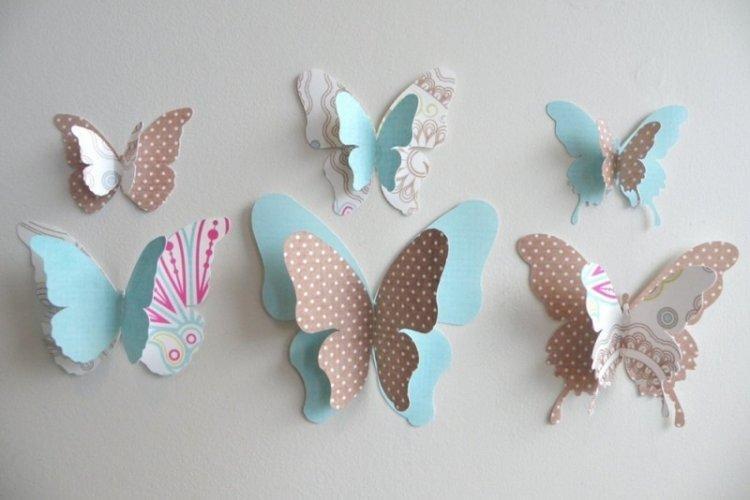
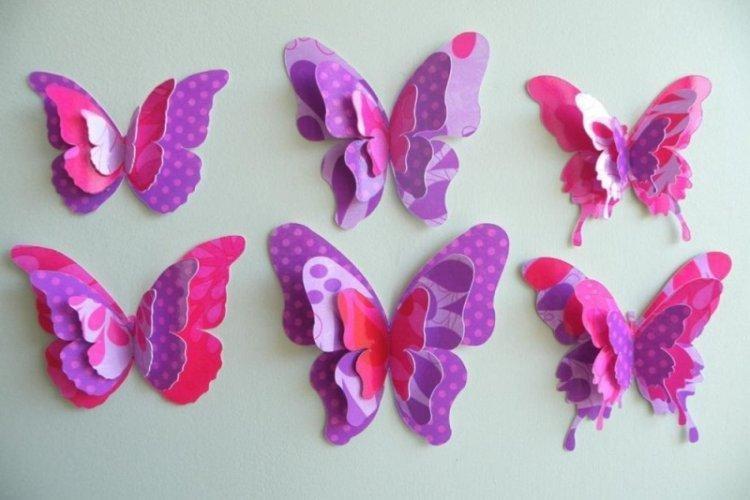
6. Volumetric butterflies on the wall
Such butterflies look very airy and seem to be trying to take off from the slightest gust of wind. And for manufacturing, it is enough just to cut out two pairs of wings and connect them in the middle along the body line. They are amazingly suitable for garlands or any interior decor.
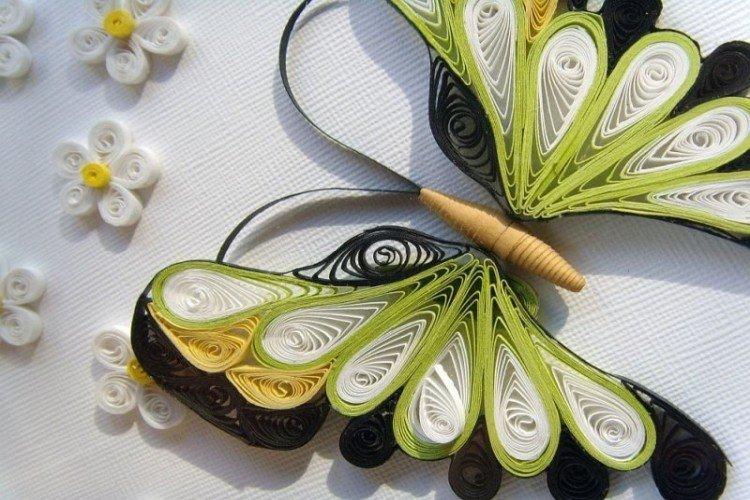
7. Quilling butterfly
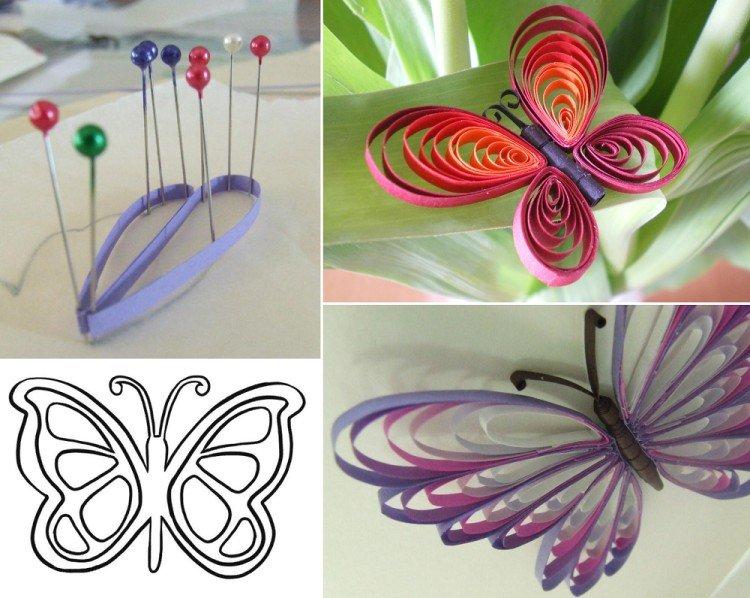
You will need a lot of colored thin paper ribbons and a special quilling hook. If you don't have a hook, you can replace it with a thin wooden chopstick by making a small cut. In this cut, you will insert the end of the paper tape and wrap it around.
A plastic ruler with circles will come in handy to make parts of different sizes. You can make the same stencil yourself from ordinary thick cardboard. The rest of the elements are formed from the same circles of different winding density by hand.
Choose or draw a stencil to be pasted over with quilling modules. Use regular PVA glue and start with large parts first, and then move on to small filling. When creating paths, use pins to make a three-dimensional butterfly without a mat.
