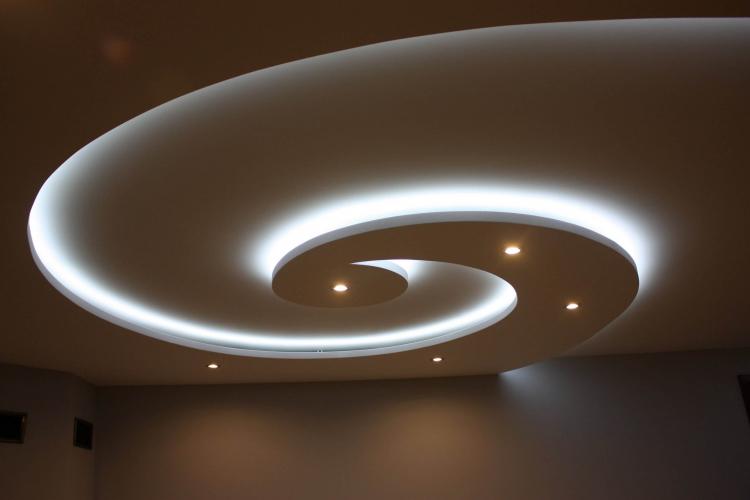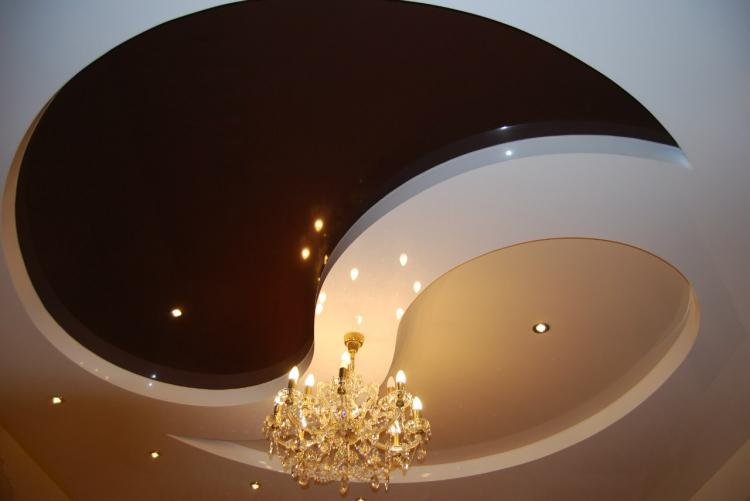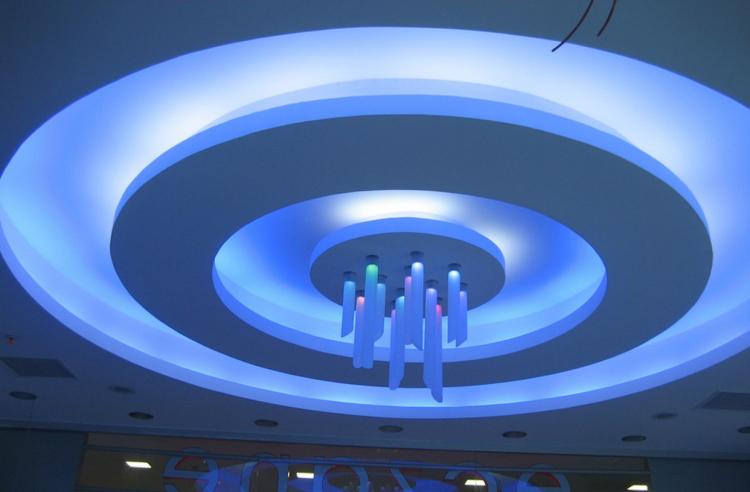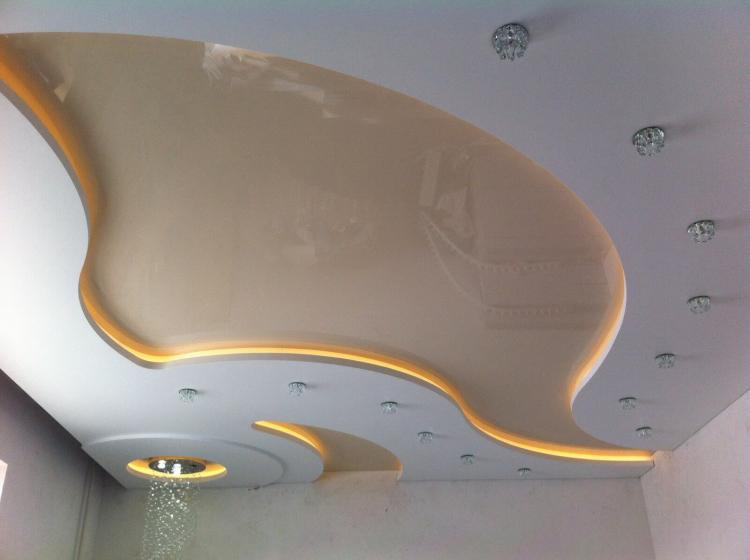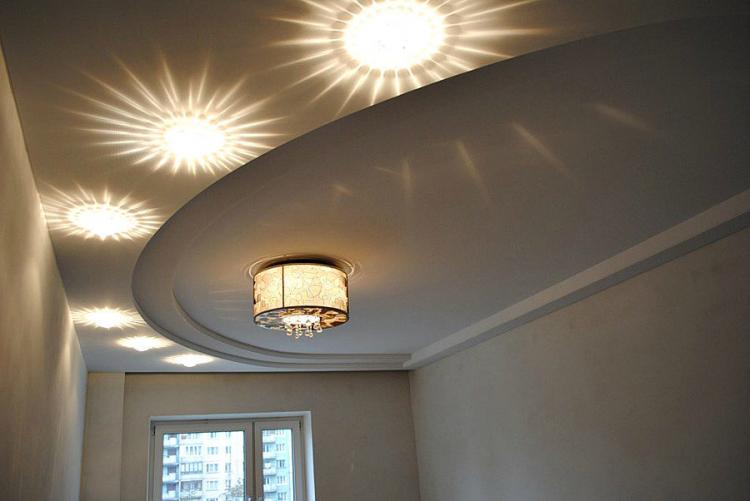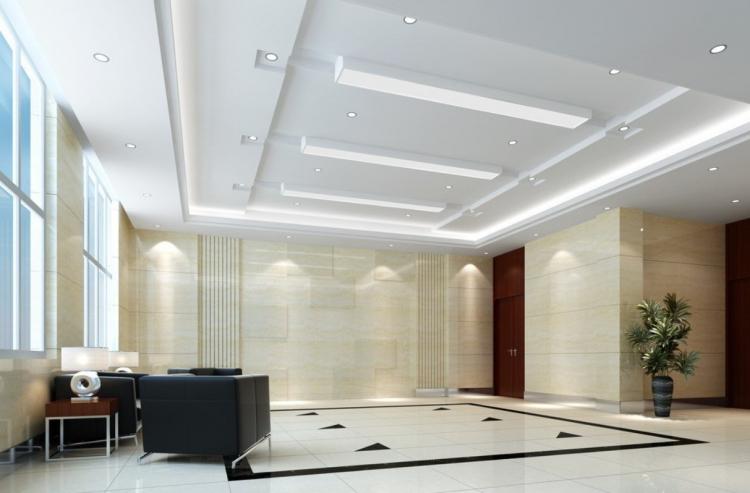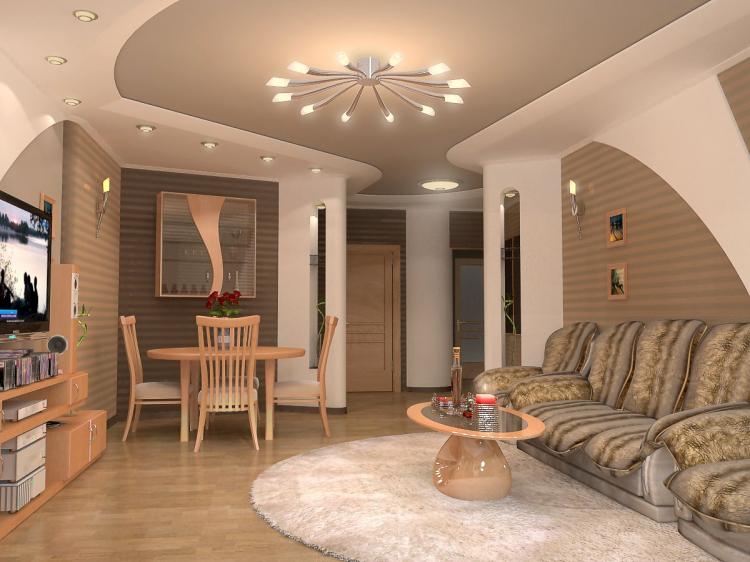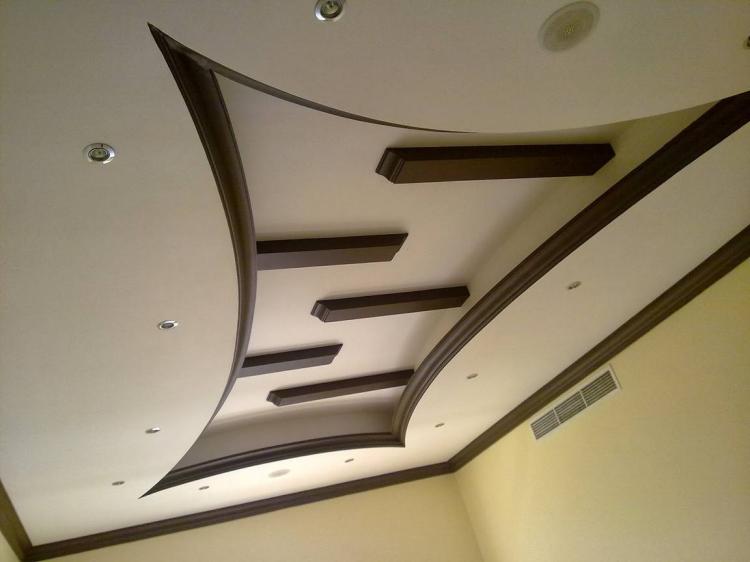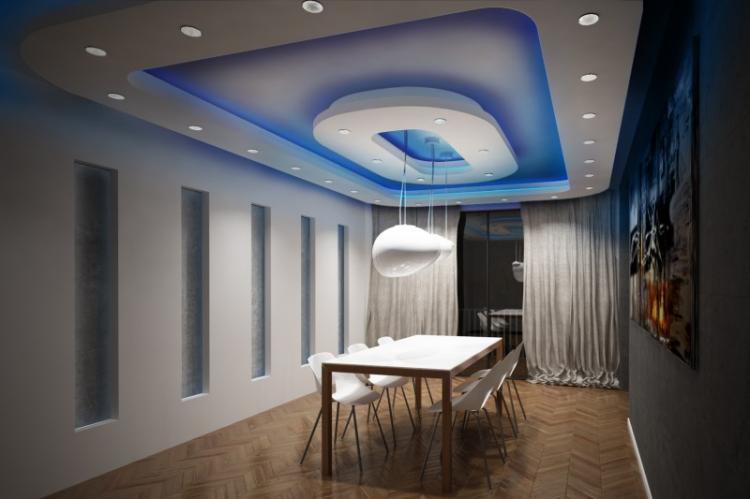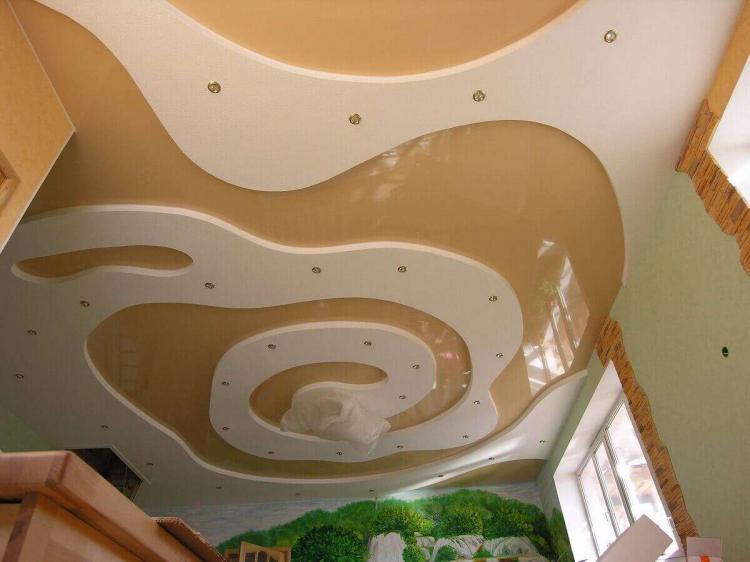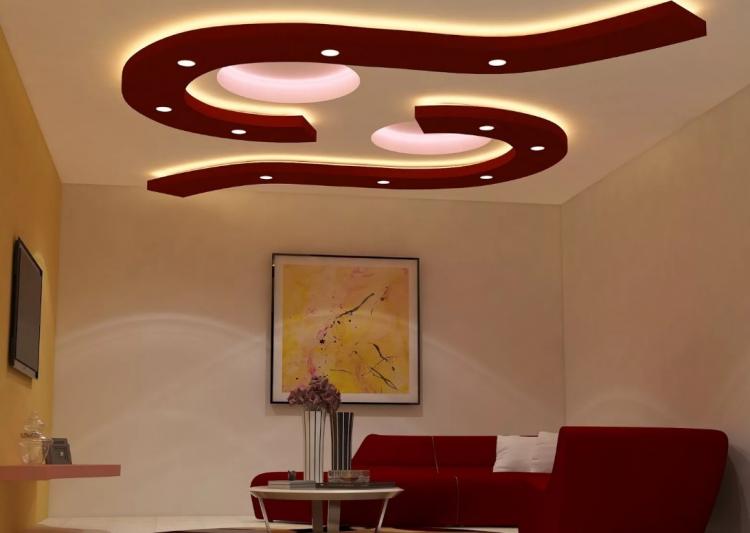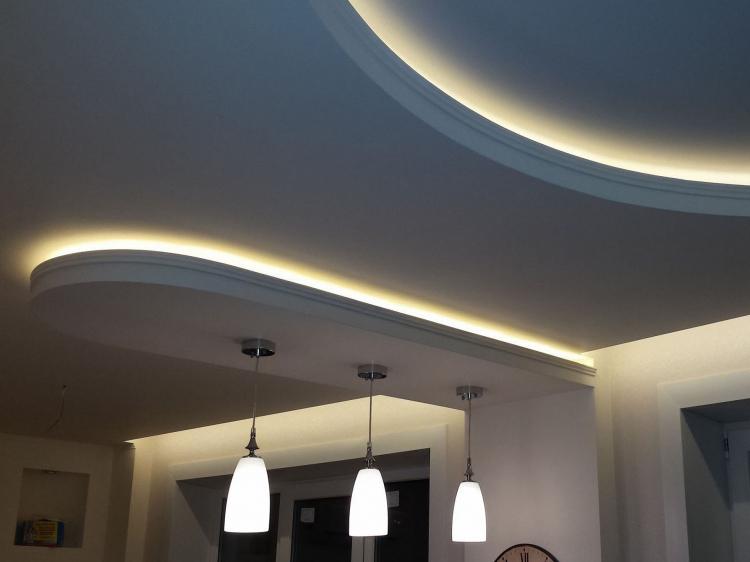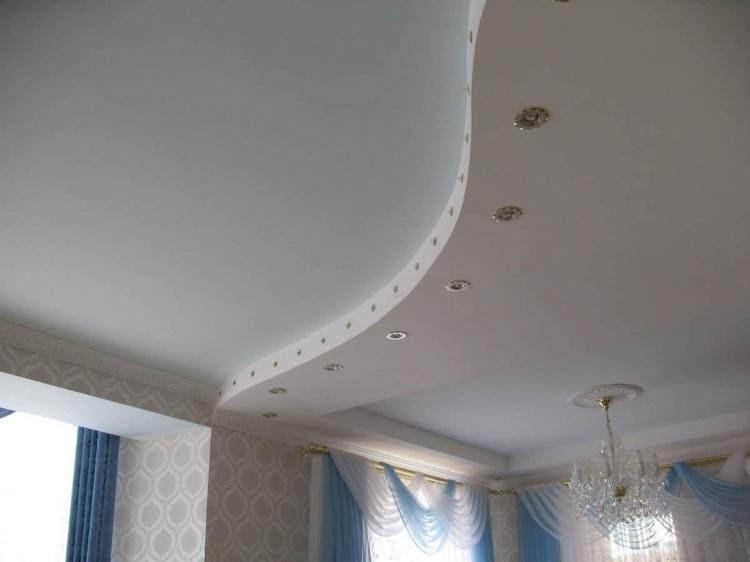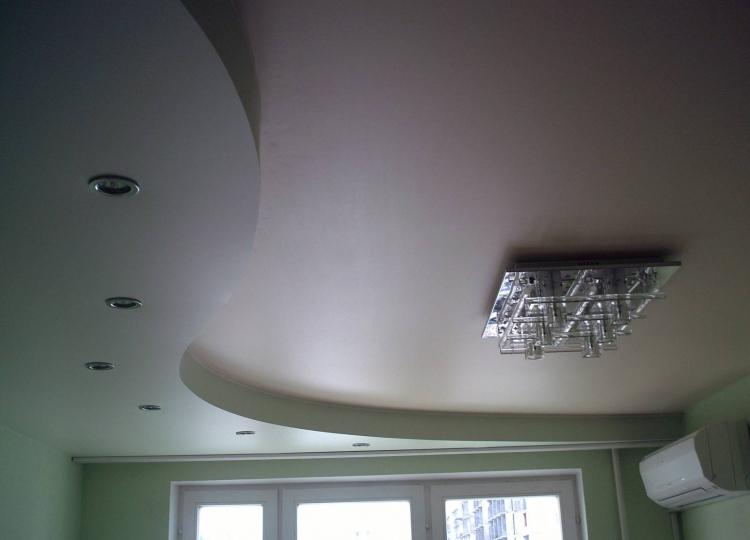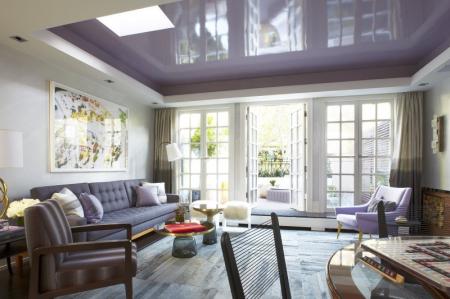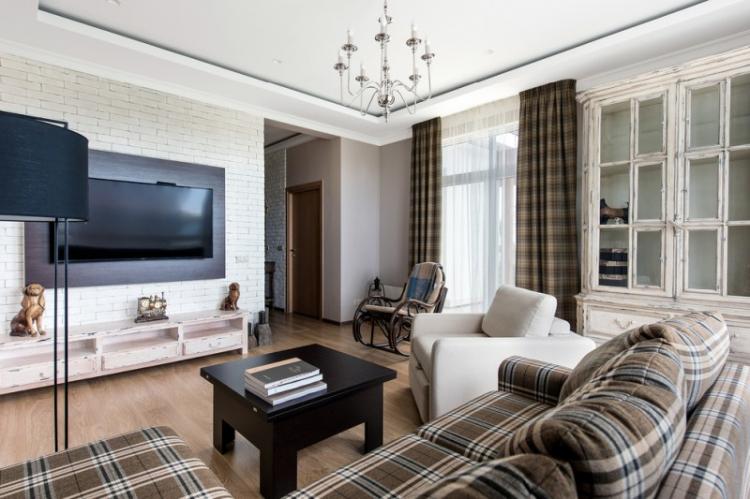
Drywall is a practical, simple and affordable material for creating creative design solutions. Tired of boring whitewashed ceilings? He will help with this. Do not limit your imagination, create new unusual shapes, bring your favorite classics to life, experiment and create. And most importantly, you can even cope with plasterboard ceilings on your own!
Advantages of plasterboard ceilings
Complex and varied plasterboard structures can decorate any room. Moreover, it is an affordable and versatile material that will always come in handy during repairs.
- All imperfections, roughness and surface defects can be hidden under the plasterboard structure. There is no need to waste time and money on leveling out level drops. You don't even need to take off the old whitewash;
- The finished box creates additional sound insulation from the neighbors on top;
- Minimal preparation and ease of installation of sheets reduce repair time to a minimum. If necessary, the ceiling can even be disassembled;
- Plasterboard is inexpensive. The cost of the ceiling depends on the complexity of the structure. Even leftovers and scraps will not disappear: they can be used for other repair work and decor;
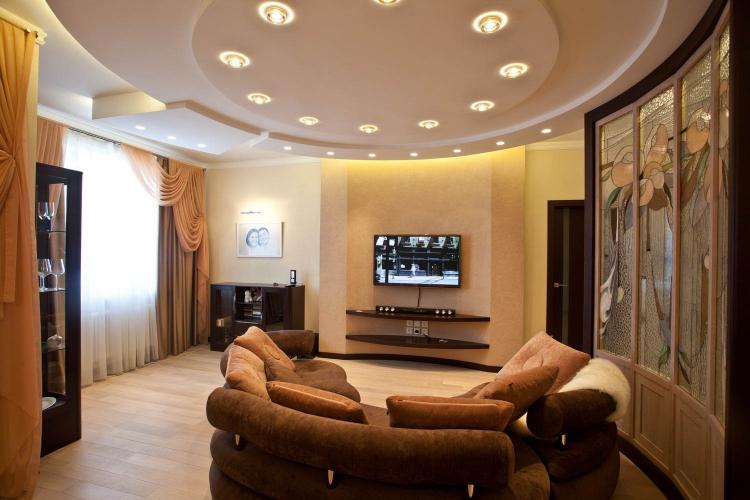
- It is easy to hide all communications in the box: wires, pipes, etc. You don't have to gouge the ceiling and then fill up the holes;
- Lightweight drywall. Therefore, there is no need to further strengthen the structure. And it is convenient to work with him even on your own;
- Any lighting can be easily built into such a ceiling. Choose hidden, open or spotlights, decorative lighting, multi-level lighting. It is not only beautiful, but also convenient, profitable and effective;
- Plastic drywall can be shaped in different ways. This allows you to experiment with design and space, create complex original solutions. Ceilings in several levels are made of plasterboard;
- The material is completely environmentally friendly and safe for humans. It's just gypsum and cardboard;
- The finished structure can be sheathed, painted, plastered and decorated at your discretion.
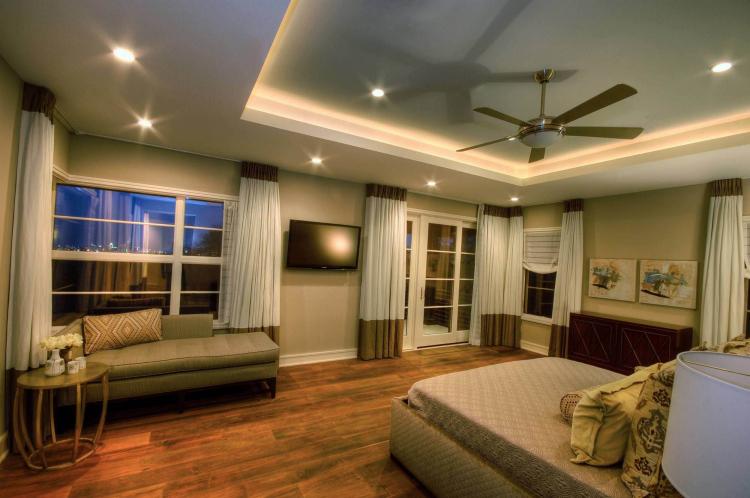
Disadvantages of plasterboard ceilings
There are no perfect materials. Universal drywall also has its weak points. Be sure to take them into account when designing a ceiling.
- The gypsum mixture is afraid of moisture. Therefore, in the bathroom or in the kitchen, such ceilings necessarily require protective treatment and effective ventilation in the room;
- If suddenly the neighbors from above flood your ceiling, most likely it will have to be completely renewed. Fortunately, the structure is easy to dismantle;
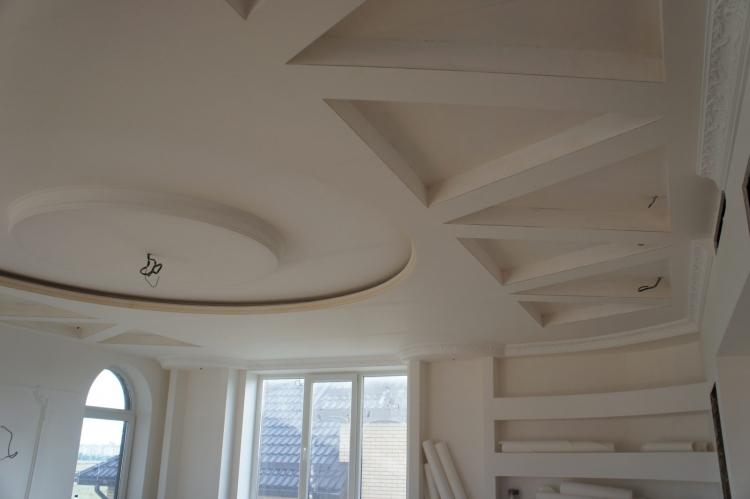
- Do not rush with plasterboard structures if the house is still completely new. When the building shrinks, the material may crack;
- Like any box, such a ceiling inevitably reduces the height of the room by at least 6-10 cm. But this is quite justified if you still need to hide irregularities and communications. But with decorative solutions, do not forget about the proportions of the room;
- Drywall is a fragile material, therefore it must be transported, stored and used with extreme care. And do not use cracked sheets, they cannot be fully restored with glue or building mixture.
Types of ceilings
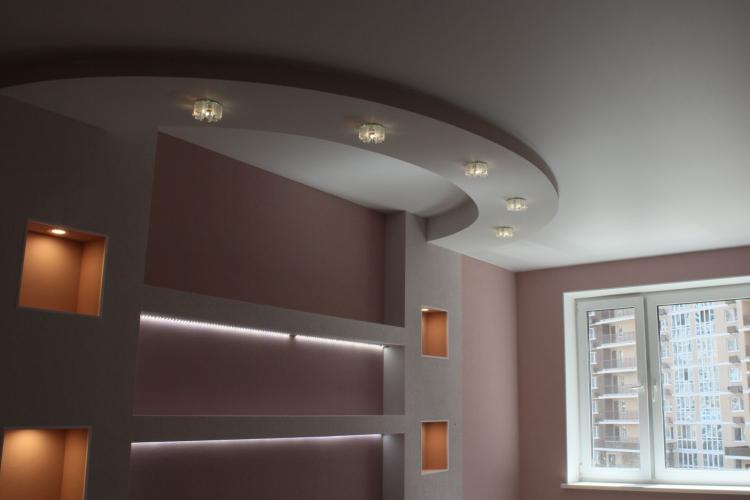
Suspended structures of various complexity and configurations are created from drywall. But all of them can be roughly divided into several types.
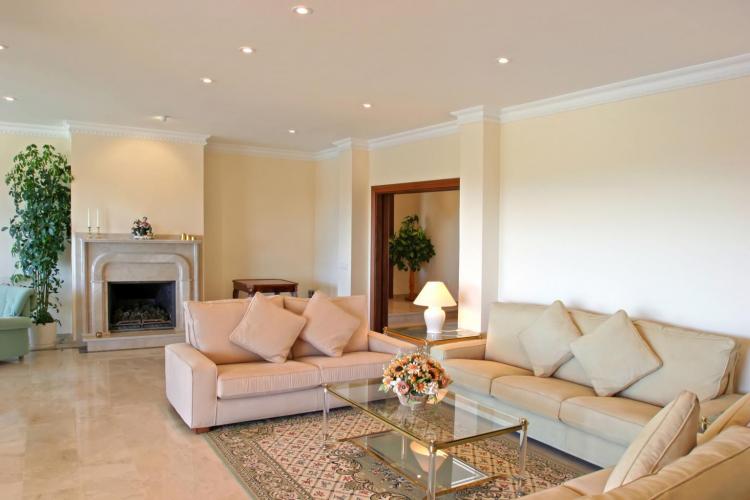
Plasterboard single-level ceilings
This is the simplest horizontal ceiling with a minimum height for lovers of laconic functionality and for rooms with low ceilings. Just a common frame made of a metal profile with sheets. And on top - finishing.
Multilevel plasterboard ceilings
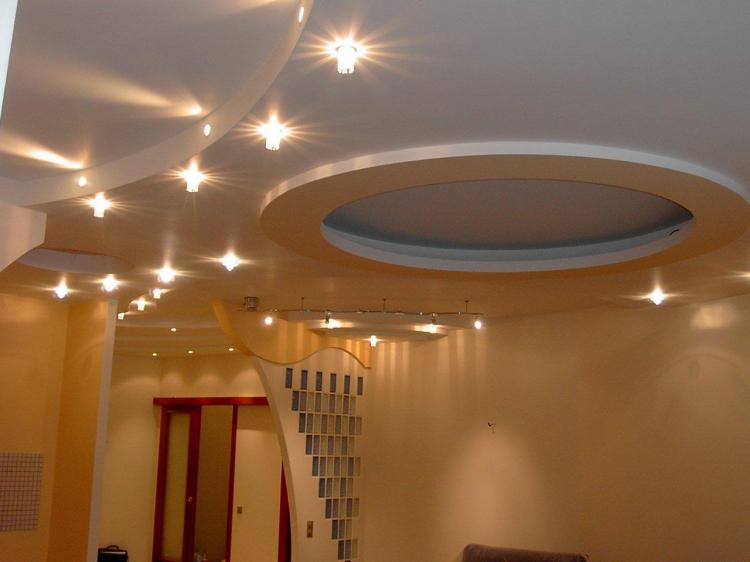
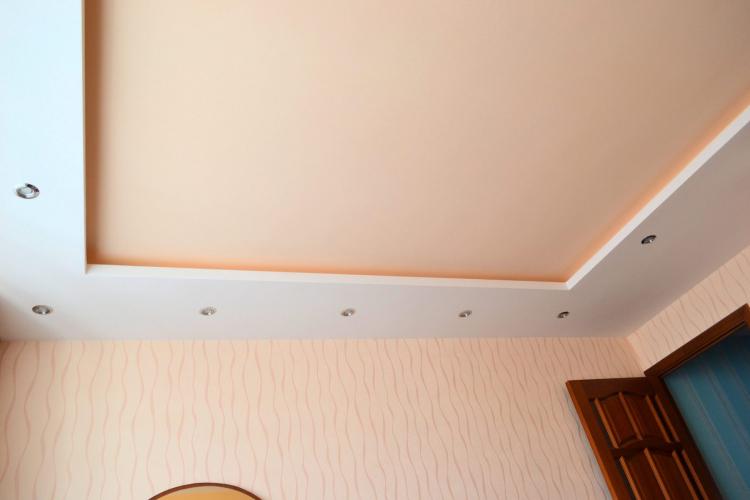
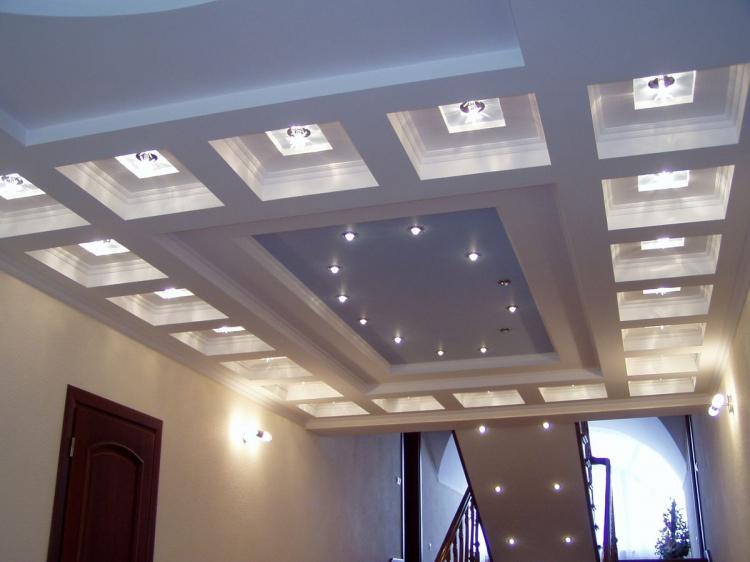
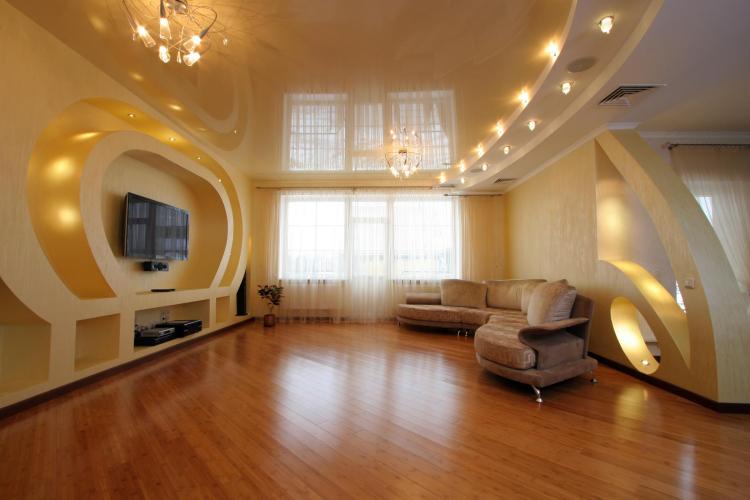
The frame for each new level is built on top of the previous one.Be sure to calculate the location of the suspensions and think over the processing of the edges. Such ceilings are suitable only for spacious rooms.
Decorative plasterboard ceilings
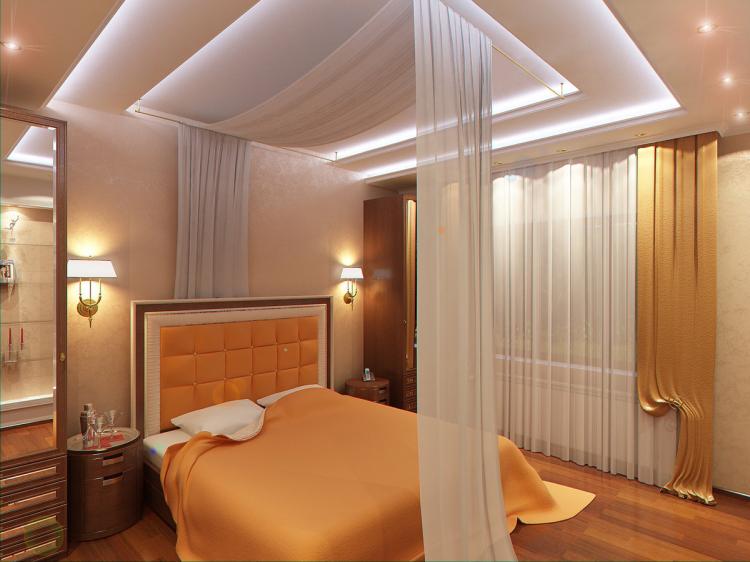
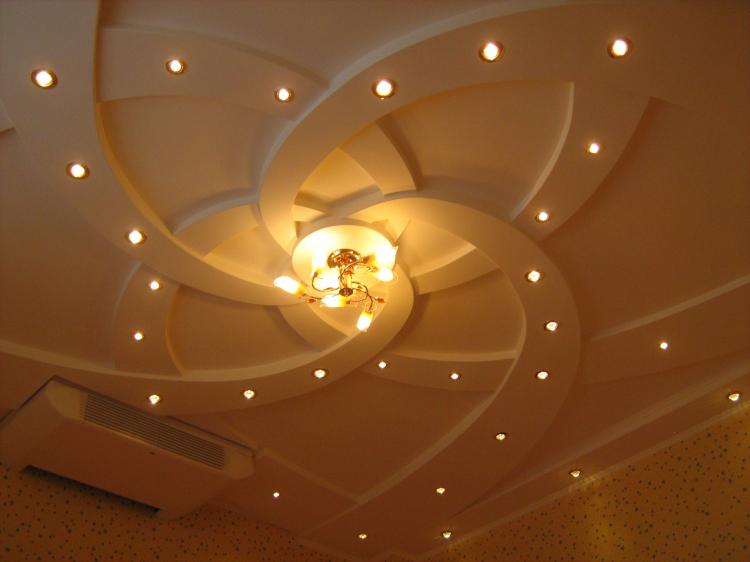
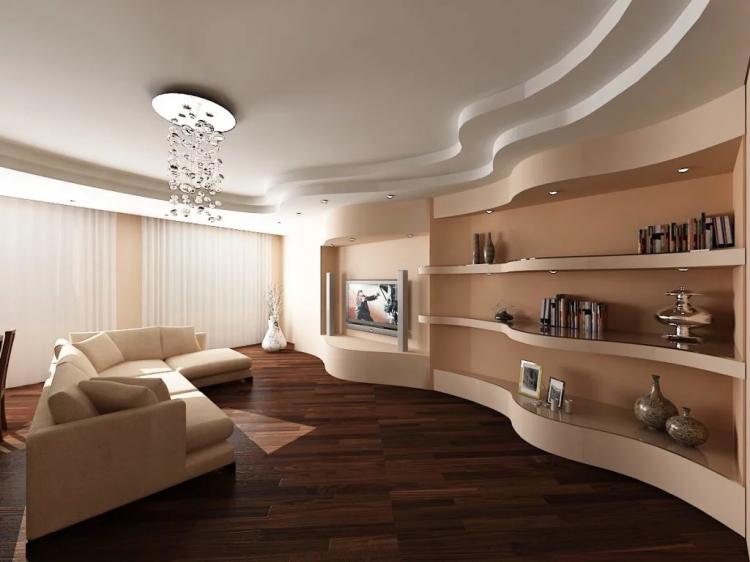
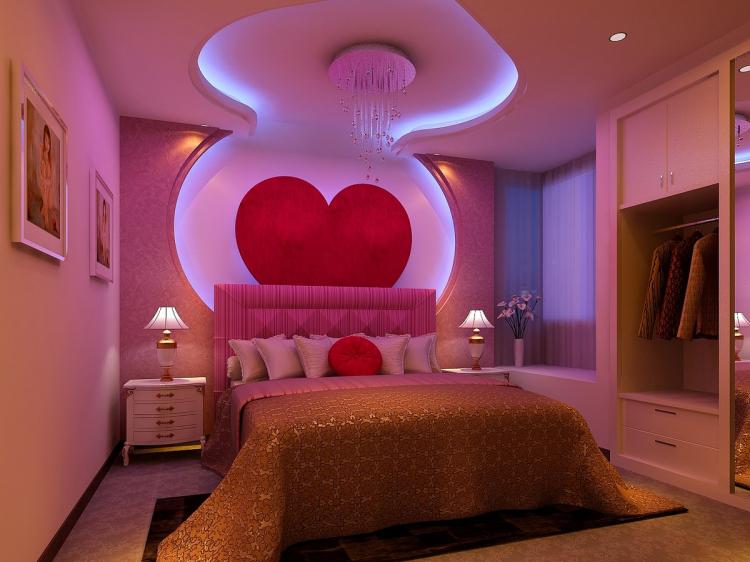
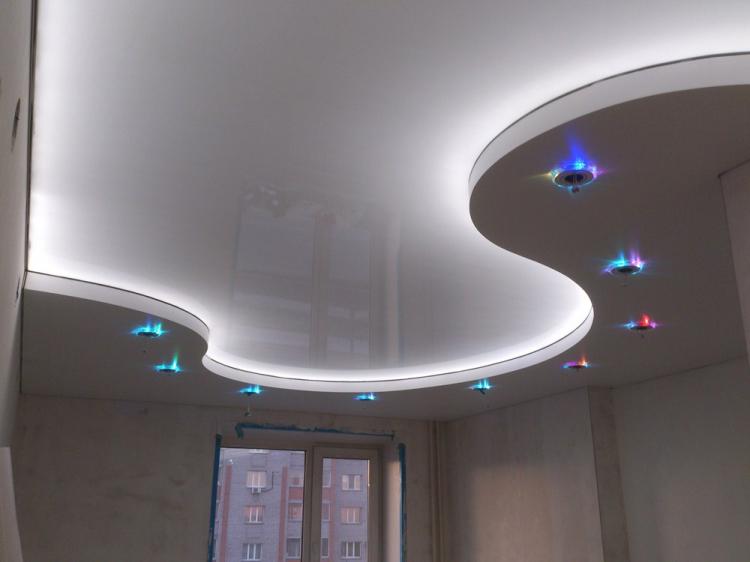
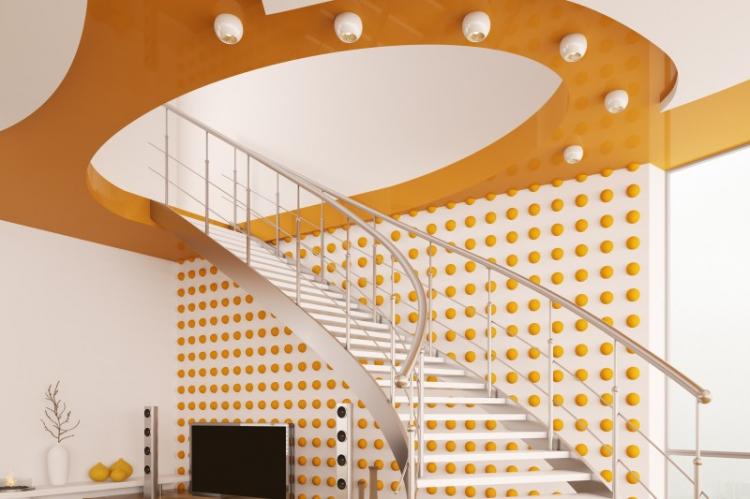
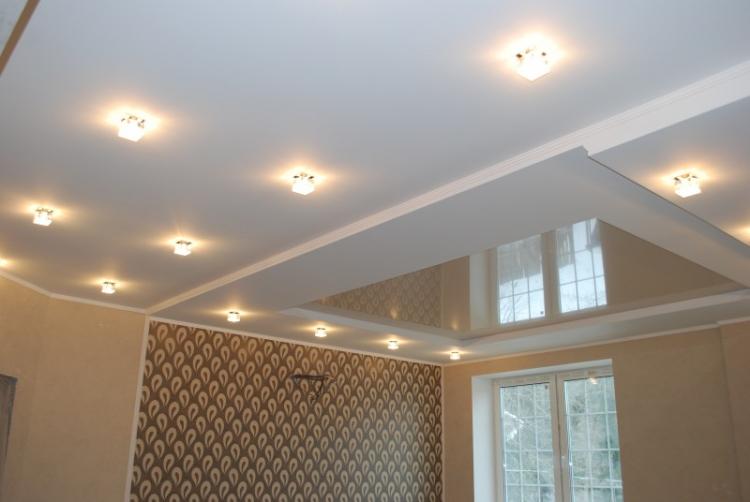
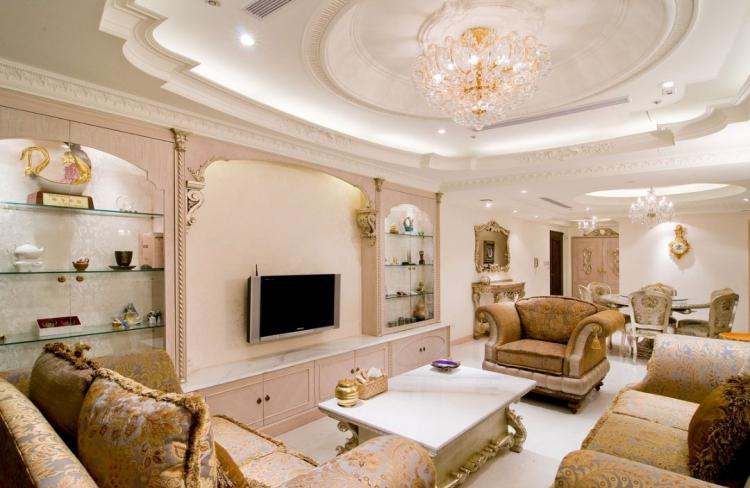
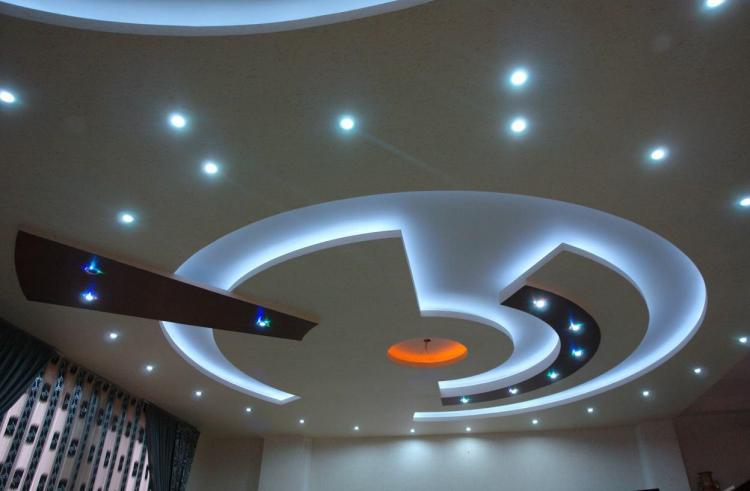
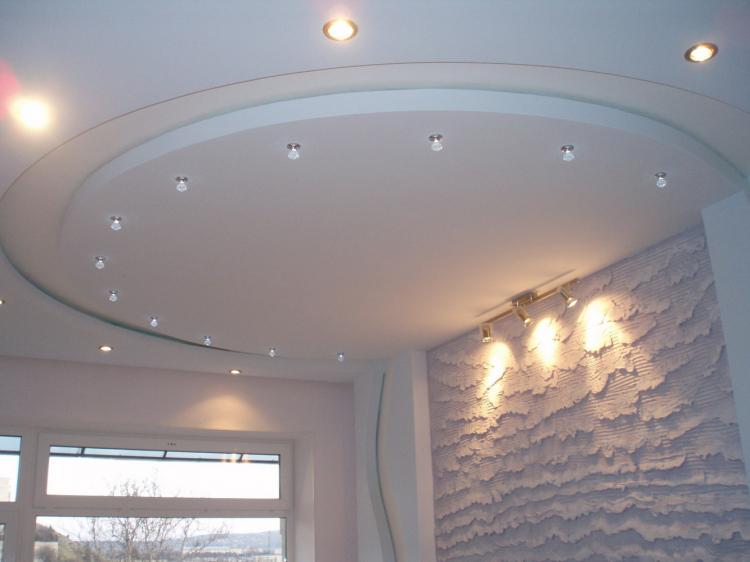
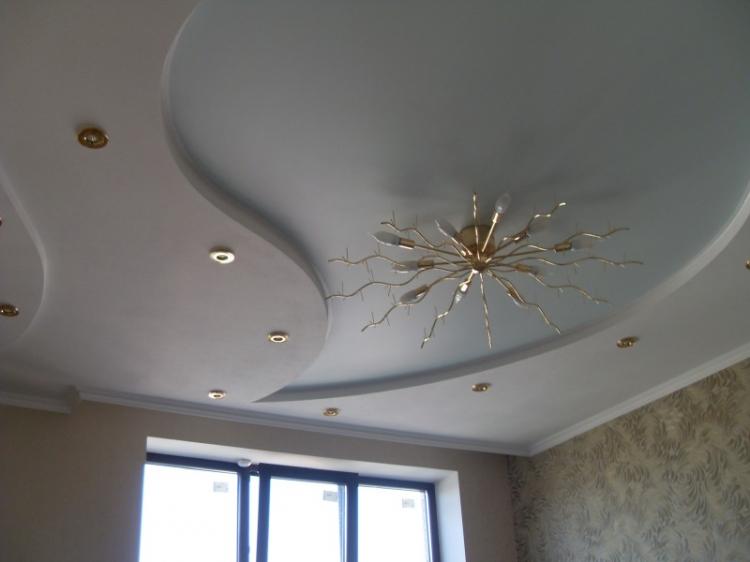
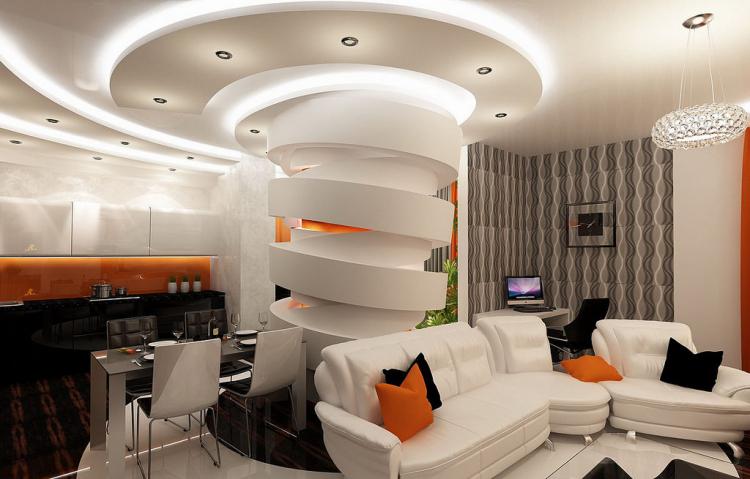
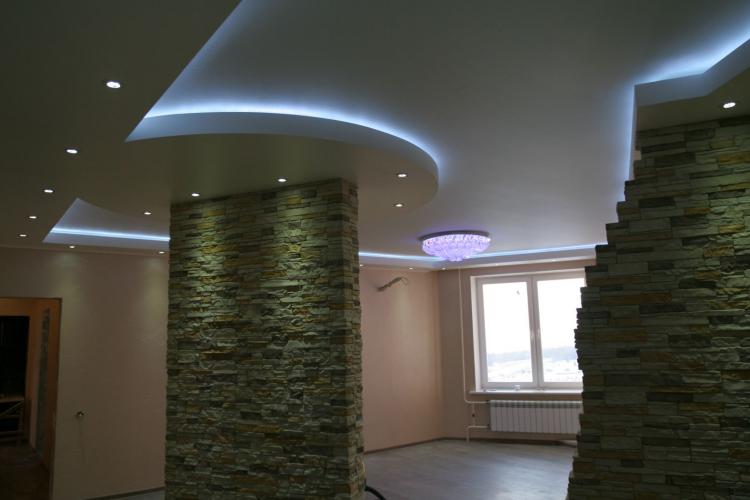
These are multi-level ceilings of a complex configuration. For example, frame with steps, diagonal, zonal, curvilinear, asymmetric, with curly convex elements, "floating" structures, etc. Decorative plasterboard ceilings are always an individual unique solution.
Lighting and ceiling lighting
The lighting of plasterboard ceilings is very diverse. You can use ordinary chandeliers, modern LEDs and trendy decorative lighting.
There are several classic ways of arranging lamps: along the perimeter of the plasterboard structure, taking into account the zoning of the space, by placing design accents in the interior.
Spotlights
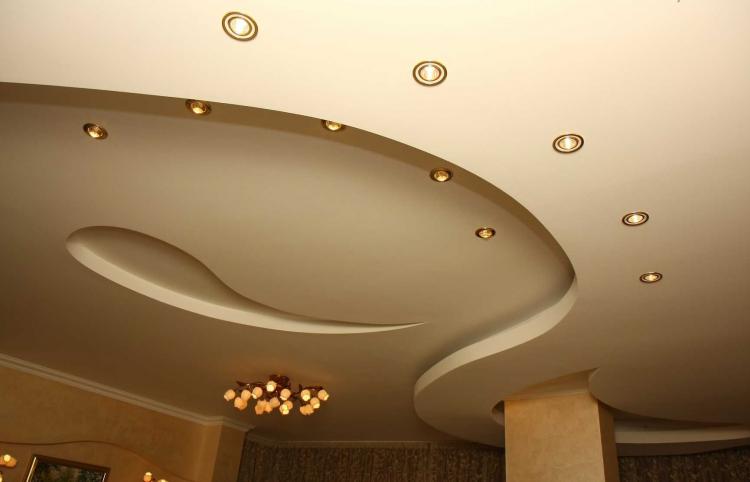
Spotlights are ideal for suspended plasterboard structures. They are convenient for zoning, give light of different brightness and intensity, differ in shape and configuration. They can also be rotary and non-rotatable, open or with protective glass.
You can assemble a complex system of several groups of lamps: for different areas of the room or for different illumination intensities. For installation, it is not necessary to increase the height of the box. For compact bulbs, 3-6 cm is enough.
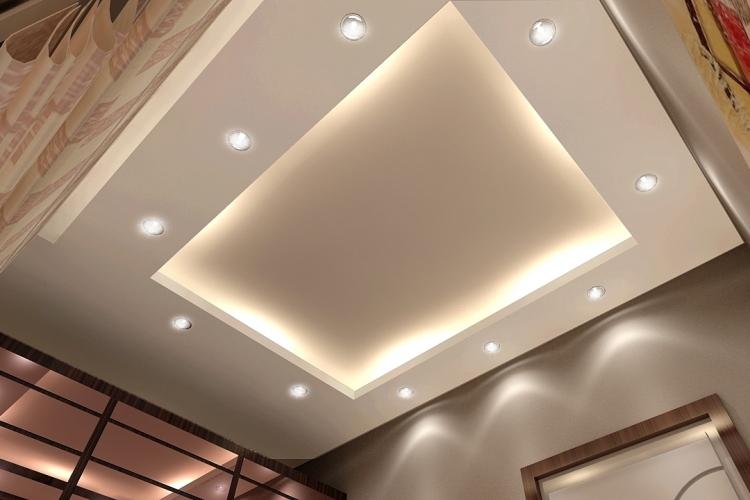
To visually lengthen the room, place small spotlights in even rows. And for interesting artistic solutions - complex curvilinear forms.
Another advantage is the ease of installation. Cut out the nests using a special drill bit, fix the wire cores in the terminals and insert the lamp into the nest.
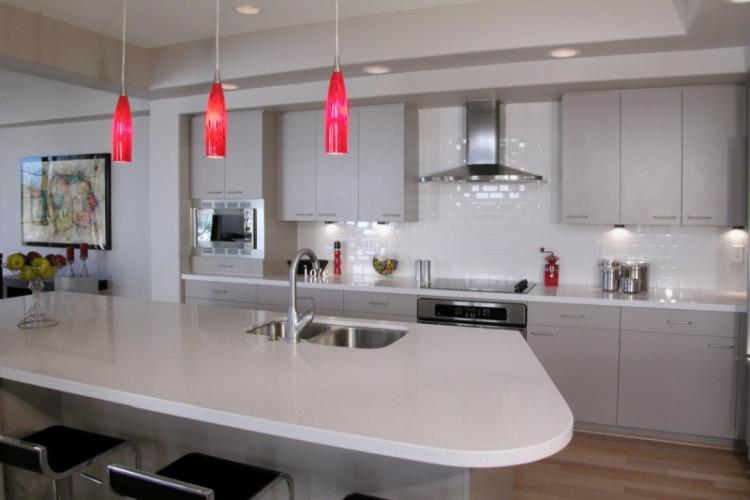
Pendant lights
On plasterboard ceilings, you can install ordinary chandeliers and other pendant lights in the same way. But here you have to take into account the fragility of the sheets.
There are two options! Fasten them not to drywall, but to profiles and frame elements. To do this, think over the location of the lamps in advance. Or choose only light fixtures and fasten them to drywall sheets with butterfly dowels. They redistribute the load over a large area.
If the chandelier is too massive, then you will have to screw it directly to the concrete ceiling using special extension pins.
LED strips
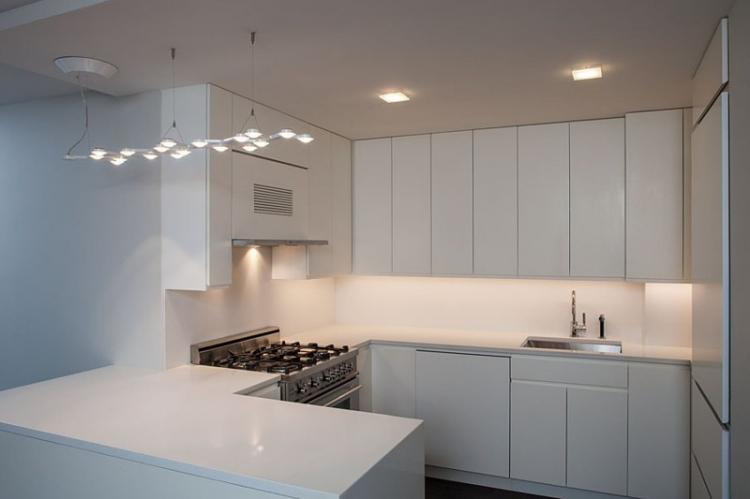
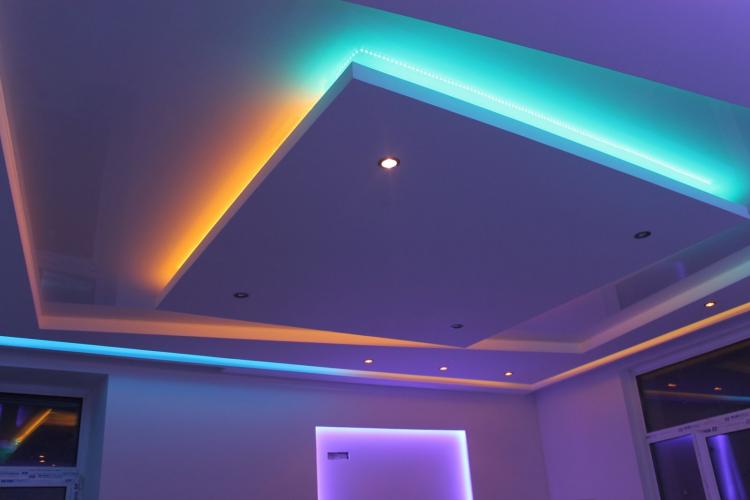
LED strips are a stylish and trendy option for modern interiors. They come in a variety of colors and dynamic effects. You can not only adjust the lighting, but also create a full-fledged light music.
An alternative to the tape is duralight. This is a flexible glowing cord made of colorless plastic with bulbs inside. But this is more of a decorative solution, because the light from it is beautiful, but not powerful enough.
Hidden backlight
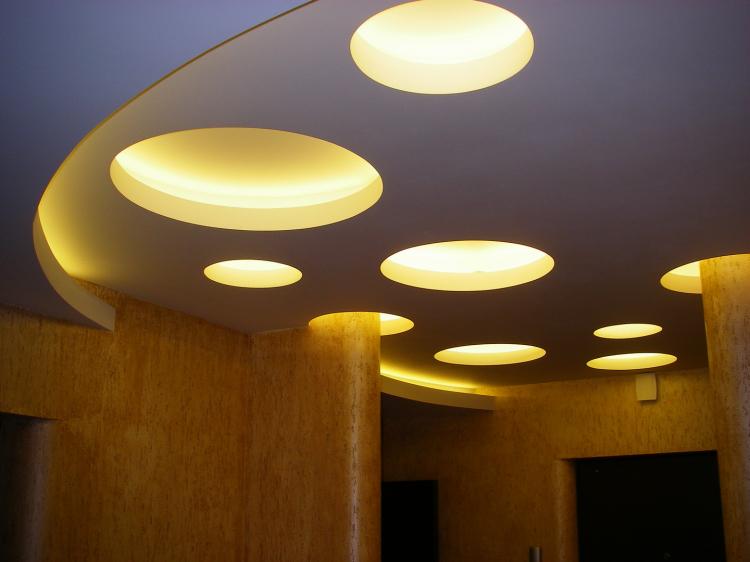
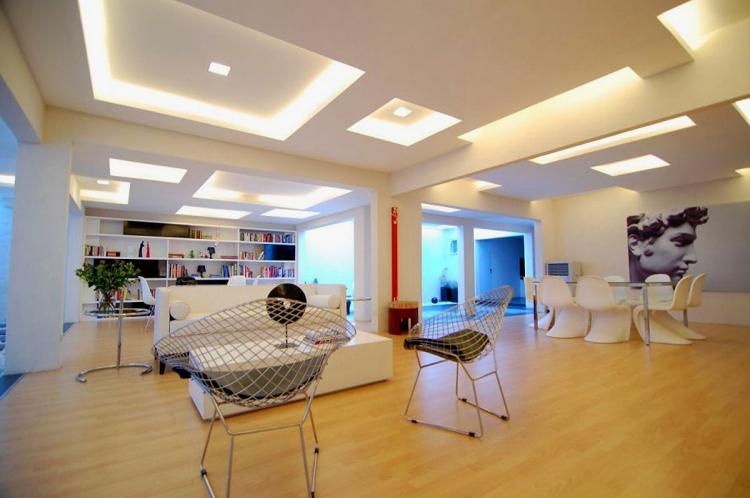
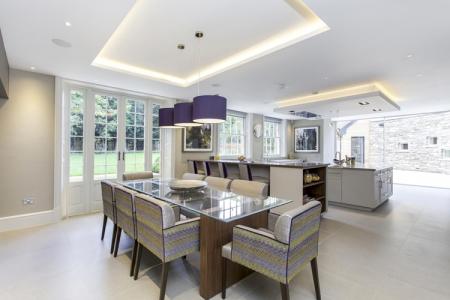
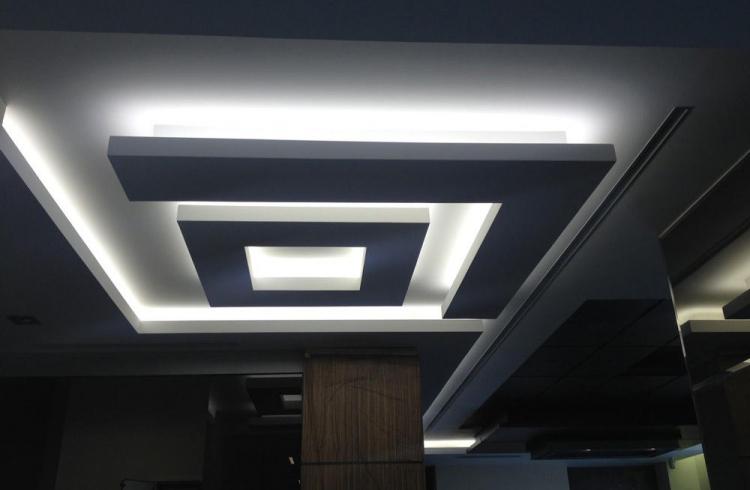
The lamps, hidden in the multi-level plasterboard structures, create the illumination effect from the inside. Basically, LEDs are also used for this.
The tape is laid in a niche around the perimeter of the structure. Lay it on the top tier and on the same level. The optimal niche height for uniform light distribution is 15 cm.
Ceiling mounting tools
To fix a plasterboard ceiling you need a minimum of tools:
- The sheets themselves. There are different brands: fire resistant, waterproof, gypsum fiber without cardboard, etc. Choose according to the premises and your tasks;
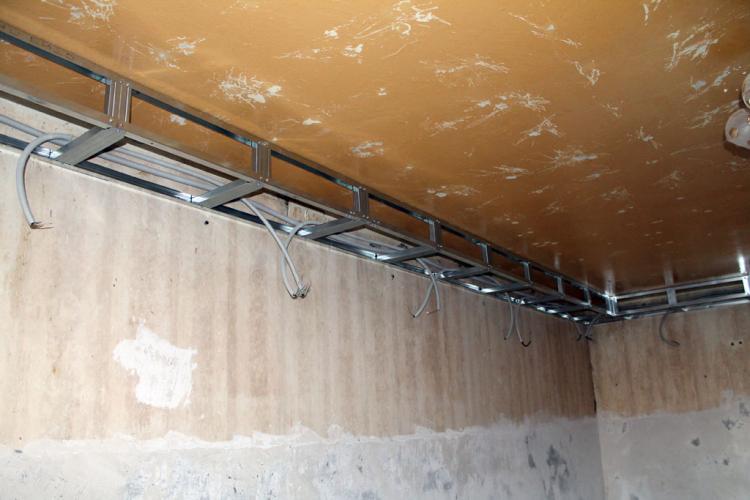
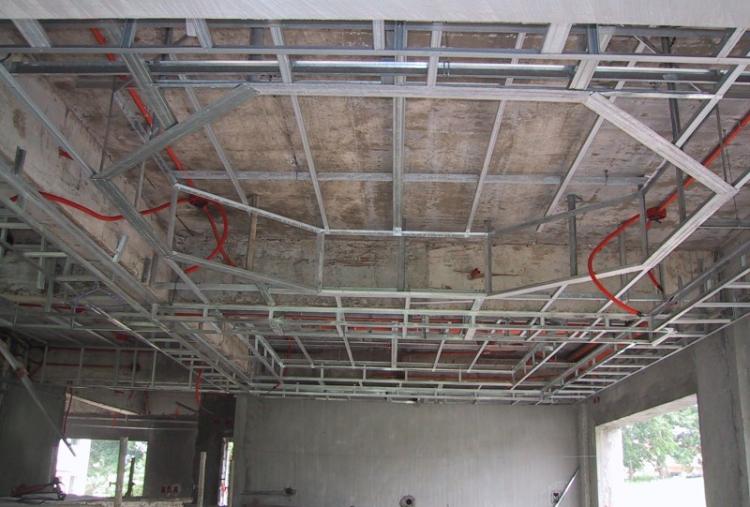
- Metal profiles. Guide profiles are attached around the perimeter of the room. Longitudinal carriers are inserted into them. Use the auxiliary cross segments to strengthen. You will fasten the drywall sheets to this particular frame;
- Suspensions. The profiles must be fixed; for this, U-shaped suspensions are attached to the concrete ceiling. This is a special part with holes, to which it is convenient to screw the frame and adjust its height;
- Fasteners. You will need anchors and dowels, crabs and clamps. Choose the rest for your project, depending on the configuration and the number of levels.
The main tools for work are a stepladder, a level, a construction hacksaw, a tape measure, a drill with different attachments, a screwdriver, a square and a pencil. To level and seal the joints, you need a strong reinforcing tape, a spatula, putty, a construction knife and sandpaper.
DIY plasterboard ceiling installation
First mark out the wall and base. Measure the height of the room in all corners to check the level difference. If there is one, calculate the height of the false ceiling at the lowest corner.
Fasten the guides to the walls with dowels in increments of 30-40 cm. The step between the hangers for bearing profiles is 60-70 cm. After installing the frame, lay all communications and wires. Remember to groove the switch along the wall. Do the routing and release the ends under the fixtures. After that, proceed to the sheathing.
It is convenient to cut drywall with an ordinary small hacksaw, and trim the edge with a knife and a plane. Cut through all the holes for sockets and lamps at once. The sheets are attached to the profile frame in two ways: parallel or perpendicular. The maximum step between the screws is 15 cm. The distance from the edge of the sheet is 1.5 cm.
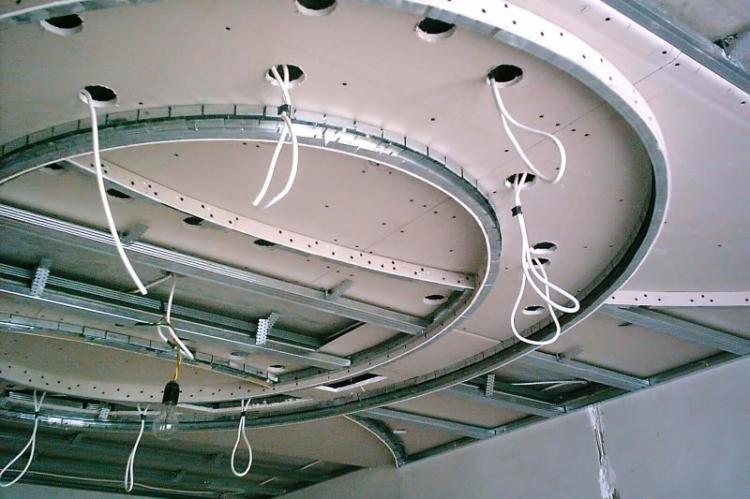
Wait a couple of days before filling the joints. Clean and moisturize the seam line and then firmly fill with mortar. After that, press the reinforcing tape into the mass, cover it on top with another thin plaster layer, and wait until it hardens. Rub all irregularities with sandpaper. Then apply another layer of the mixture and sand again.
If you want to install a plasterboard ceiling in the kitchen or bathroom, think about moisture protection in advance. Pay attention to hydrophobic paints and enamels. You can also cover the surface with PVC film. In other cases, you can immediately plaster or paint the ceiling.
And if you doubt your abilities, it is better to contact the builders. Improper installation of the frame, lack of profiles, hangers or fasteners can lead to the structure sagging or even collapsing.
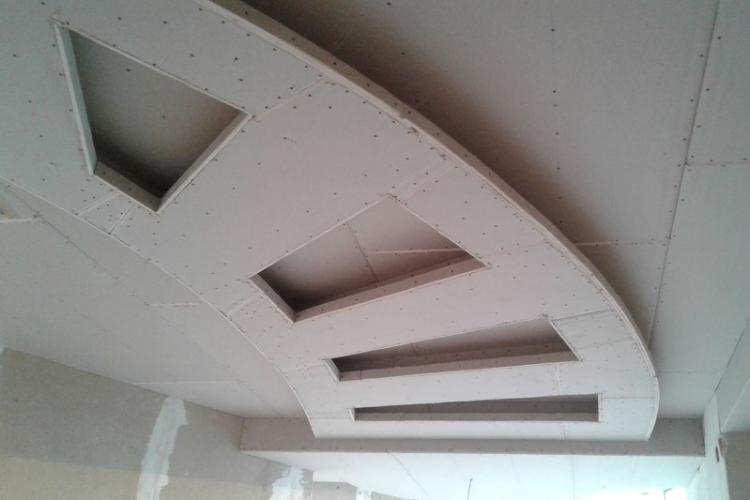
Plasterboard ceiling design - photo
And in order to compare different options and look for an interesting solution, we have compiled this selection of photos for you. After all, plasterboard ceilings are so diverse and interesting. Get inspired!
