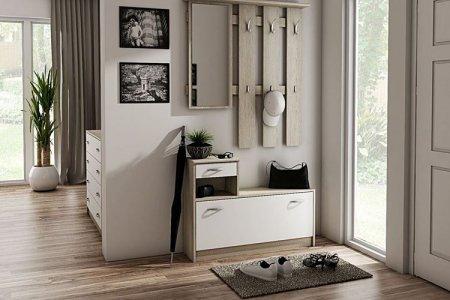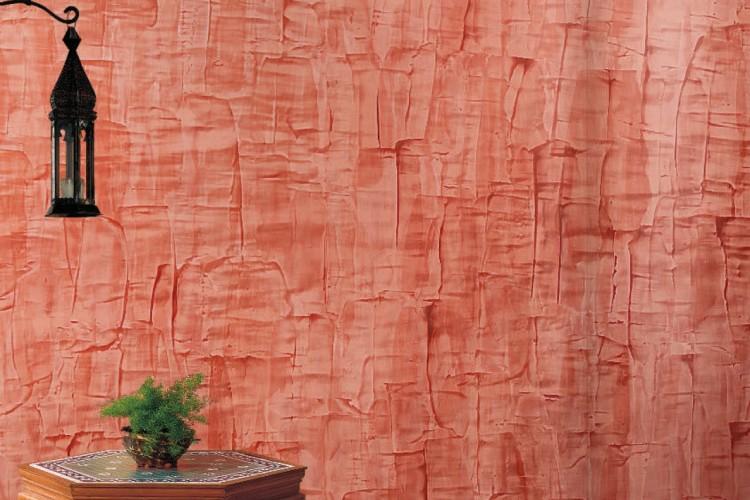
Decorative plaster is very beautiful, much more convenient than wallpaper, and also hides the imperfections of the walls. It is easy to work with it even for complete beginners in the construction business. You can also cook it yourself! We learned the 8 best ways to make decorative plaster with your own hands!
1. Decorative plaster with PVA glue
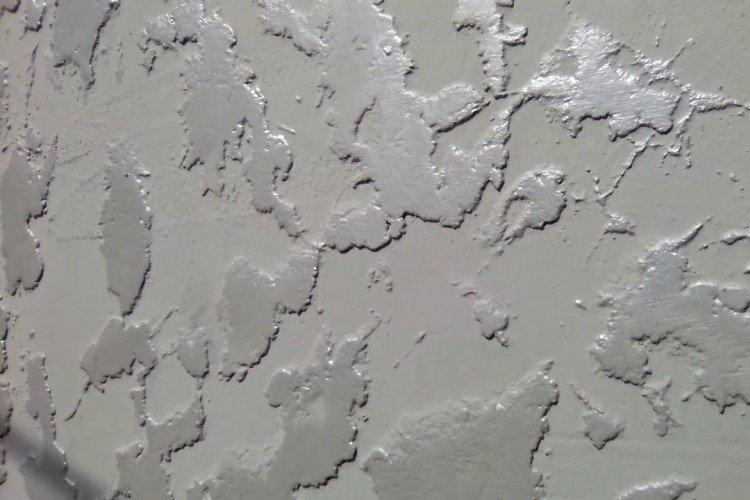
By the way, PVA glue can be replaced with a grout mixture in the same amount - the recipe will not change.
You will need: 6 kg of putty, 2 l of water, 200 ml of PVA.
Preparation and application: Pour dry putty into a large container, dilute with water and mix the mass. Add PVA and mix again until smooth. Use a textured roller with a suitable pattern for application.
2. Decorative plaster with a primer
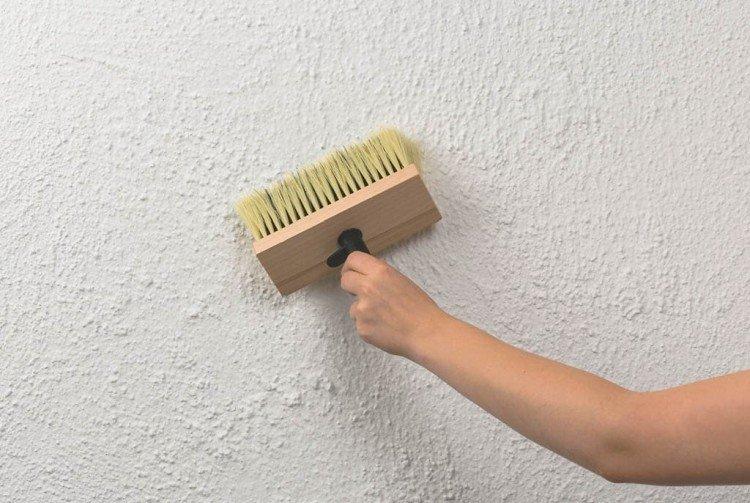
Thanks to the primer, the adhesion of the plaster increases, and it acquires antiseptic and fungicidal properties.
You will need: 6 kg of putty, primer, 200 g of grout.
Preparation and application: Mix a homogeneous mass of dry putty with a primer until it acquires the consistency of thick sour cream. Use only white primer and add a little trowel at the end. Apply with brushes, roller or embossed trowel.
3. Decorative plaster of plaster
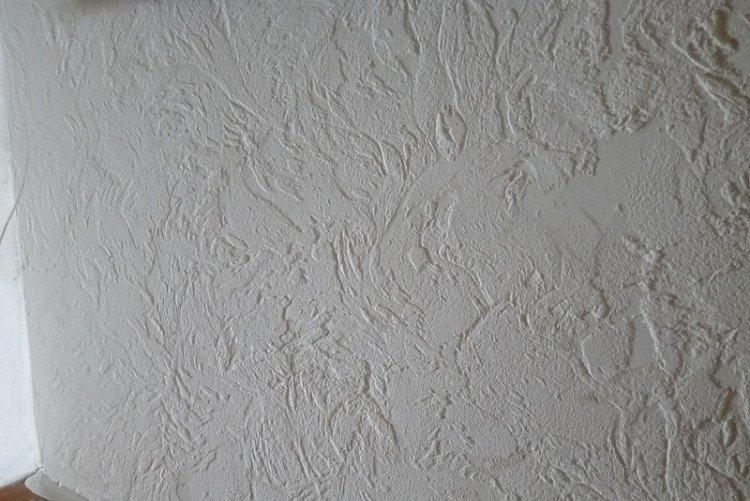
A very simple and common variant with good adhesion and high coverage.
You will need: 6 kg of gypsum mixture, 2 l of water, 200 ml of PVA, color.
Preparation and application: Mix gypsum with room temperature water and add PVA. In this case, the glue provides a comfortable consistency and acts as an additional binder. At the end, you can touch up the decorative plaster with a color scheme.
4. Decorative plaster with marble chips
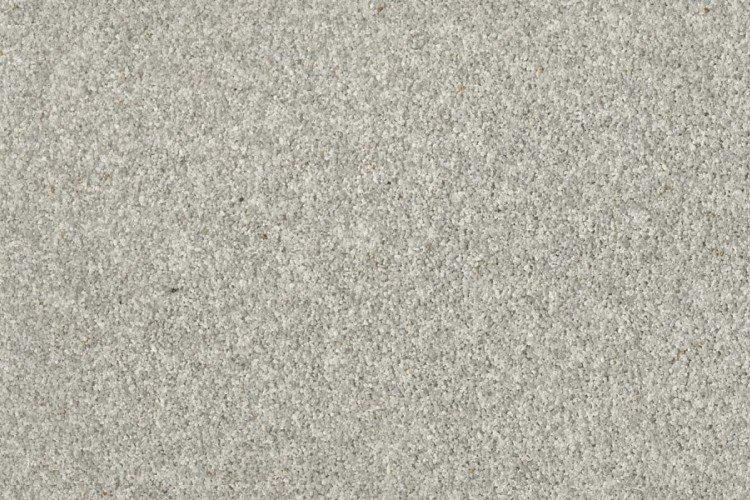
It turns out a very beautiful surface with a pronounced texture, reminiscent of a bark beetle.
You will need: 4 kg of finishing putty, 1 kg of stone chips, water.
Preparation and application: Mix dry putty with marble chips and dilute with water at room temperature. The mass should be homogeneous and viscous. Then it can be tinted and applied with an ordinary spatula.
5. Metallized decorative plaster
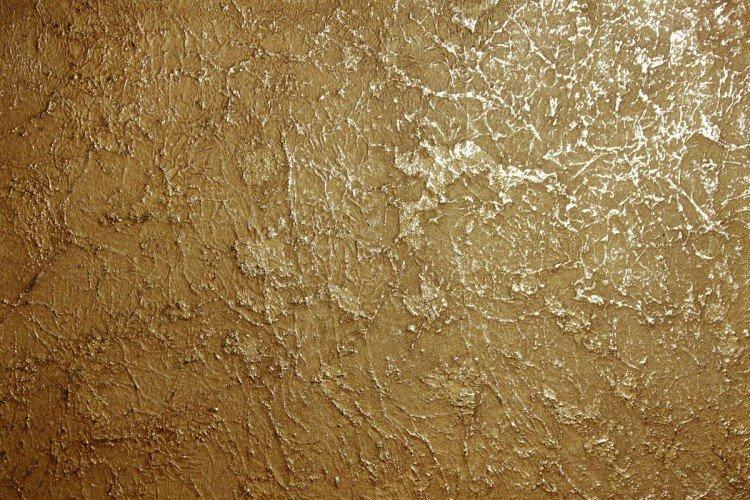
The coating shines and shines with metallic when light is refracted.
You will need: 2 kg of finishing and starting putty, 2 kg of aluminum powder, 2 kg of acrylic paint, color scheme, water.
Preparation and application: Mix equal proportions of putty and paint and dilute with water to an even consistency. Let the mixture brew for 5-7 minutes, mix again and add aluminum powder with color scheme. Apply the plaster with a roller or trowel.
6. Imitation from putty
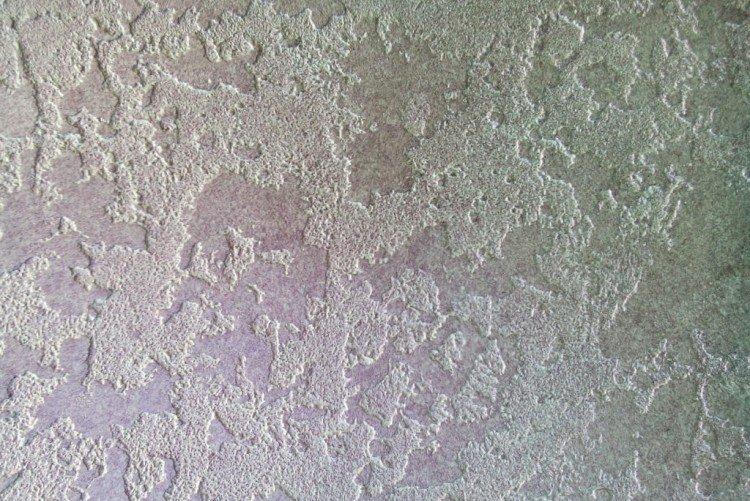
It is not necessary to prepare a special mixture if you need a textured surface. It can also be imitated from ordinary materials.
You will need: Finished acrylic putty, colorless water-dispersion acrylic varnish, glue for non-woven wallpaper, color scheme.
Preparation and application: With a spatula, apply a 2 mm layer of putty and texture it with a trowel until it dries. After 15 minutes, lightly smooth the surface, and after 10 hours, go over it with fine-grained sandpaper. Knead the glue for non-woven wallpaper with color scheme and apply to the wall moistened with a sponge with a spatula and trowel, and after drying, cover with varnish.
7. Imitation tile adhesive
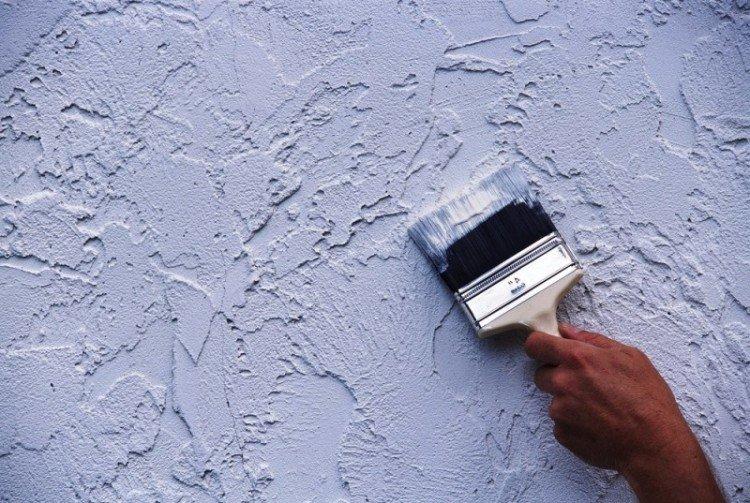
The coating will be more textured and deliberately rough - as if it was created for a loft.
You will need: Tile adhesive, varnish, trowel, enamel or paint.
Preparation and application: Apply a layer of adhesive 5 mm thick and work with a trowel in successive circular strokes. You can use a hard, wide brush to create the texture. When the surface dries up, lightly rub it with fine sandpaper, prime and cover with paint or enamel on top, and then varnish.
8. Imitation with marble texture
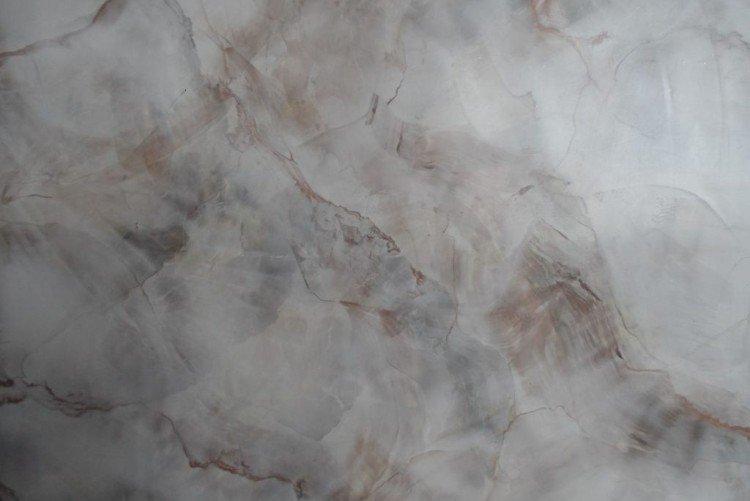
This technique allows you to imitate expensive Venetian plaster, but 2-3 times cheaper.
You will need: Acrylic putty, grinder with sandpaper, spatula.
Preparation and application: To make the veins, apply white and black putty to the wall pointwise and mix them with a spatula in smooth transitions. It is better to put images of real marble in front of you in order to understand what result is needed. You can overlap the white and black layers until you get it right.
Dry the filler and sand lightly with fine sandpaper to smooth out rough streaks and transitions. Correct fine streaks with a narrow spatula. Polish the wall with a grinder with a circle of 1200-1500, and then cover with a special wax.

