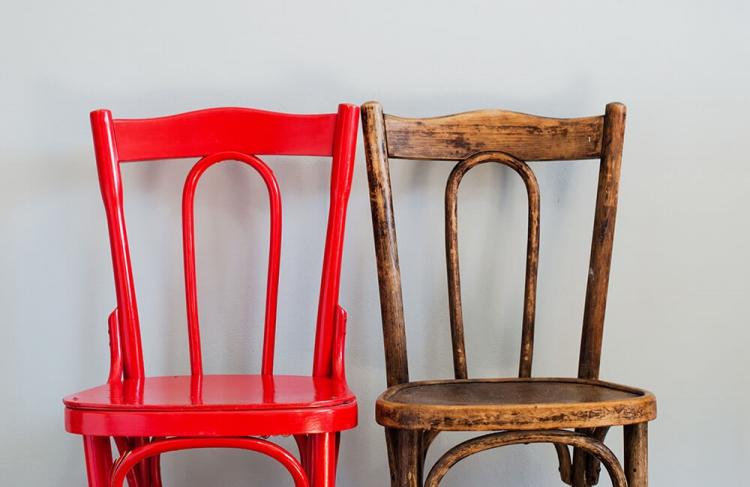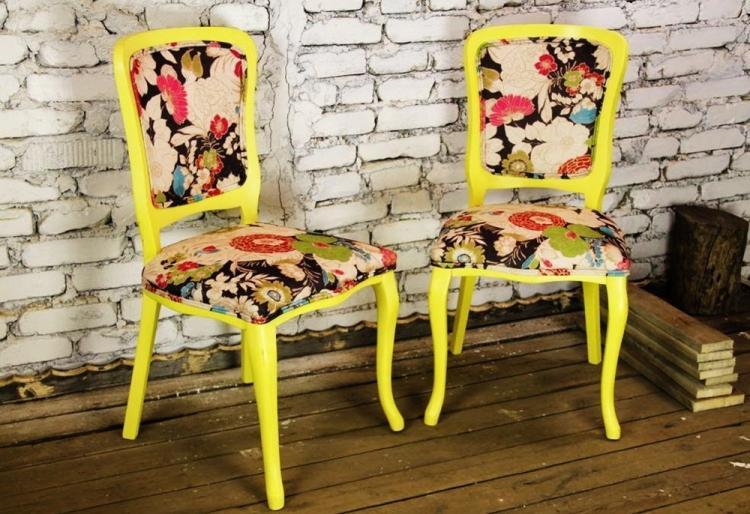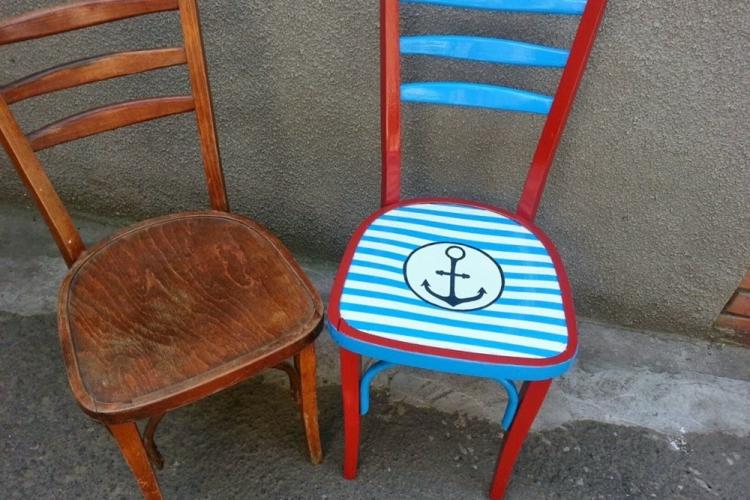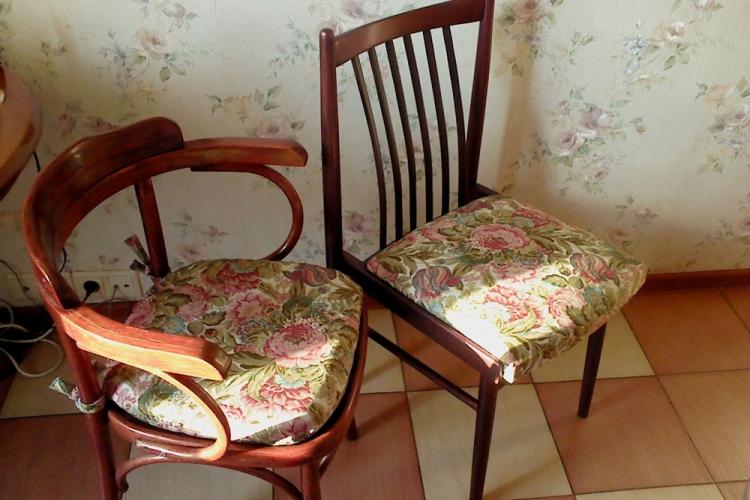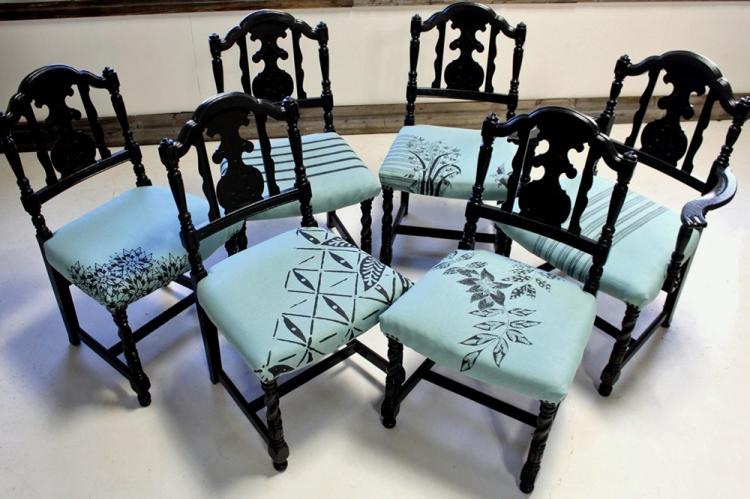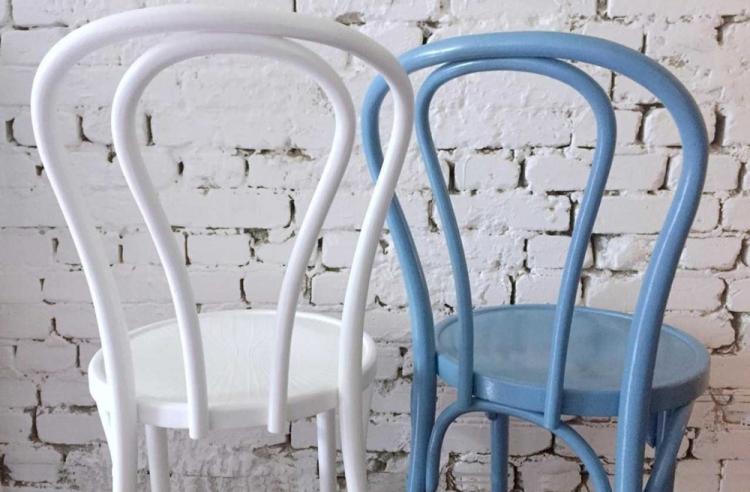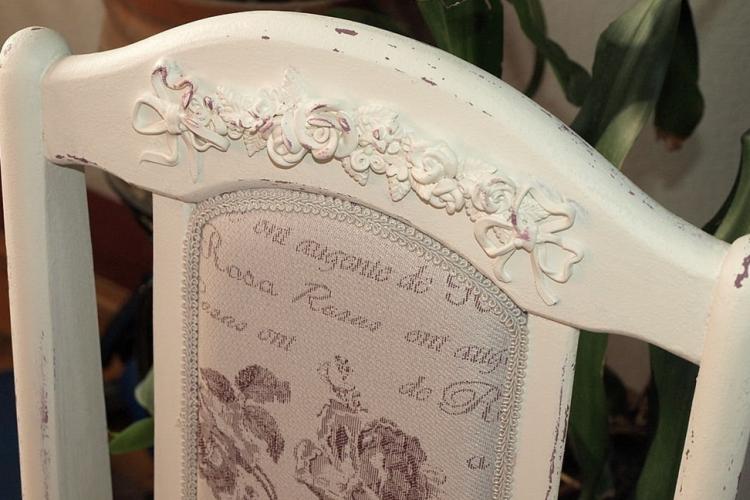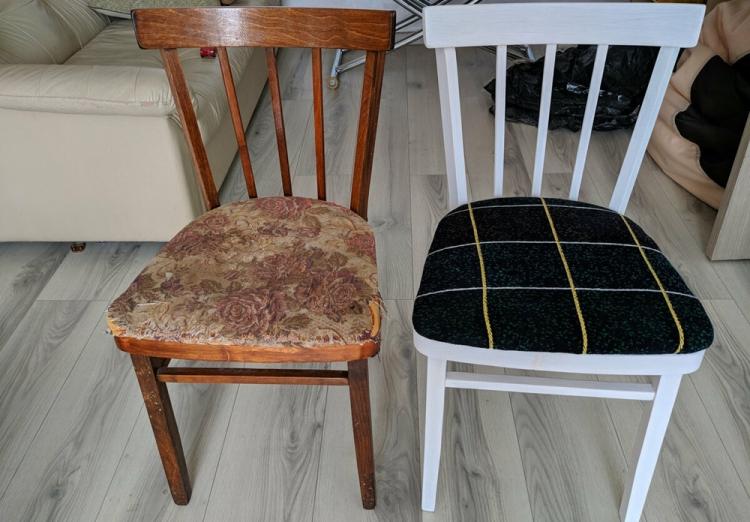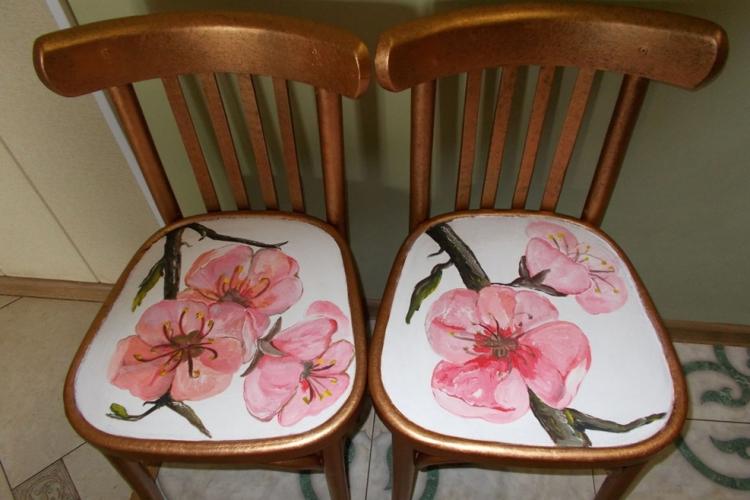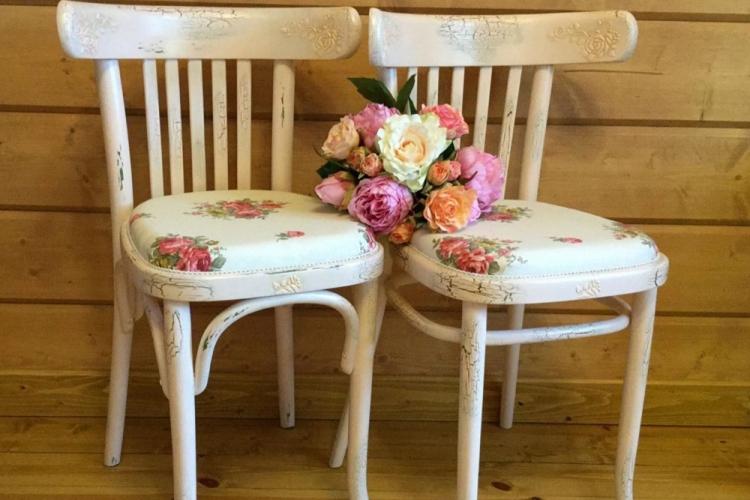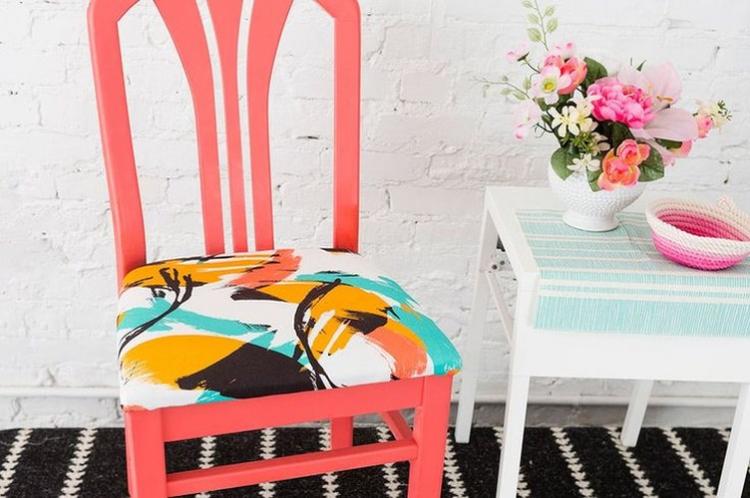
Is it high time to update your old favorite chairs, which have completely lost their presentable look? Don't rush to throw them in a landfill! Simple tools and a few hours of time will help to change even the most shabby furniture beyond recognition. In addition, this is a good saving, because the new kit will cost a lot!
1. Scuffs and brushing
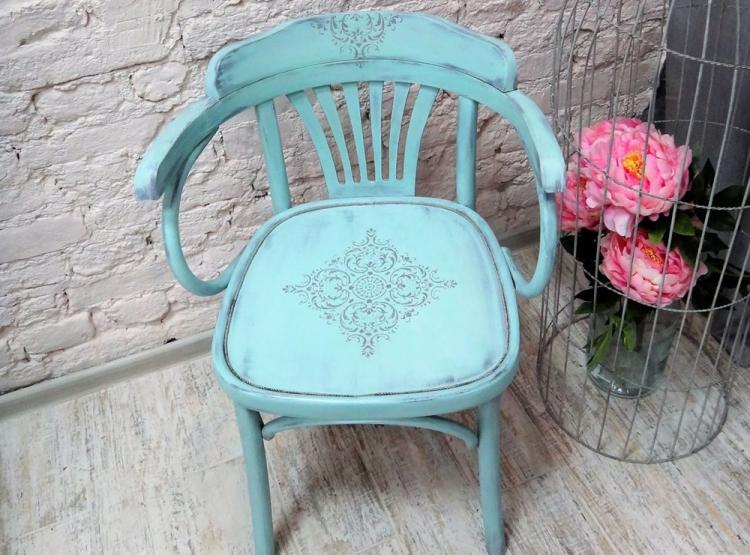
The easiest way to make shabby furniture look stylish and effective is to age it even further. Such chairs will complement classic interiors, Provence, boho, shabby chic, Scandinavian interiors and even a loft. The fashion for retro and antiques regularly returns with short interruptions.
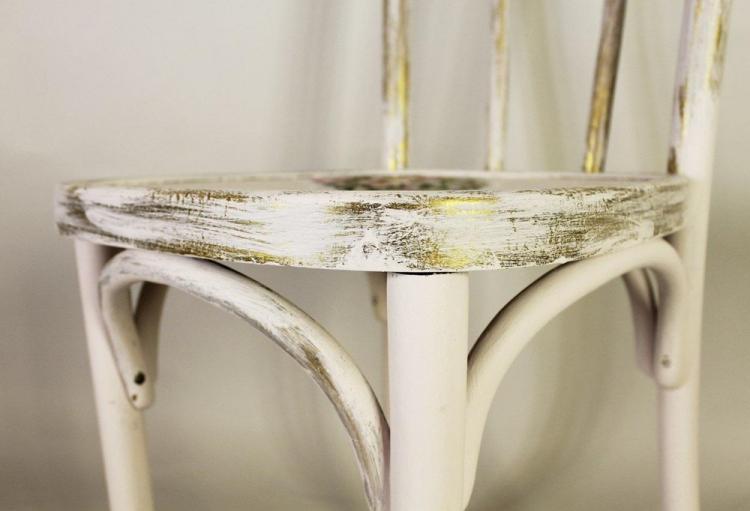
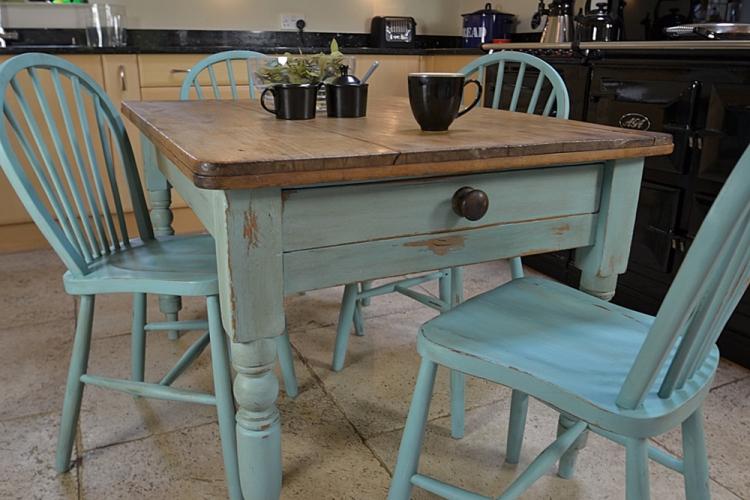
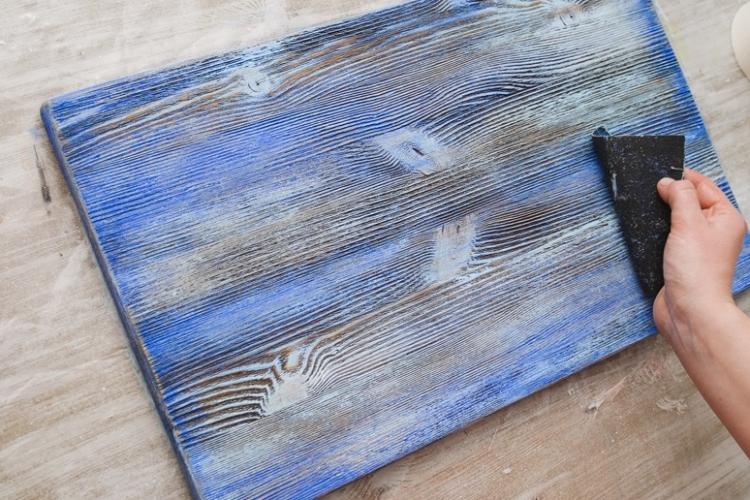
To create the usual decorative scuffs, first paint the chair with a colored paint: bright or pastel, to match your interior. After drying, treat the surface tightly with wax or paraffin and cover it with another layer of paint of a different color on top. When you start peeling off the wax with sandpaper, the bottom layer will start to show through.
The technique for creating real mechanical scuffs on wood furniture is called brushing. First, choose and mark the places where they will look as natural as possible - corners, edges, the edge of the seat, protruding reliefs. Work the surface with a stiff metal brush that will remove old paintwork and soft wood fibers.
2. Glazing
Glazing is an interesting dyeing technology that works well for old furniture made of different materials. The bottom layer of paint shines through through the translucent top layer, which results in an interesting play of colors and overflows.
In your work, you can use acrylic, oil, watercolor and any other dyes, up to coffee or strong tea. Dilute them with water to the desired consistency and paint over the stool with a synthetic brush or sponge. You do not need a uniform, dense coating, as the essence of glazing is just the opposite.
3. Staining
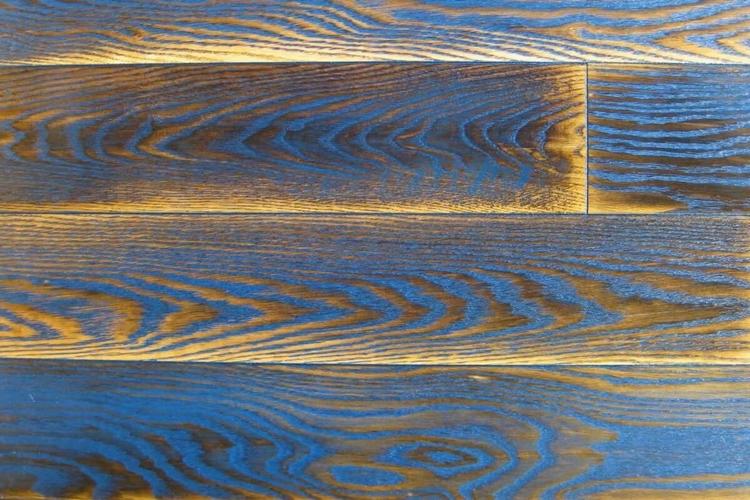
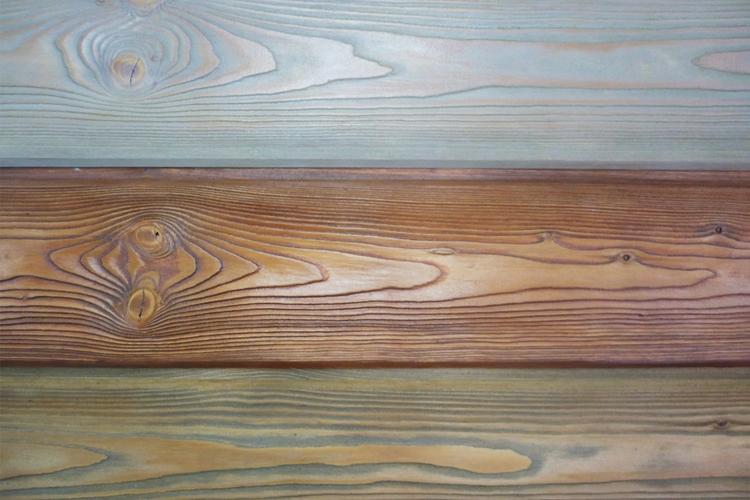
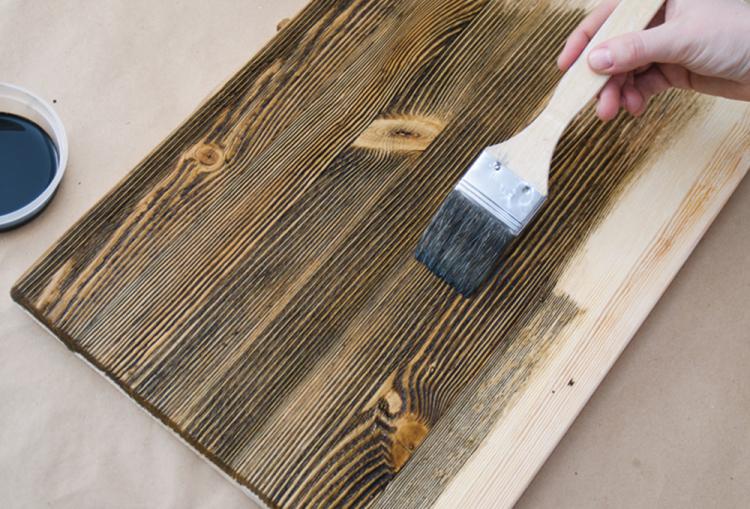
The staining technology is suitable only for massive wooden chairs, where it will help to completely beat the natural texture. Choose the right stain shade and apply it parallel to the grain. From dense and hard, the paint will be erased by itself, and soft and delicate ones absorb it completely and darken. The tree drawing becomes even more expressive, especially if you repeat the procedure several times.
4. Patination
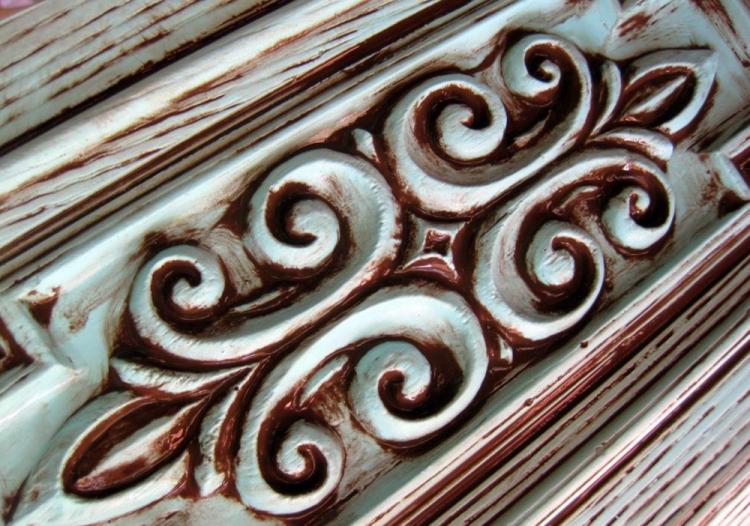
For metal or wrought-iron chairs with backs, try patinating, which gives the metal a characteristic antiquity touch. A special bitumen varnish fills in all the recesses and surface relief and emphasizes them. Shelachy gives a touch of copper, old bronze or gold, and it is also suitable for wooden chairs.
Acrylic patina is the simplest staining with the right shade. The wax patina gives the surface a characteristic satin sheen. The chemical patina looks the most natural, but the hardest to work with. In fact, it simply accelerates the natural oxidation processes tens of times.
5. Craquelure
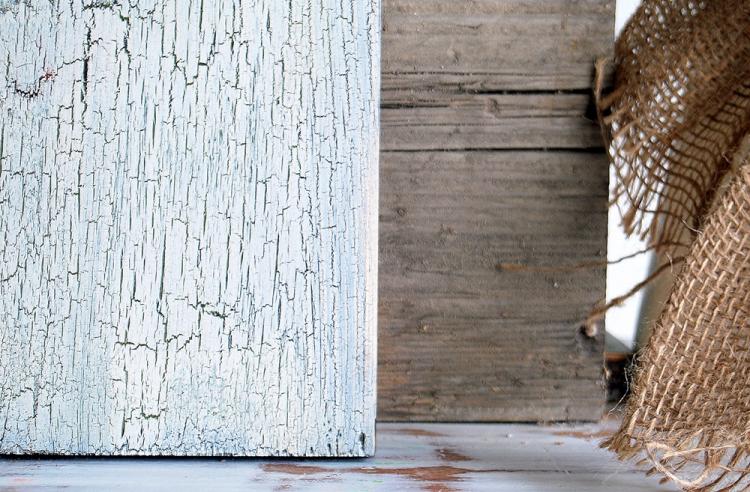
Complex staining with a network of cracks on the surface is called craquelure. Thus, you can transform chairs, refrigerators, radiators, any other old furniture and equipment. All you need is special paint and varnish.
First, the surface of the chairs is painted or pigmented with a dark color, and the top is covered with light or colored paint. When both layers are dry, apply a crackle varnish on top, under which the top layer will crack. This is a two-step craquelure, but there is also a one-step one, when the base itself appears in the cracks, and not the bottom layer of paint.
6. Spraying
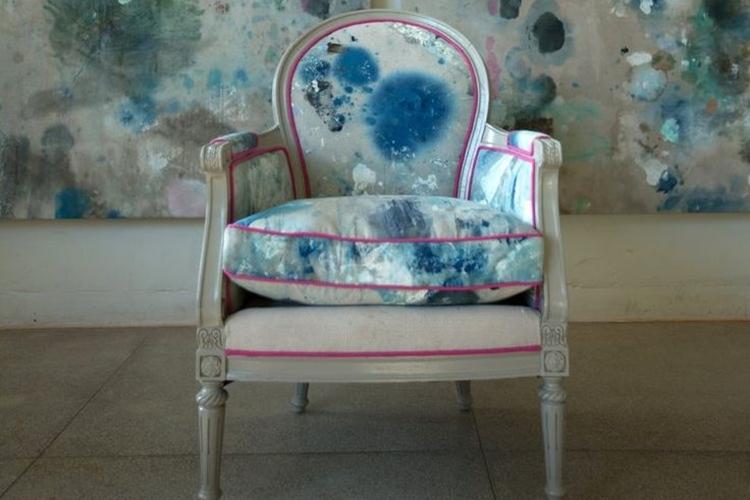
Another way to paint old chairs in an unusual way is with an abstract splatter of colored paint.This is good for vibrant creative interiors like pop art, loft or grunge. Such furniture looks as if it has just been brought from an art workshop.
There are different spraying technologies: you can shake off a brush, soak with a sponge, paint with a toothbrush, knock drops off a spatula. There are no mistakes, because this is such a coloring - a chaotic abstraction. Just take care in advance to cover the furniture, floor and surrounding objects with oilcloth and newspapers.
7. Dry brush
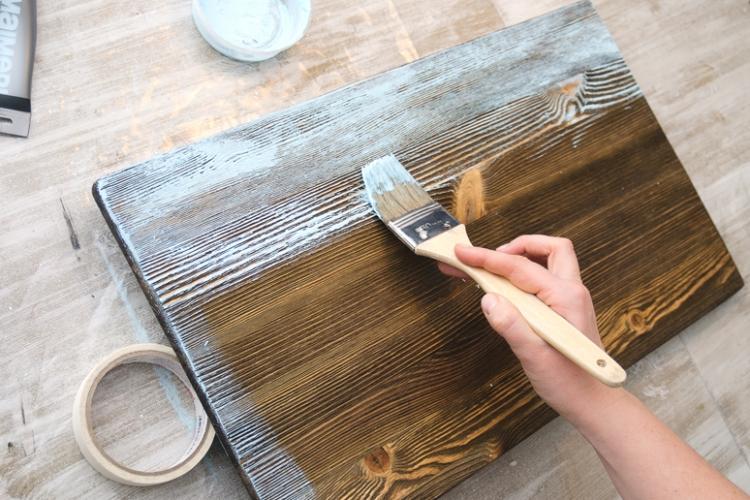
Dry brush technology is an intermediate step between scuffing and random staining. The method came from painting and is now actively used by restorers. All you need is a flat synthetic brush and paints.
Do not urinate the brush before work, but immediately pick up some paint and rub over the base. Don't press too hard - you don't need dense coverage and solid lines. Synthetic hairs will leave torn streaks, making the paint look like it is scratched.
8. Stencils
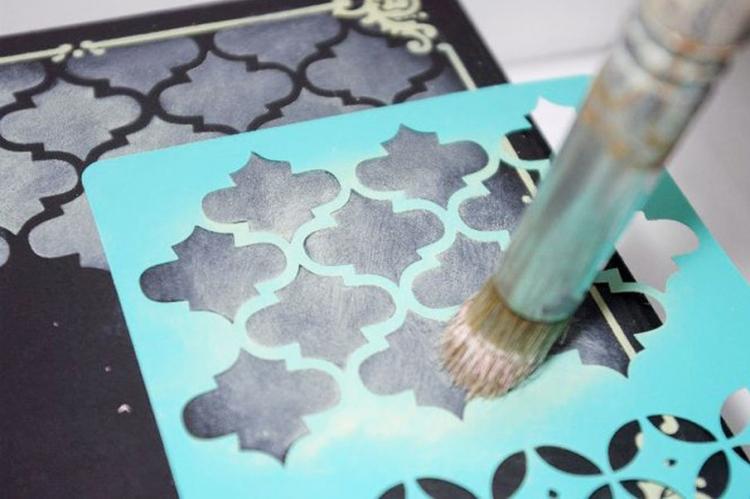
If you don't know how to draw, but want to decorate an old chair with beautiful images, use stencils. Buy ready-made art kits from the store or print and cut them yourself. Laconic geometry is good in minimalism and Scandinavian style, floral and plant motifs - in Provence, bright cartoon characters - in the children's room.
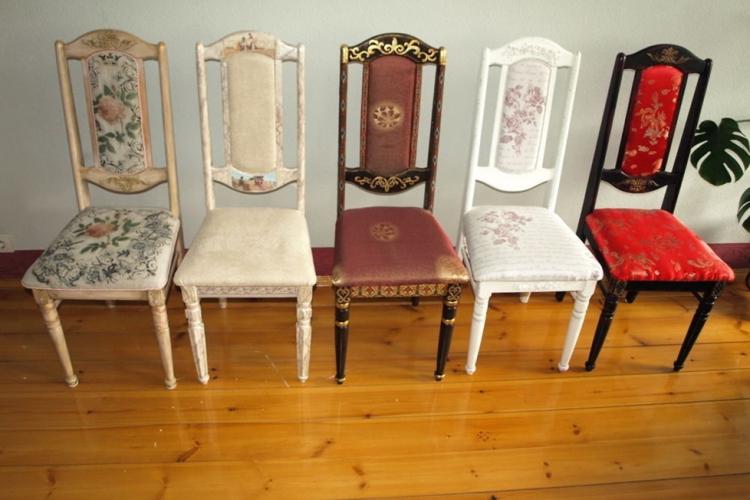
9. Restoration
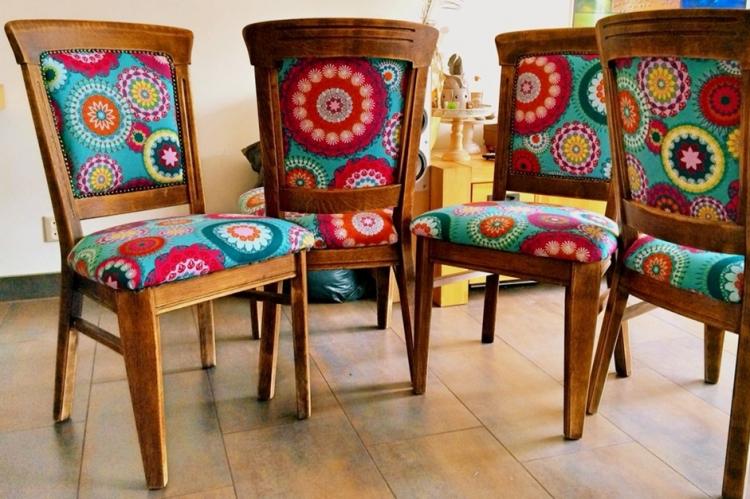
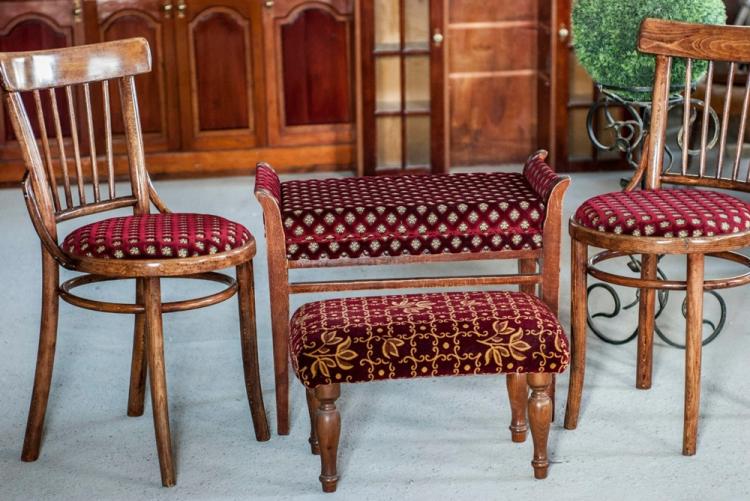
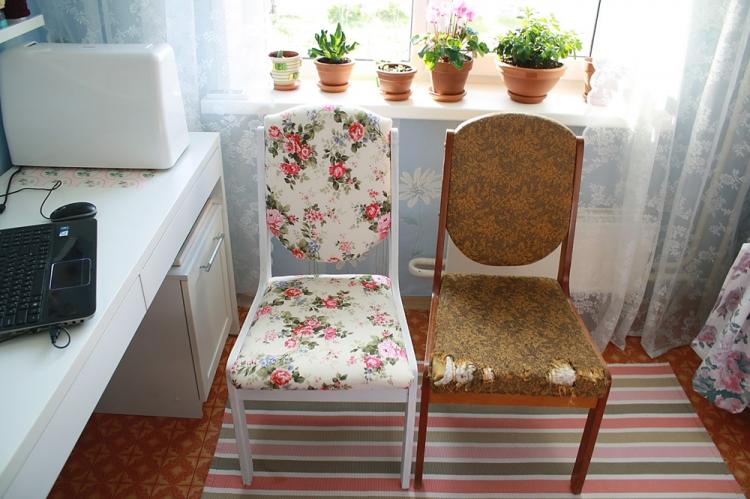
If you want to restore the old look of the chair and replace the worn upholstery, no big deal. First, clean the surface from the old coating and treat it with a transparent or tinted compound. Loose bolts can be easily reinforced with an additional washer, rusted fasteners can be completely replaced, and weak grooves can be filled with universal glue.
To completely replace the seat, cut a piece of new plywood to size and shape. Paste it over with a sheet of foam rubber 3-4 cm thick and cover it with an upholstery fabric. Secure the entire structure with a glue gun or a stapler with furniture staples.
If you come across antique chairs with springs, finding the same one now is not an easy task. But you can completely remove the rusty and inelastic parts and replace them with other modern fillers. It is recommended to do the same with horsehair and sea salt, which were used for the volume of seats in the old days.
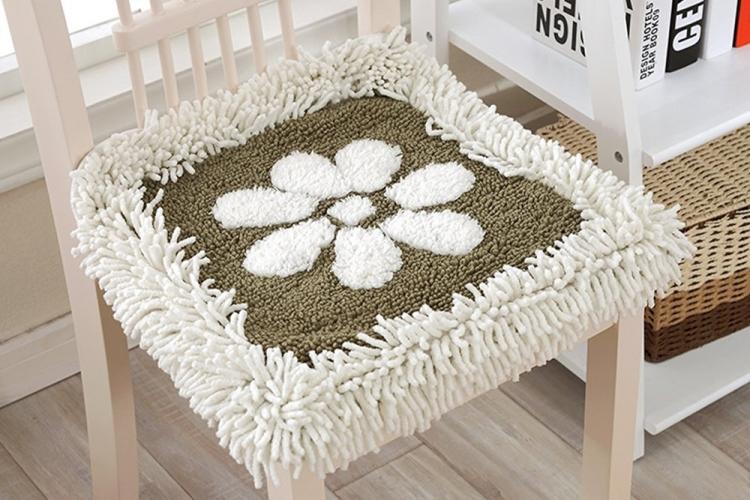
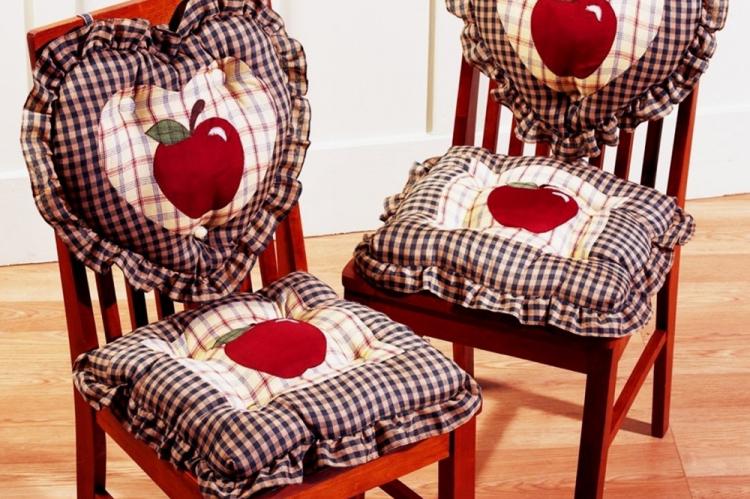
10. Decorative pillows
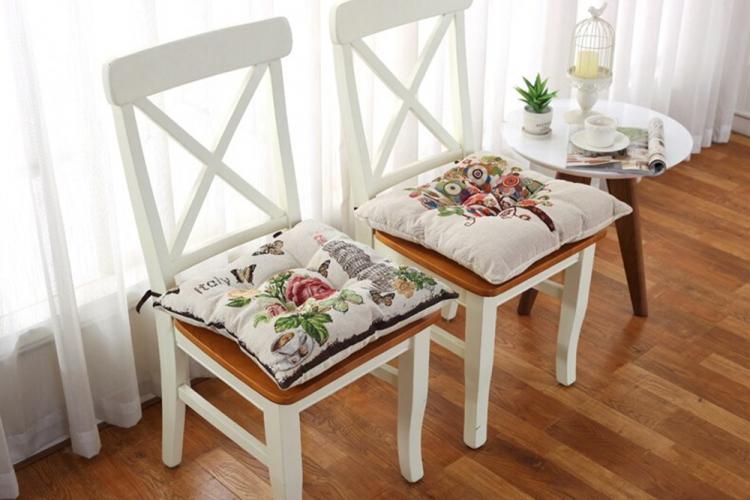
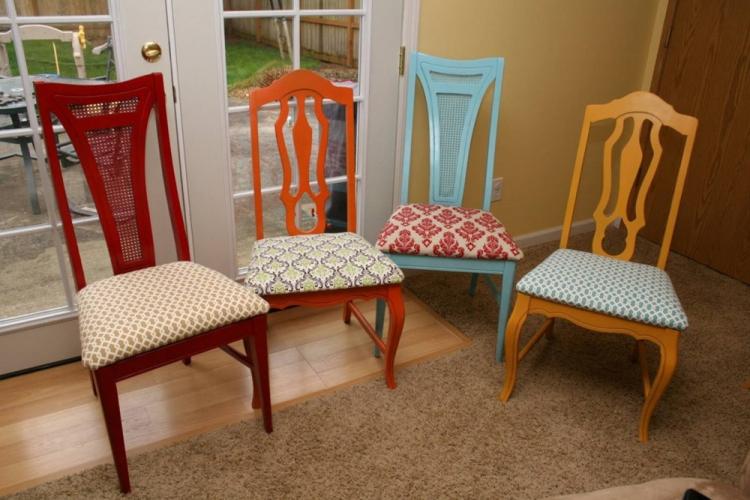
If your chairs and stools initially did not have soft seats, you can always make them yourself. The mechanism is the same: cut out a suitable frame from plywood or MDF, with foam rubber, sheathe it with a cloth and screw it onto the screws to the chair frame.
There is another option - to sew a separate decorative pillow from padding polyester and any other filler. And in order not to screw it to the base - make strings and tie them around the legs and back. Such a pillow can always be removed, washed and replaced without disassembling the entire structure.
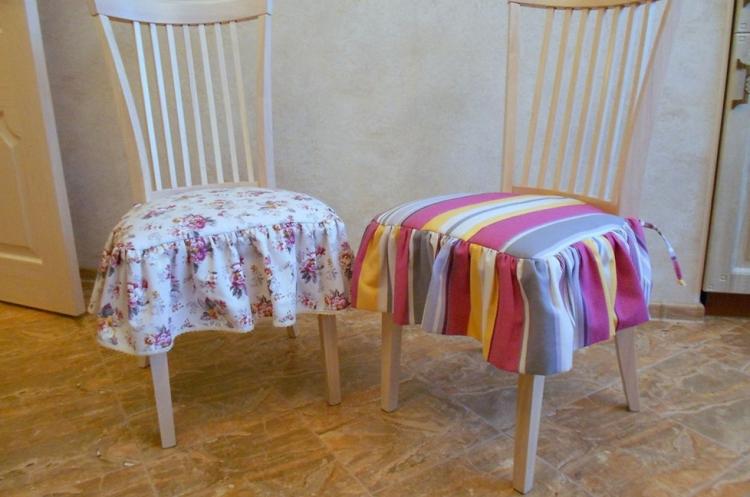
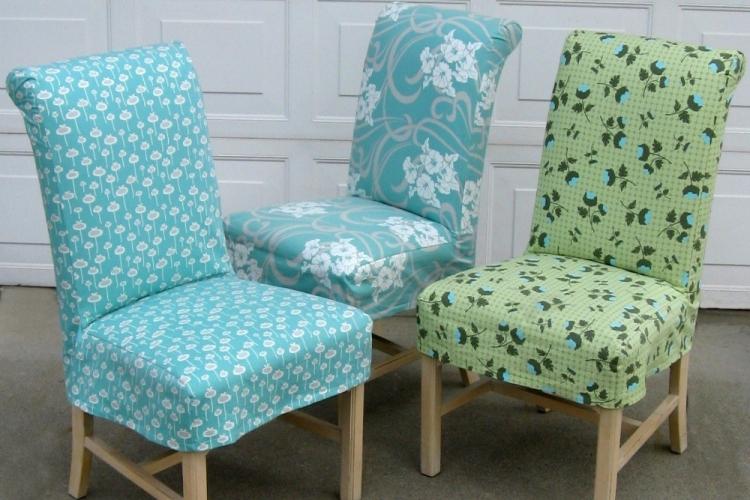
11. Chair covers
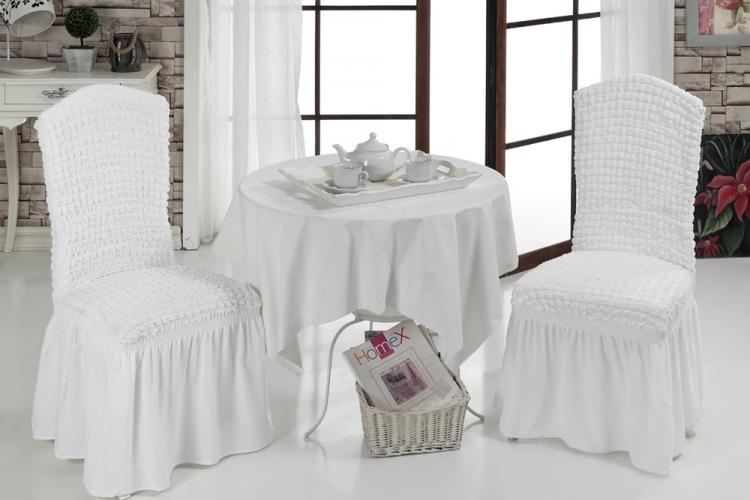
If you want to completely hide or transform an old chair, cover it with a cover to fit. For sewing, choose dense and durable fabrics that are unpretentious to regular cleanings. For example, jacquard or other variations of sofa upholstery.
Delicate linen, lace or airy translucent covers also look good. They will ideally complement Provence or shabby chic and will decorate the room for the holiday, but are of little use for everyday use. You will have to remove and wash delicate fabrics too often.
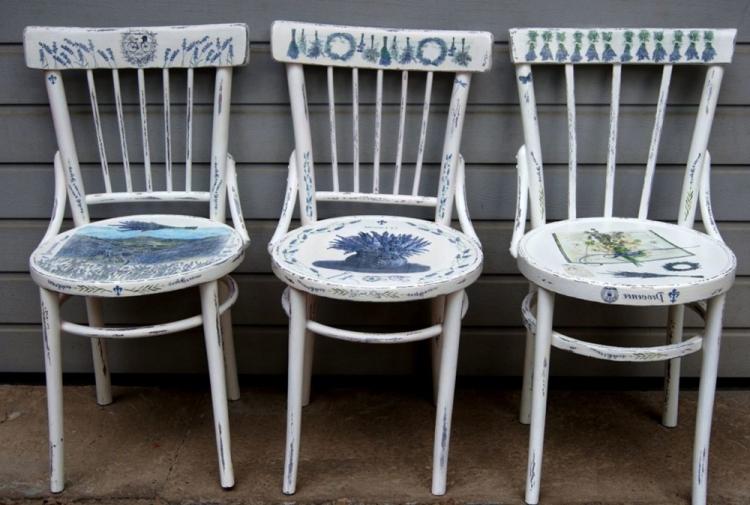
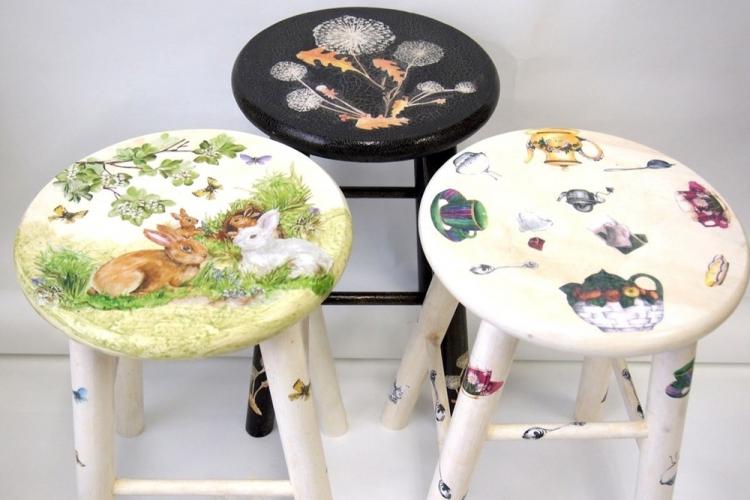
12. Decoupage
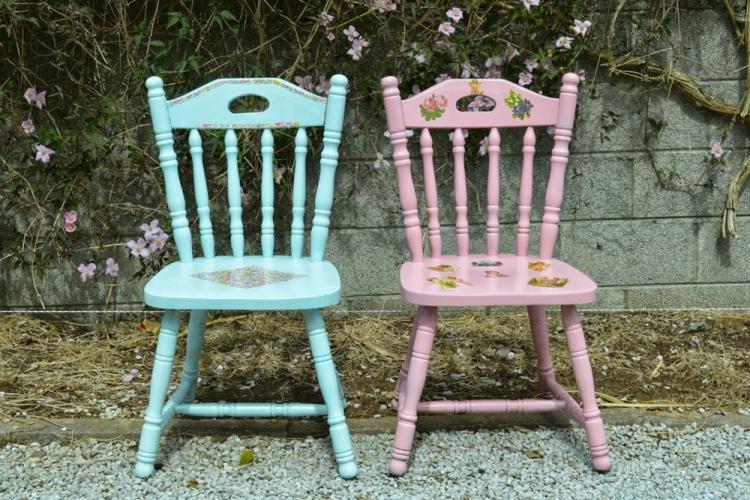
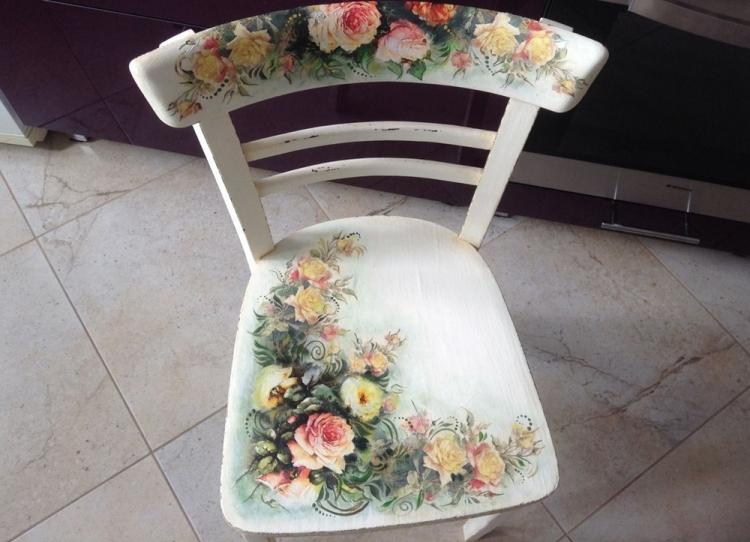
Decoupage is an easy way to cover the entire chair with your favorite designs or to mask individual cracks and defects. You will need paper with the selected print, brushes and PVA glue, scissors, water, a roller and acrylic or polyurethane varnish for the topcoat.
Wrapping paper, cards, posters, old wallpaper, newspaper and magazine clippings, multilayer napkins are suitable for decoupage. Cut out the desired fragments from them and separate the top layer with the pattern.If you want to glue the entire chair over, it is better to randomly chop the drawings into small pieces and create an interesting papier-mâché effect.
Process the sanded and painted surface with PVA glue, attach the drawing and smooth it with a roller or brush. You shouldn't have any bumps, wrinkles or air bubbles. Pre-moisten thick paper slightly with water to soften it for ease of image translation.
By the same principle, you can paste over the entire chair with a cloth or dissimilar patches. Such furniture will complement eclectic and ethnic interiors, boho and other styles with an abundance of hand-made. It is enough to apply a layer of matte or glossy protective varnish on top.
13. Self-adhesive film
In order not to fiddle with PVA glue and brushes, explore the range of self-adhesive decorative films. It can be simple patterns, photo printing, textured coatings. There are collections with sparkles, luminous elements, mirror effect.
To mark up the film, you still need to disassemble the chair and first draw some kind of patterns. But this is the most difficult stage of preparation. Therefore, it is enough just to carefully and evenly paste over the chair, immediately expelling all air bubbles and straightening the folds.
Decor of old chairs - photo ideas
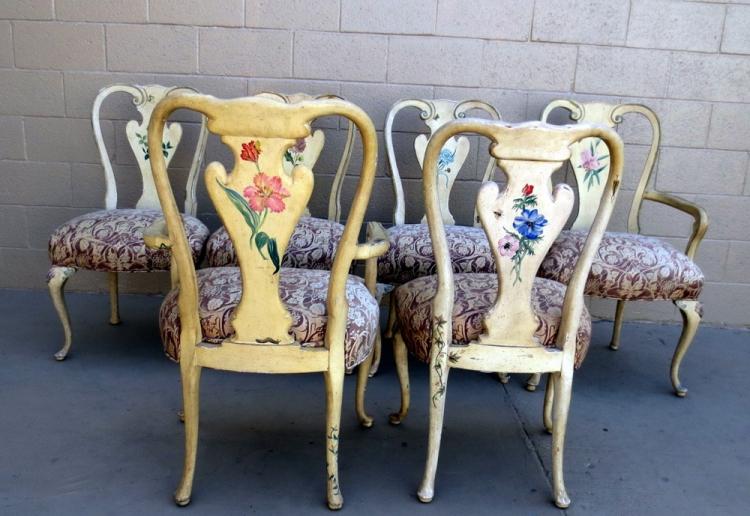
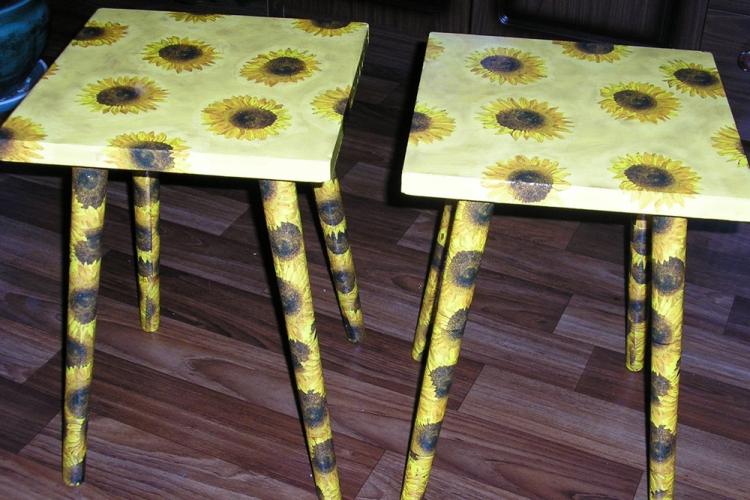
It is impossible to enumerate all the methods of restoring old chairs in one material. After all, you are not limited by anything except your own imagination. You can even combine several techniques in one or arrange a set of chairs in different ways, but keep their shape and configuration. Then they will become an independent interior decoration: look and be inspired!
