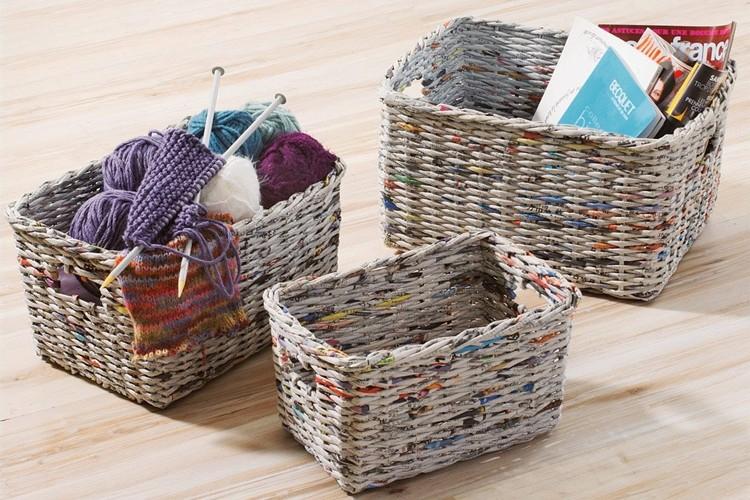
Weaving from newspaper tubes is an unusual alternative to the classic weaving from a vine. For such needlework, expensive consumables and special skills are not needed. If you have accumulated an impressive stack of old newspapers or magazines - feel free to start creating! We share simple and step-by-step master classes for beginners!
1. How to twist newspaper tubes
Let's start with the first and most important thing - twisting the newspaper tubes themselves. Fold the newspaper in half and cut it into four separate pieces. The width of a standard newspaper is already ideal for folding tubes of optimal length and thickness.
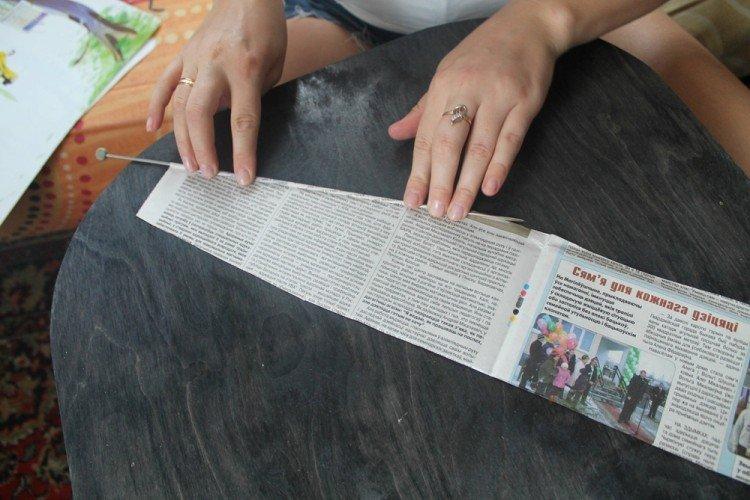
For work, take long thin knitting needles of different diameters: for example - 2 and 3 mm for thin and thick tubes, respectively. Dilute PVA glue in advance with water in a ratio of 3: 1 or in any other ratio convenient for you - be guided by the consistency in the process of work.
Take one sheet, unfold it with the fold up, place the knitting needle on top slightly diagonally and wrap it with a corner. Roll the paper tightly until you reach the opposite edge. Lubricate the corner with PVA glue, wrap the tube tightly to the end, pull out the knitting needle and leave to dry. To make the finished tubes bend better when weaving, moisten them with water.
2. Rectangular tube bottom
Any basket, stand or box starts from a solid bottom, so first we'll figure out how to make it. And at the same time, you will master the basic weaving technique, which will be useful in the future. To make it more convenient at first, make a blank with markings according to the size of the bottom and add a centimeter along the edges.
Lay the tubes vertically along the marking lines, and place two at the edges - they will come in handy later. If you have a large bottom, you can increase the number and thickness of the parts. To prevent anything from shifting during work, secure everything with masking tape.
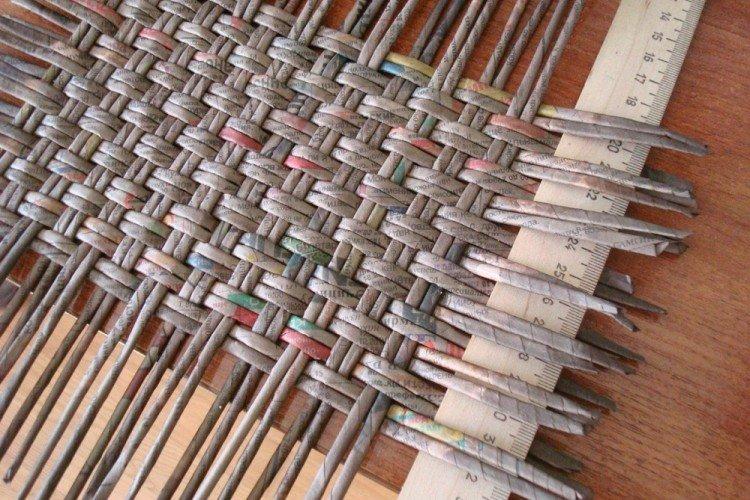
Along the horizontal markings just below the line, begin to weave a horizontal tube. Weave each next tube in a checkerboard pattern, like darning - this is chintz weaving. Make sure that the very first part is even, because at first they move easily.
So that the protruding edges for the walls remain only along the markings, the bulk of the whip is in one long tube, wrapping it with a snake. When it is over, build up, carefully threading one into the other on the PVA. You can carefully trim all the extra edges and drip a little glue for reliability.
When you finish the bottom, braid the entire rectangle with a kind of pigtail up and down. In fact, this is the same weaving, but in a different plane and perspective. On the second circle, form corners with vertical posts - for this, the side tubes must be doubled.
3. Round box with a lid
Cut two circles out of thick cardboard, coat them with glue and paste over them with newspaper or any other beautiful paper. To neatly wrap the edges in a circle, cut along the edges. If you wish, you can immediately paint and dry the workpieces well.
On double-sided tape along the entire diameter, stick up the tube-racks, the number of which must be calculated in advance. Pour everything with glue around the perimeter, put the second bottom part on top and dry it under a press. To start weaving, insert the working tube next to the stand, or connect the two and put on a loop.
Along the perimeter, braid the entire base with two spikelets, pressing tightly. Moisten a little, bend the racks, and on the next lap lift them up. To make the box more interesting, add a second working tube in a different color.
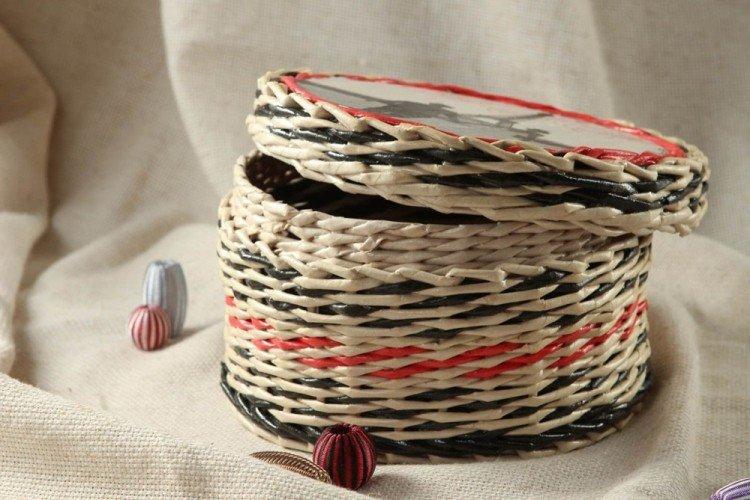
Build up all the details so that these places are hidden on the seamy side. And so that when weaving the box itself keeps its shape, use a blank of a suitable size. You can braid any round box of the same diameter.Weave the last row, bending the racks inward parallel to the bottom as much as possible.
Then carefully fold each post one by one and cut to the same length. Lift them back up and braid them again with two long working tubes, like the sides before. After three rows, cut off all the racks as close to the edge as possible and touch up the tips.
Make a beautiful decorative cover out of cardboard, wrapping paper or napkins. Glue the racks into it in the same way as into the bottom, and use the same principle to weave a small lid. Calculate the number of rows in the process, based on your box.
4. A box of newspaper tubes
To weave a beautiful box, you will need a ready-made square bottom, tubes and wooden skewers to align the corners. Take a shape of the right size, insert it in the middle, and start braiding from the corner post. Use standard chintz or checkerboard weave for two working tubes.
In the process, carefully align and raise all the racks, and so that they do not break, moisten them in advance. To make a right angle, wrap the stand with a loop from the inner working tube and close the outer one - and then continue to weave as usual.
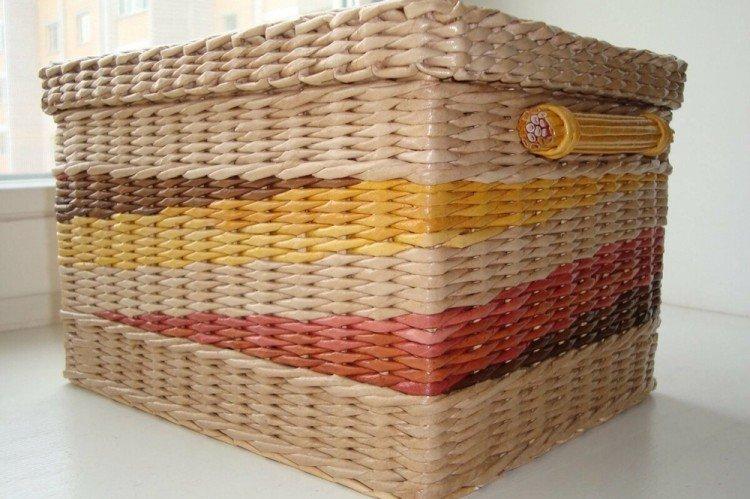
To prevent the structure from deforming, put additional racks with a skewer in the corners. Continue braiding the entire structure around the perimeter until you have the required number of rows. If the racks at the bottom were too short, they can be extended.
To add a string pattern, finish the weave and cut off the previous working tubes. Then insert three new ones behind three adjacent posts from the corner and secure with glue. Start the first tube over two racks behind the third, the second - behind the third free rack from it, and so on.
Carefully hide all ends inward under the pattern, cut and fasten with PVA. Finish the box with ordinary chintz weaving and close the last row with a braid from the racks. Pull up and tighten the row, carefully cut off the ends and coat with glue again.
5. Decorative balls
To make openwork balls for a garland or decor, take colored and pre-painted with acrylic tubes from the newspaper. Spread them out on a flat surface and roll them well with a rolling pin to keep them flat. Do not go to the edges a little to build up the tubes in the process.
To make the balloons the same, make blanks from balloons. Start wrapping the first workpiece with a flat tube and glue the joints with PVA or wood glue. The main thing is to make the base frame even, because the balls can deform in the process.
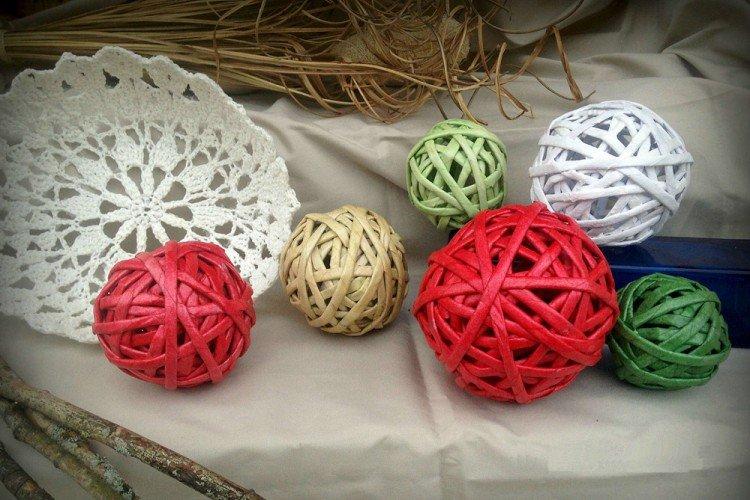
First, make meridians for further winding - like tangerine slices. Then, with the free end, go around the ball in a circle, overlapping all connections and joints. In the process, hide the first tip, and then tuck the last under the other layers.
Do not overuse the number of tubes so that the ball is not too rough and massive. When the blanks are dry, carefully pierce and take out the balloon, adjust the shape and leave them to dry completely. At the end, prime the balls in a bucket with a primer, dry and clean with a dry brush from smudges.

