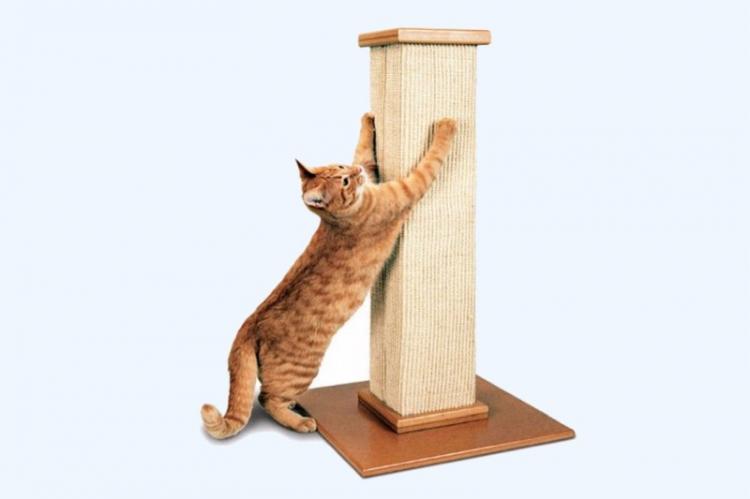
A scratching post for a mustachioed pet is not a whim, but the same necessary thing as a tray and bowls. You don't want to waste months trying to hopelessly wean your cat from tearing up walls and upholstered furniture, do you? It is much easier to prevent a problem beforehand than it is to tediously deal with it. Moreover, you don't even have to buy a scratching post, you can easily make it yourself!
1. Floor scratching post
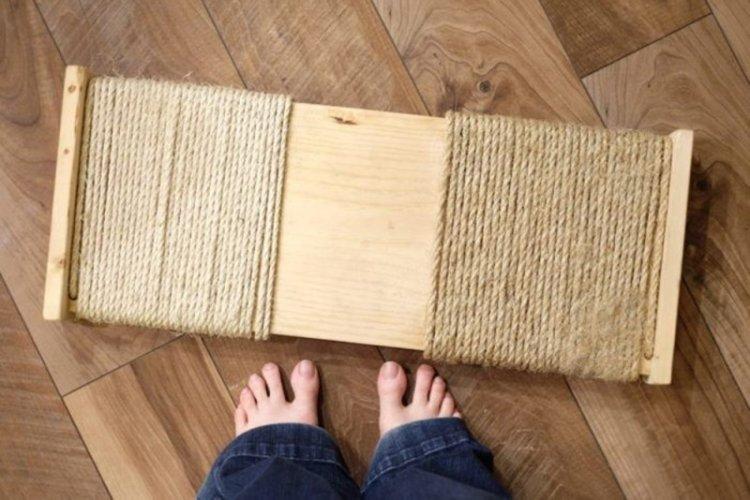
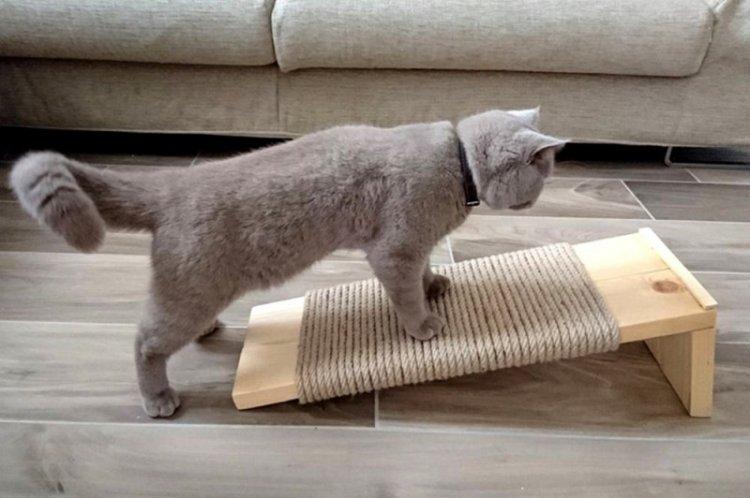
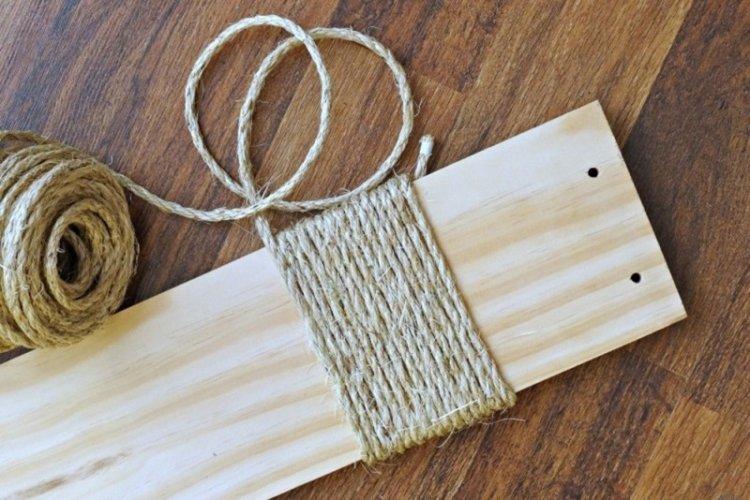
The easiest way is to make the simplest floor scratching post, for which you need a board, two side bars, and a sisal rope. Attach the sidewalls to the main board with self-tapping screws so that you get an impromptu coil and the winding does not fall off. Wrap sisal or twine around the base and attach it with a stapler. The ends can be tied in knots - for this, small holes were drilled on both sides of the frame.
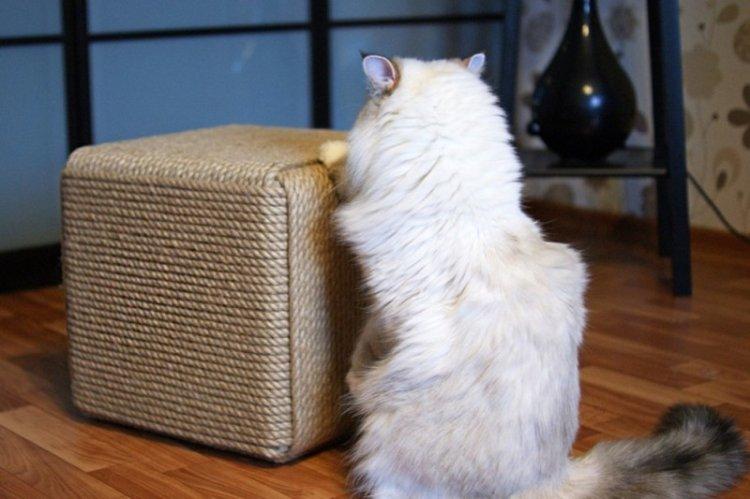
2. Scratching post-pouf
Even in a small apartment there is room for a large scratching post if you combine it with something else. For example, make a pouf with a hinged lid for storing various little things. You will need a regular, sturdy bucket with a lid, which you need to wrap with sisal rope using a glue gun.
3. High scratching post on the rug
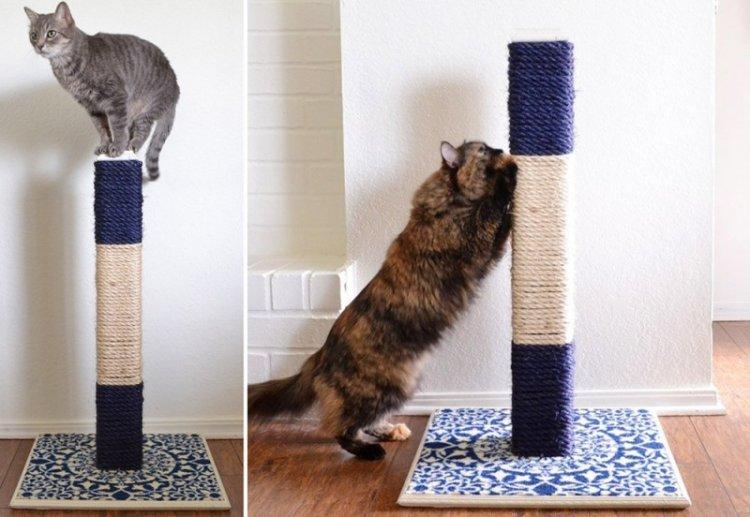
Such a scratching post has several advantages at once - it looks neater, stands stronger, and the cat has more "working" planes. You will need a roll of thick sisal rope and a small piece of carpet. If you want, sisal can be painted to match or even alternate several colors.
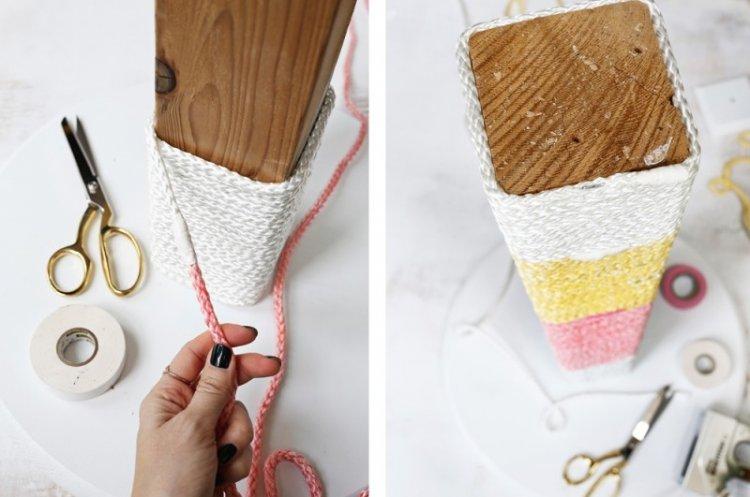
Draw the inside of the rug and mark where the scratching post will be and where it will be attached. Glue the wooden base bar or screw it with self-tapping screws with a wide washer. Glue the edges of the carpet to keep them from unraveling, or cover them with a decorative sill strip. The sisal is attached to the base with an ordinary furniture stapler, but additionally tap each staple with a hammer so that the cat cannot reach them.
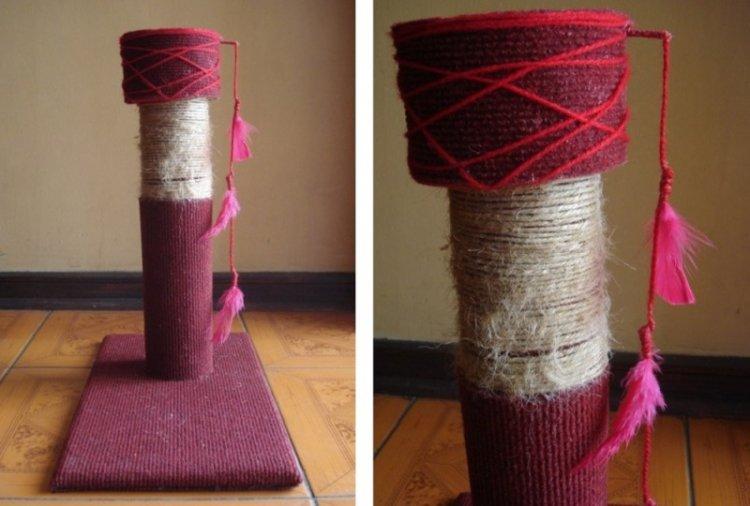
4. Scratching post from cans of chips
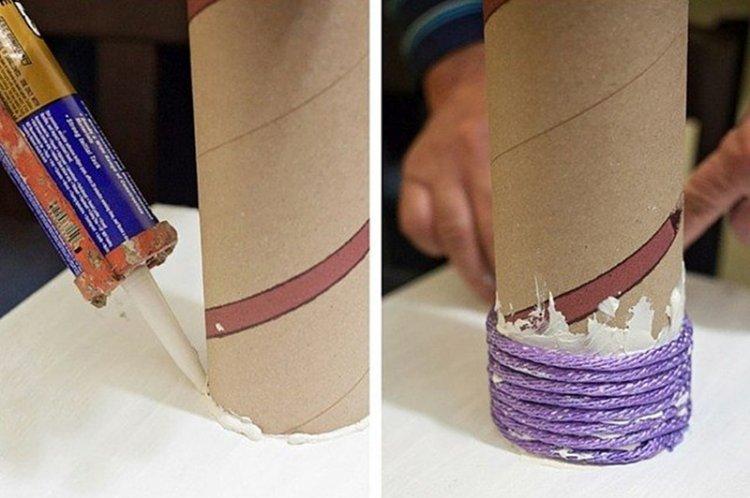
If you have a few tall cans of chips left over, they will replace the wooden block. A piece of plywood or laminate to cover the base with a carpet and press down with a weighting agent until it dries. Wrap the jars with the same carpet and glue them together in a high scratching post. It remains to add decorations and toys, or, for example, wrap one part with twine.
5. Scratching post-vase
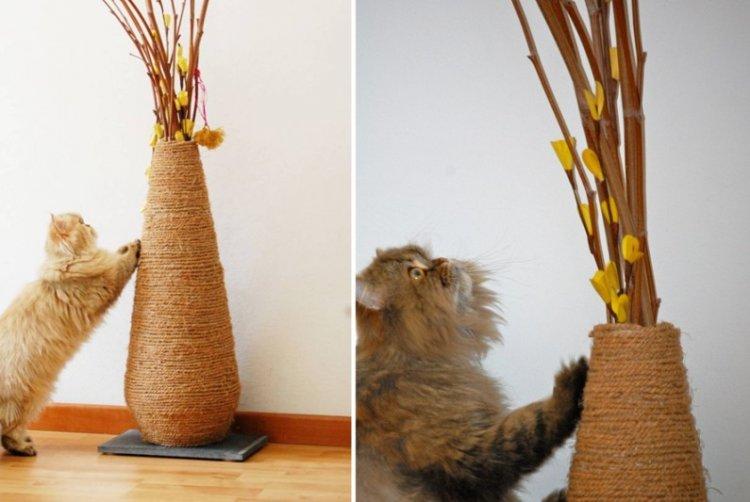
This is a bit extravagant, but very effective and interesting solution, especially if eco-style and natural materials prevail in your interior. The most difficult thing is to pick up a vase that is heavy, weighty and stable enough so that the cat cannot knock it over.
Don't take glass or fragile ceramics, but trendy concrete models will come in handy. For stability, fill it with stones, sand and other weights, and a large slate or porcelain stoneware tile can be glued to the bottom. Wrap the vase with a sisal rope and fasten it to a regular glue gun, and at the end decorate the scratching post with decorative branches or dead wood.
6. Mobile scratching post
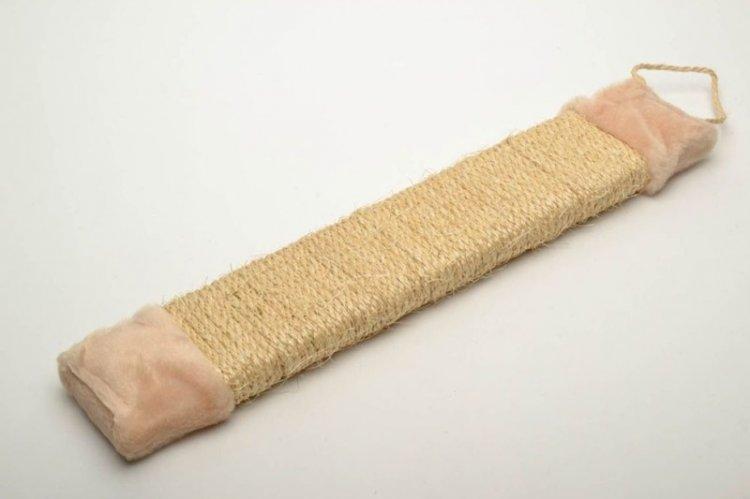
A small portable scratching post for a cat, which you can take with you to the country or on a trip, can be made from one small board. It differs from the floor one only in that you can do without sidewalls, but you will have to make holes for the suspension loop. Such a scratching post can be hung, for example, on a doorknob.
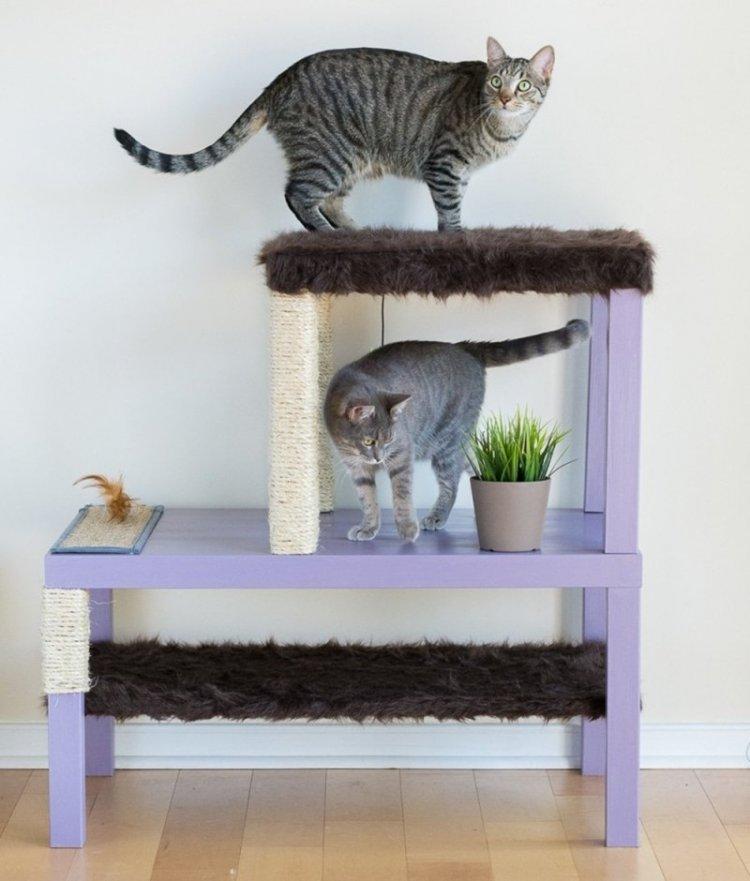
7. Two-level scratching post
If you have an unnecessary stool, bedside table or coffee table, you can make a separate corner of them for several cats at once. If there is no furniture, take two wide, sturdy planks for the base and planks for the legs, sand, paint and varnish. Assemble a two-level structure on self-tapping screws: in fact, you need to put two tables on top of each other.
Horizontal surfaces can easily turn into beds if they are sheathed with fur in advance or covered with a fabric with a foam layer.Excellent scratching posts are obtained from the legs, which need to be wrapped in several places with sisal rope. It remains only to supplement the cat's house with toys, hanging bows and other entertainments for a mustachioed pet.
8. Scratching post from the tire
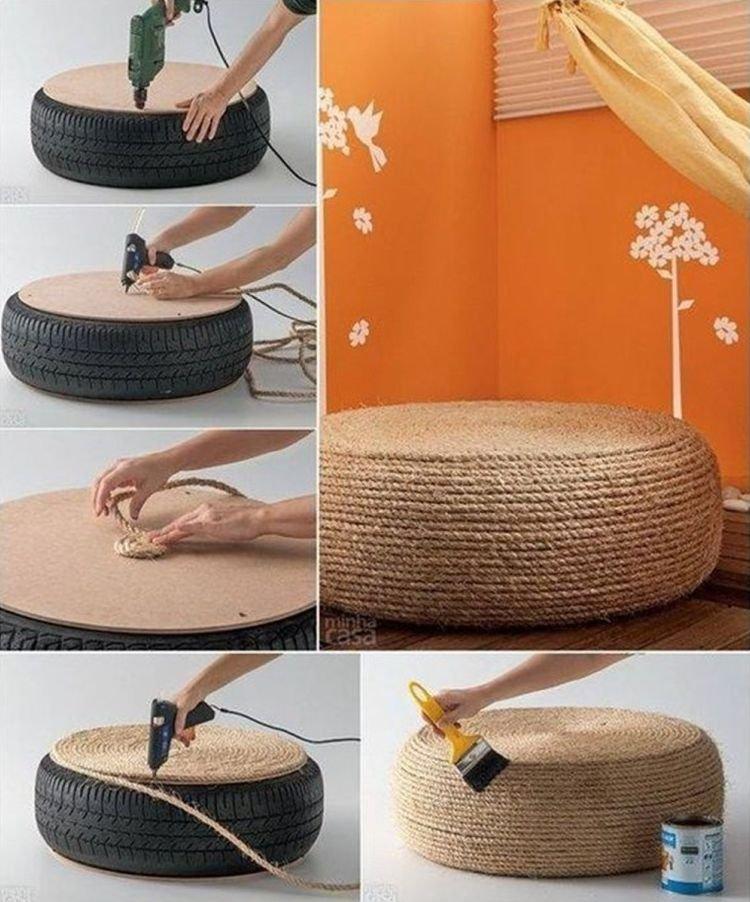
You can make a spectacular scratching post-pouf from an old car tire, which will perfectly fit into any interior. To do this, you need - a washed tire, as well as a piece of plywood, which will have to be glued or attached to self-tapping screws. Start winding the sisal around the glue from above in a spiral, and then coat all transitions and potential weak spots with glue also from above.
The harness can be made soft by covering it with a fabric with a foam pad. Or, adapt an old towel and wrap it in a spiral, wrap it with a cloth on top and secure everything in the middle with a large strong rivet. This harness can be glued to both the tire and the bucket if it can handle a person.
