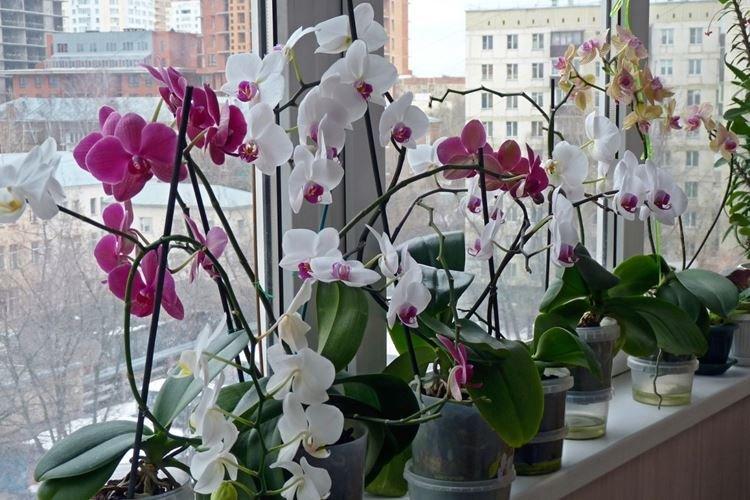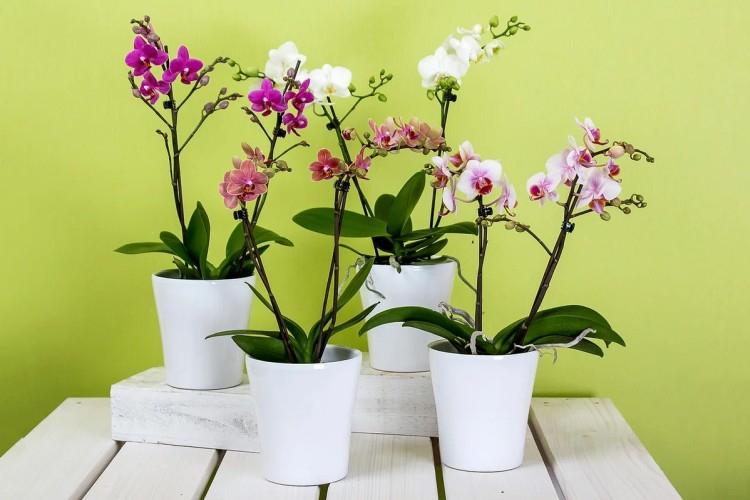
Orchids are very beautiful, but also just as capricious, so you have to work hard so that the exotic beauty pleases with lush flowering. They do well in pots on the windowsill, but it is important to provide them with a comfortable temperature, humidity and other conditions. We will tell you in more detail how to properly care for an orchid at home!
Ground requirements
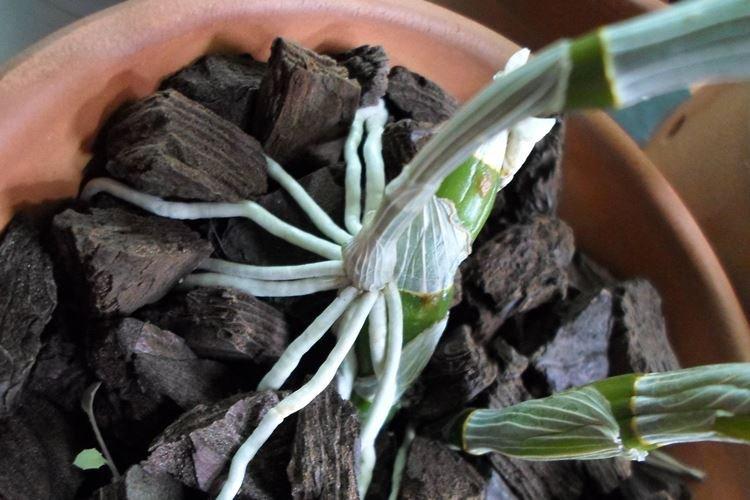
Indoor orchids will not grow in regular soil - they need a special mixture. There are ready-made store formulations, but you can mix such an analogue yourself. Orchid soil does not contain garden soil at all and is prepared from bark.
Take chunks of oak, aspen, or pine bark, fern roots, and charcoal. Boil them for half an hour, drain the water and repeat the procedure in new water to precisely destroy all parasites and fungal spores. Dry all the ingredients, grind them - and the soil for the orchid is ready!

You can add a little peat, moss, foam crumbs to it for airiness, or even pieces of chalk. You can use granular clay, vermiculite, perlite, crushed cork or coarse sand. The main task of the mixture is to keep the orchid upright, remove moisture from the roots and allow air to pass through.
For land orchids, you can add a handful of garden soil and some dry leaves or moss to the same mixture. So the substrate better retains moisture and nutrients from fertilizers. But there should not be too much of it, even for a powerful root system.
How to choose a pot
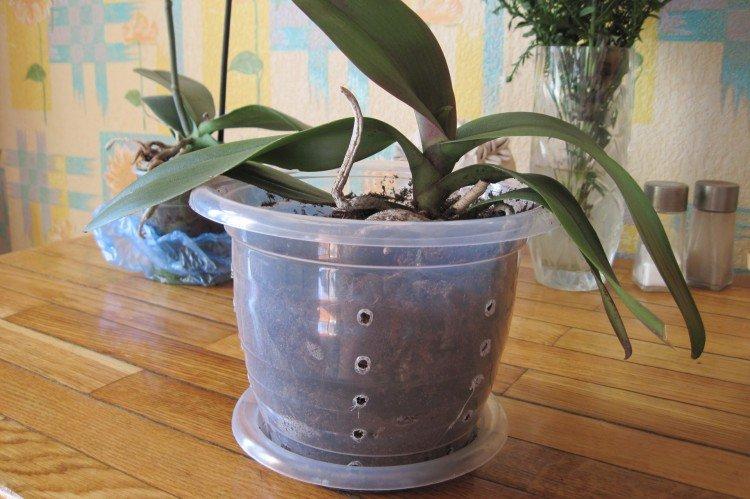
The root system of the orchid needs air circulation, otherwise it will start to rot from the constant excess of moisture. Wicker pots, baskets, nets and wooden crates with slots work well. The main thing is that the selected container holds the root system and soil in place.
If you are using a ceramic or plastic pot, be sure to punch holes in it. And you need good drainage, so fill the flowerpot with expanded clay or fine gravel by at least a third. You can hide unpresentable plastic with holes in beautiful hanging pots.
Lighting
It is the lighting that determines whether the indoor orchid will bloom. If there is not enough light, no additional feeding and fertilization will help - a full-fledged growing cycle simply will not start. But if there is too much sun or it is too aggressive, the flower will completely burn out.
The lack of light in the orchid is indicated by a change in the color of the leaves - light greens darken, and reddish ones turn green. If there is too much lighting, the foliage begins to turn yellow, dry, become covered with burns or brown spots.
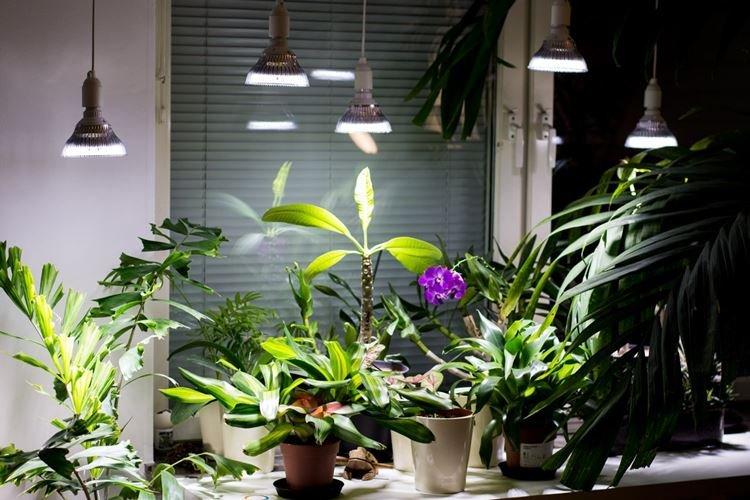
An orchid needs a comfortable dim light, so in the middle of the day it is better to cover roller blinds or blinds. It is important that daylight hours last at least 12 hours, regardless of the time of year. In winter, you will have to use additional lighting, as well as special phytolamps.
Temperature
Indoor orchids like high, stable temperatures: 18 to 27 degrees during the day. At night, it can be slightly lowered to 13-24 degrees, respectively. Be sure to withstand this drop, because it directly affects the development of the flower and the release of new peduncles.
In addition to cold, orchids do not tolerate dry heat - which means, proximity to radiators, heaters and other sources of heat. They are also sensitive to drafts, so don't leave your orchid under an air conditioner or by an open window. And do not forget to adjust the frequency of watering, depending on the temperature: the higher - the more often.

How to water an orchid
Orchids in their natural environment never grow in water and do not tolerate stagnant moisture very well. They tolerate light short drought better than waterlogging. Indoor orchids are also sensitive to salts found in tap water.
You do not need to pour the orchid directly into the soil from a bottle or watering can. Put the flowerpot in a bowl of warm water for 10-15 minutes or pour it out of the shower. When the substrate is completely wet, allow excess water to drain through the drain holes. Then you can put the orchid back in place.
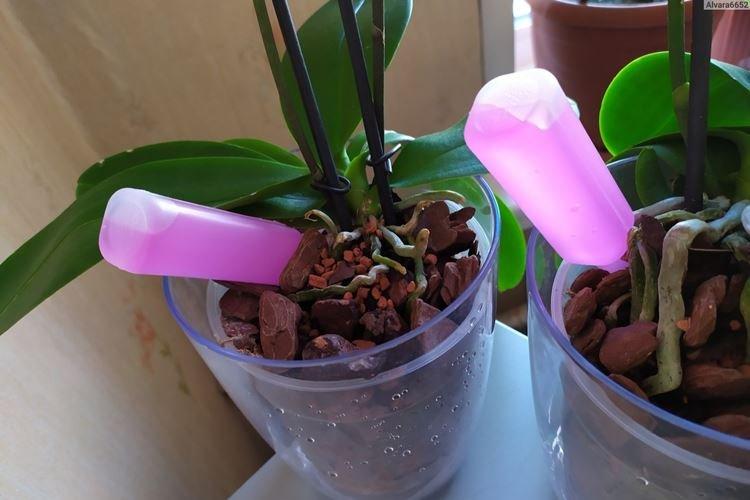
All varieties have different requirements for the frequency and intensity of watering, so be sure to take into account the characteristics of your flower. For example, phalaenopsis and cymbidiums like wetter soil, but oncidiums and dendrobiums require almost complete drying.
During the active growth of peduncles and flowering, the intensity of watering can be slightly increased. But in winter and during the dormant period after flowering, on the contrary, reduce. If the leaves of the orchid turn yellow, rot and soften, there is too much water, and if they wither and wrinkle, there is too little.
Spraying
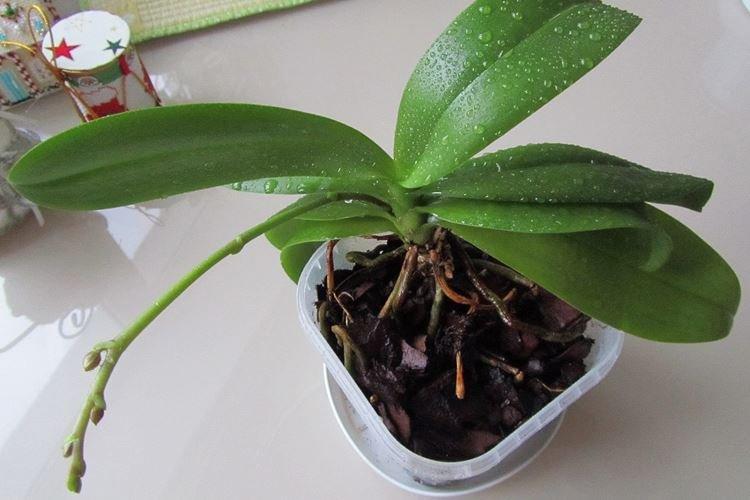
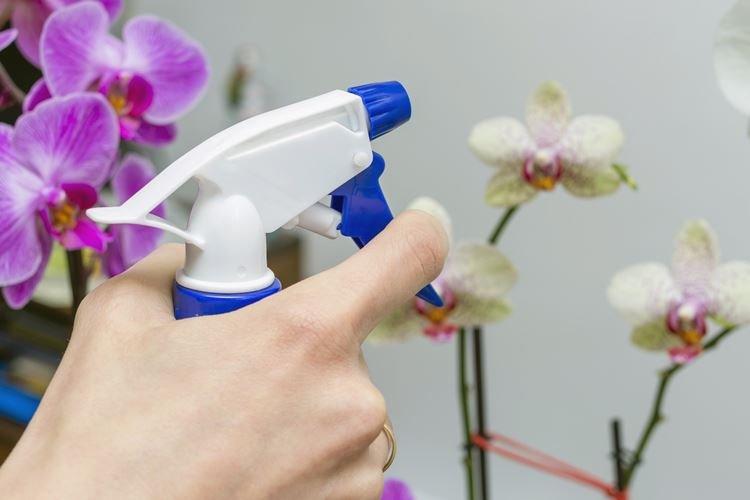
Moisture-loving varieties of home orchids can be sprayed occasionally with a spray bottle. Be sure to use only well-settled warm water. If you have a humidifier with a sensor, make sure that the humidity is above 60%.
Fertilizers and feeding of orchids
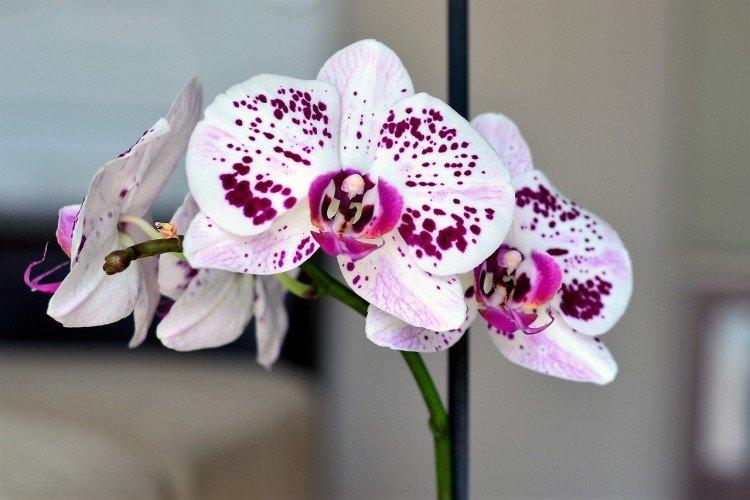
In order for the orchid to bloom magnificently, it must be regularly fed with special complex fertilizers. It is better to use lower concentrations and dosages, but more often - once every 2 weeks. Experts recommend azofoska in a 20/20/20 ratio. Reduce the frequency of supplementation during rest and winter.
Pruning
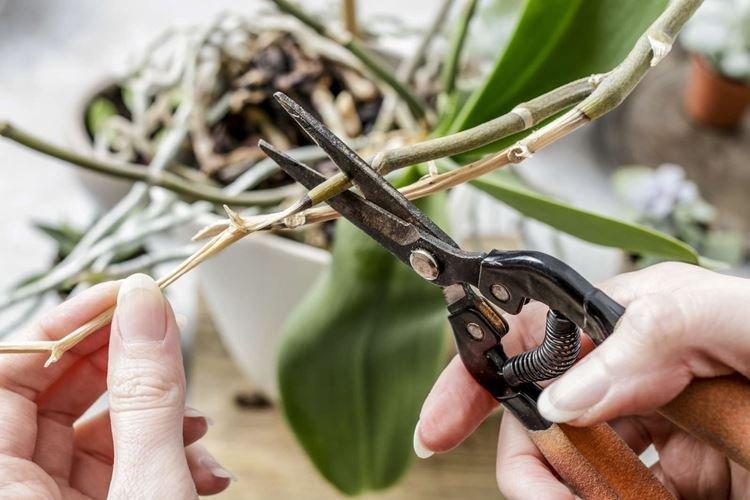
When the orchid peduncle is completely dry, it must be cut off. But make sure that there are no young buds incipient on it, from which new flowers may appear. If you want to cut off the arrow completely, leave the stump up to 4 cm, and if partially, then cut it 2-3 cm above the sleeping bud.
Orchid stems cannot be cut completely and must be left at least 1 cm above soil level. Leaves are only cut off if damaged or if there are too many of them. An overly dense green mass is a common reason why an orchid does not bloom.
Orchid transplant
Indoor orchids are transplanted in the spring every 1-2 years or as needed. The correct signal is if the root system ceases to fit into the pot and grows beyond its borders. In case of urgent need, the transplant can be carried out a couple of weeks after the orchid has faded.
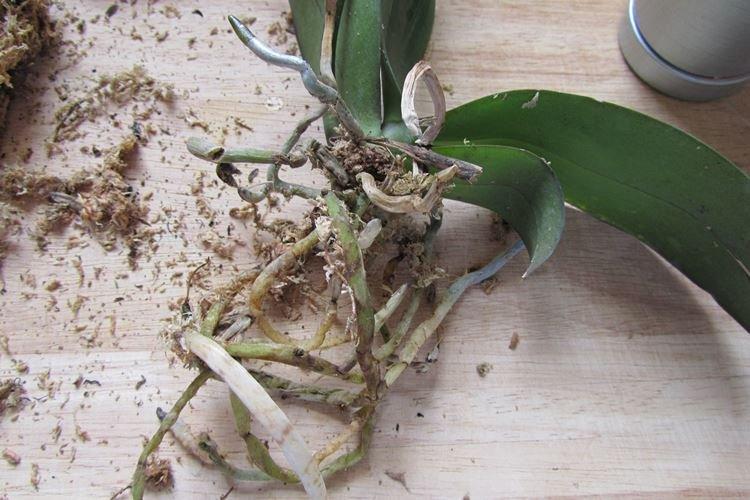
The most important thing is to carefully remove the root of the flower and not damage it. If you cannot reach the lump, it is better to cut open the pot instead of pulling it harder. Rinse the rhizome well with warm water and leave to dry. Then remove any dry, rotten or damaged areas with a sharp knife or garden shears. Treat the sections with floral antiseptics or crushed charcoal.
Fill a larger pot with new soil so that it fills the space between the roots, but does not cover the growing point. To make the orchid adapt faster after transplanting, put it in a shaded place for a couple of days and do not water it. If necessary, install temporarily props that will support the flower until it finally takes root in a new place.
Reproduction
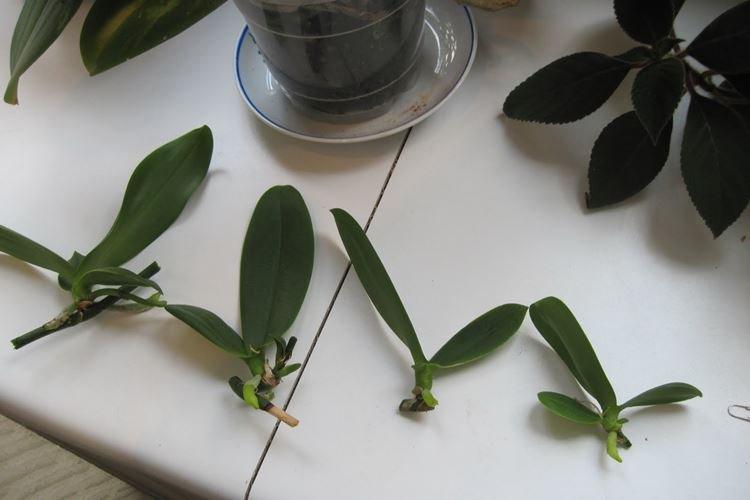
It is most convenient to propagate a home orchid with rosettes, which usually appear at the root. It just needs to be separated and transplanted into a new pot - it will take root in place. If the rosette has sprouted near the peduncle, you first need to wait until the roots grow 5-6 cm, and only then transplant.
And large old flowers can be propagated by dividing the root together with the leaf. In about a year, such a sprout will sprout up several independent "children". These are already full-fledged future orchids that can be planted in different pots.
Orchid care during flowering
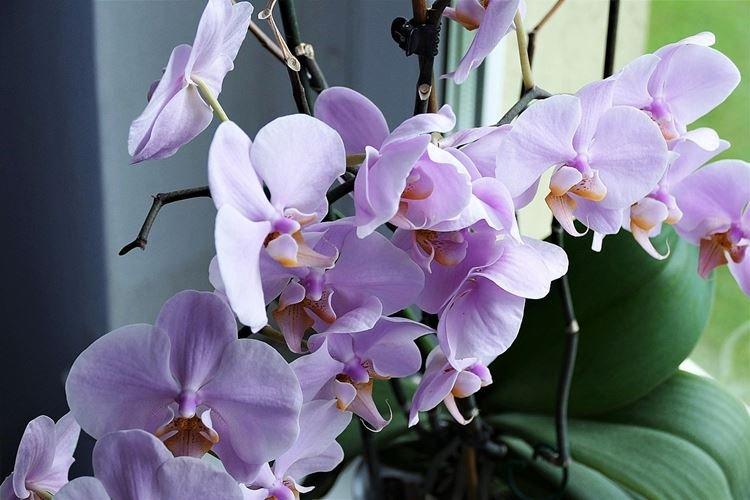
During flowering, the orchid should not be transplanted and overfeed with fertilizers. If possible, raise the air temperature by 3-5 degrees from the usual rate. For irrigation, use only warm water with a temperature of about 25-28, but not higher than 30 degrees.
Orchid care in winter
In winter, it is very important to provide the orchid with enough light. Therefore, in October, transfer the pot to the windowsill or put a light on it. If it is too cold by the window, leave the orchid in any other place under a regular fluorescent or special phytolamp.
Reduce watering to once every 1.5-2 weeks, and feeding - to once a month. During this time, the orchid absorbs nutrients more slowly. Spraying the flower in winter is not recommended to avoid hypothermia, so use a humidifier or place a bowl of water nearby.
