Who doesn't dream of a beautiful and practical cosmetic repair without flaws? Of course, you can hire a team of professionals and delegate this task to them. However, sometimes it is difficult to find real specialists, and the cost of their services can hardly be called low. That is why we will tell you how to glue vinyl wallpaper yourself, while avoiding common mistakes and problems!
Preparation of the working area
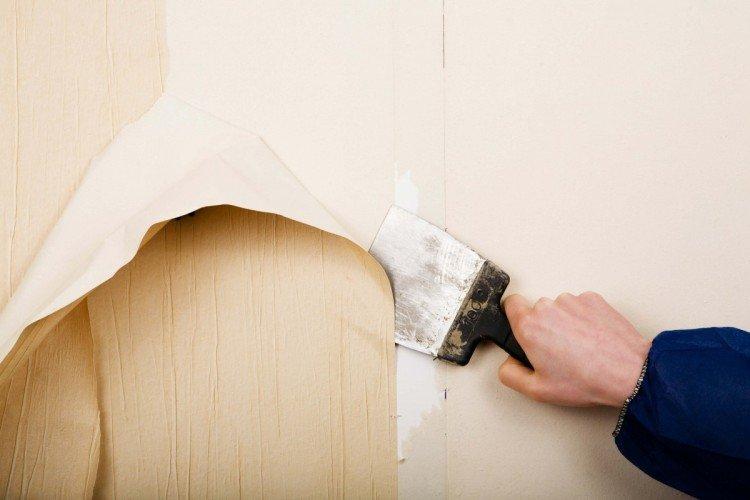
Gluing a new coating over an old decor is a bad idea from both an aesthetic and a practical point of view. It will have to be removed: to facilitate the task, use spatulas and spray guns with water. If there are cracks, obvious irregularities, potholes on the working surface, be sure to plaster them and let them dry.
The next step is to prime the walls. Since vinyl wallpaper is poorly breathable, there is a risk of mold underneath, so try to choose antifungal treatment materials.
An important point: during operation, all windows must be closed, air conditioners and fans must be turned off. Remove baseboards, switches and sockets, cover the floor, turn off the electricity, as the room will be high humidity.
How to choose and knead the right glue
You need a glue designed specifically for the selected type of coating. If you buy the wrong glue, the wallpaper may not fix properly and come off, or it may leak through the material, tear, and show stains. If in doubt about the choice, seek help from a consultant in a hardware store.
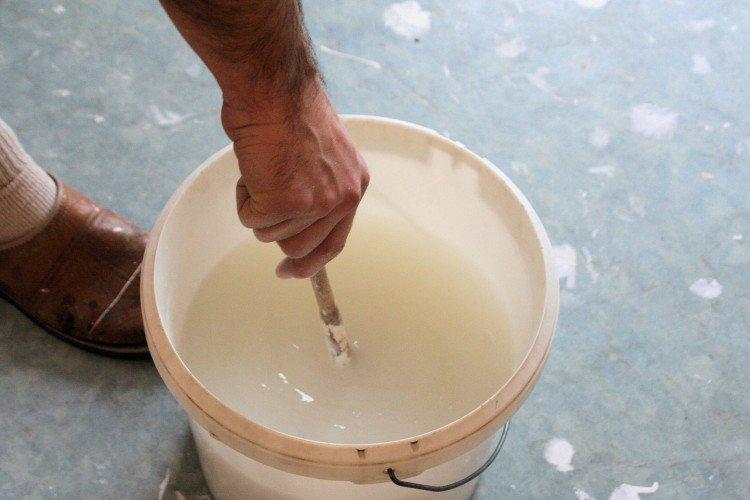
The rules for preparing glue are always written on the packaging. The only general nuance: pour out the dry powder slowly, stirring constantly, do not allow the formation of lumps, otherwise they will be visible after repair. Do not store the sticky, already diluted glue for more than 3 days, it is better to prepare a new one if you need to grease individual corners.
Should you read the instructions on vinyl wallpaper?
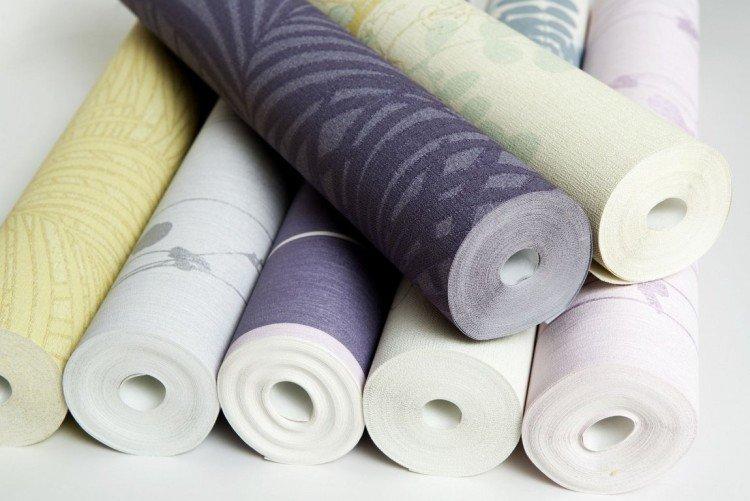
Definitely worth it! Firstly, this way you will learn about the basis of the purchased wallpaper, and this is important for choosing a gluing method. Secondly, the packages often contain helpful notes for more convenient and quality repairs.
The instructions will allow you to find out whether it is worth gluing the wallpaper overlap or back to back, where and in what quantity to apply the sticky mass, which primer is better to use, etc. Also, be sure to pay attention to the length and width of the roll, so as not to be mistaken with the calculations.
Should I do wall markings all over the room at once?
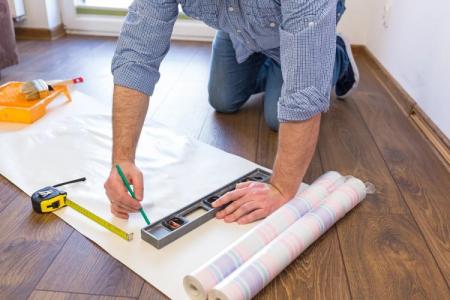
Probably not! If the height and width of the walls around the perimeter of the room are not the same, the markup will be useless, since the wallpaper will have to be cut, overlapped, and this will violate the original gluing model. If the parameters of the walls are close to ideal, the wallpaper can be safely glued along the side lines back to back, putting a mark with a pencil only for the first canvas.
How to glue vinyl wallpaper: general rules
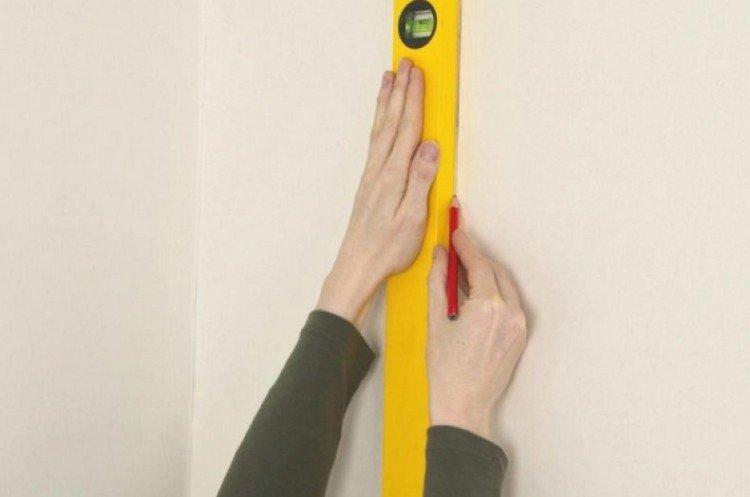
Cut off the canvas, throwing 5-7 cm in length, so that in case of damage or errors in work, you can neatly hide them. Do not stretch the base - this will only damage the material and significantly reduce its service life. Do not start from the very corner. This area is rarely perfectly flat, therefore it will lead to the fact that the coating shrinks crooked. Be sure to use a level or plumb line to set the right start to work, as the eye can fail.
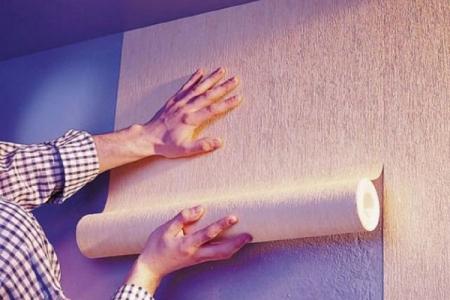
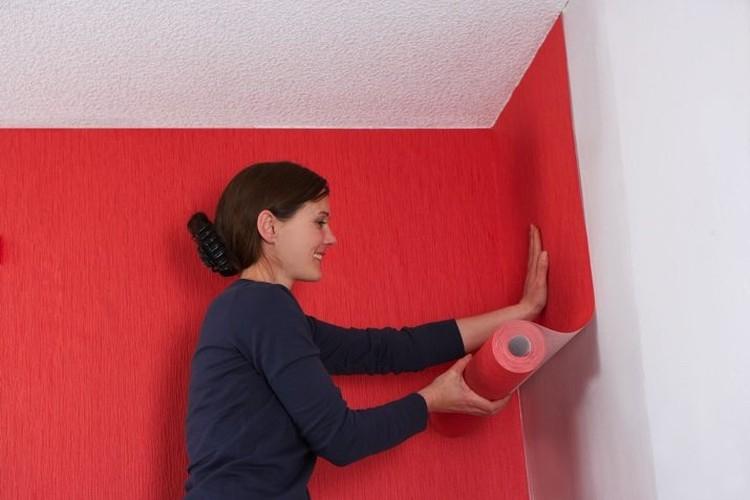
Use a soft roller or wallpaper trowel to smooth out the wallpaper and release air or excess glue so as not to damage the substrate, but eliminate unevenness. Blot immediately where the glue has gotten on the outside of the decor.
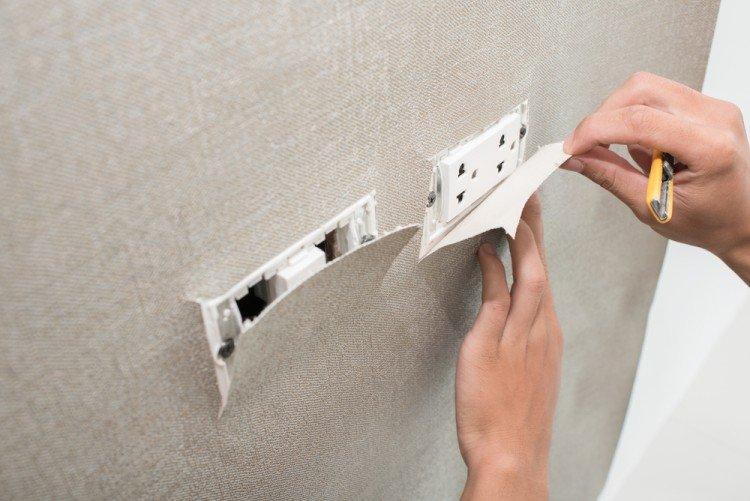
Although the vinyl wallpaper is applied back to back, you will most likely have to overlap in the corners, and then remove the excess pieces with a clerical knife.Don't make cuts for sockets and switches right away: put crosses with a pencil and return to the task when the entire surface is completely dry.
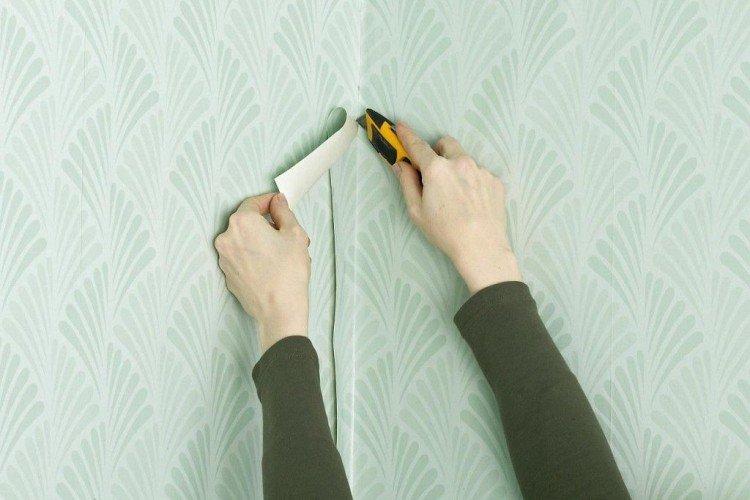
How to glue non-woven vinyl wallpaper
The main difference between this coating: it does not require glue treatment. Apply the sticky compound only to the walls. If the wallpaper was bought for painting, you can not so carefully deal with the work area and its plaster, since the decor will hide everything. If you suddenly did not succeed in attaching the canvas correctly the first time, you can unhook it and try again.
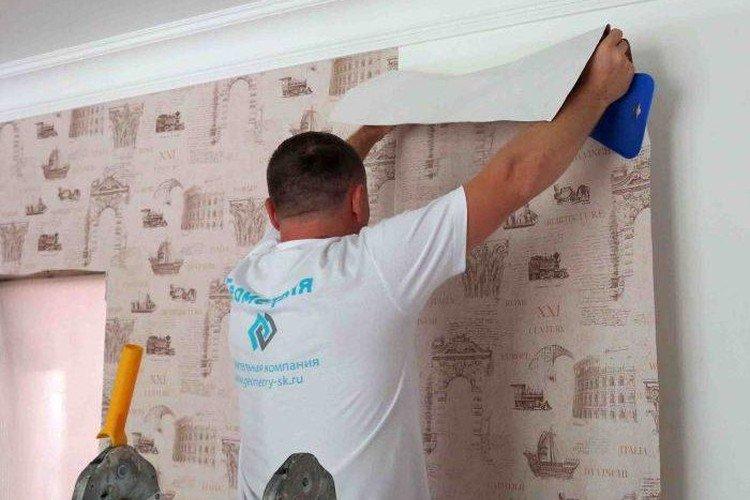
How to glue paper-backed vinyl wallpaper
This type of coating requires additional processing of the base with an adhesive. Try to apply it evenly, do not overdo it with the amount. First smear the wall, then the wallpaper and immediately start planting them so that they do not get wet. The paper base does not peel off the wall as easily as the non-woven base, so try to apply them correctly right away, and ideally ask your friends for help.
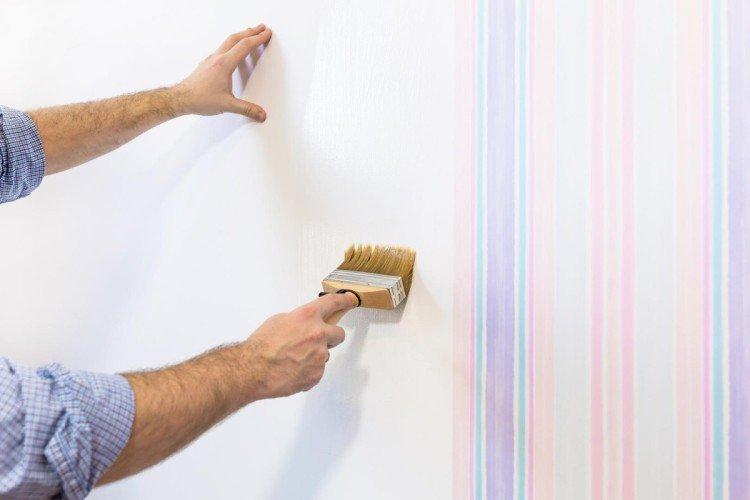
How to glue patterned vinyl wallpaper
Cut off two sheets at once, after checking the drawings and adding 7 cm in length from above and below. As a rule, coverings with drawings need to be taken in larger quantities than plain alternatives, take this into account at the time of purchase. Working in corners and on very uneven surfaces will be the most difficult, so try to leave these areas in neutral, less visible areas of the pattern.
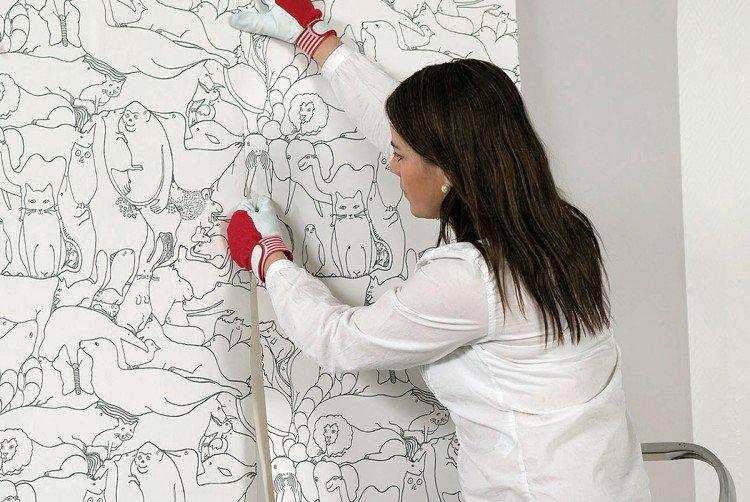
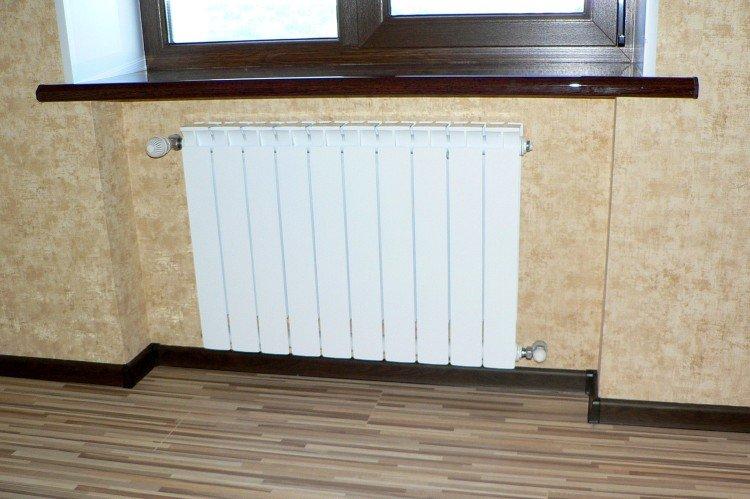
Should you glue wallpaper behind the batteries?
If the batteries are far enough from the wall, and you can safely stick your hand behind them, then this makes sense. Otherwise, it will be easier to simply paint this area. Firstly, this will save you from unnecessary hours of torment, and secondly, the correctly selected paint in this case will be more resistant to high temperatures.
What to do after gluing?
Before opening the windows, make sure that all areas are completely dry, otherwise all the work will be done in vain, as the coating will begin to move away, slide off "accordion" or become covered with bubbles. Examine the walls carefully for loose edges or air under the decor, apply if necessary using a fine paint brush.
If everything is in order, make cross-shaped cuts in the places where there are sockets and switches, cut off the excess, install the covers, carefully check the working order of the electrical wiring.
